#How To
HOW TO BUILD A SANDPIT
With the right tools in tow, building a sandpit is much easier than it sounds. And, the great part about making one yourself is that you can create it to suit your space, no matter how big or small. This an excellent project to teach your kids some handy skills, and do something fun to welcome the warmer weather.
The first point to consider is where you’re going to place your sandpit. It will be tricky to move once assembled, so don’t get too excited and skip over this step! You’ll want to make sure that it’s placed somewhere close to your home, and somewhere visible within the garden so you can keep an eye on the kids while they’re playing. Avoid placing it to the side of the house or anywhere out of sight.
It’s also a good idea to build it somewhere with partial shade, to ensure the kids aren’t sitting out in the hot sun for hours on end whilst playing! If you’re stuck for shady spots, you can always add a shade sail once you’re done.
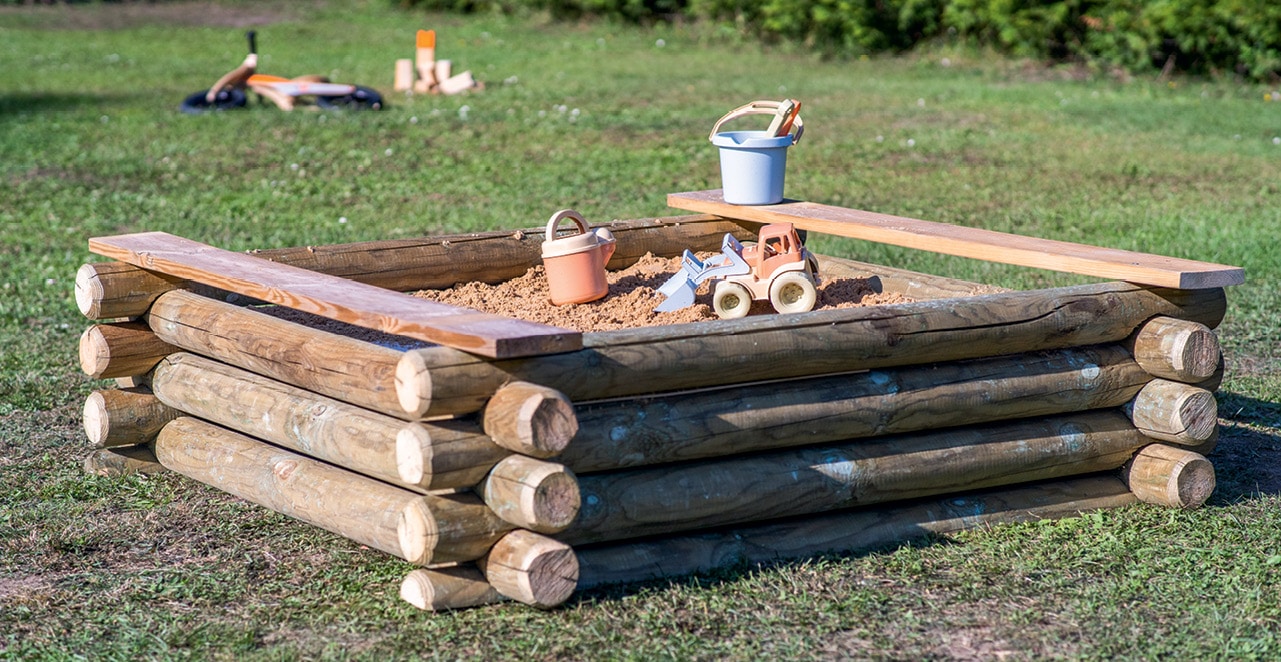
Once you’ve settled on a location, determine the dimensions of the sandpit you’d like to build, keeping in mind that the bigger the pit, the more room there is for playing! For the purpose of this guide, we will build a sand pit that is 1.5m x 1.5m, with a depth of 30cm. This unique design also incorporates bench style seats for your children to sit on, which also doubles as a comfortable spot for you to sit whilst supervising.
Now it’s time to get building. This guide is for a free-standing rustic design inspired by a log cabin, which makes a straightforward DIY project that will look great in your garden.
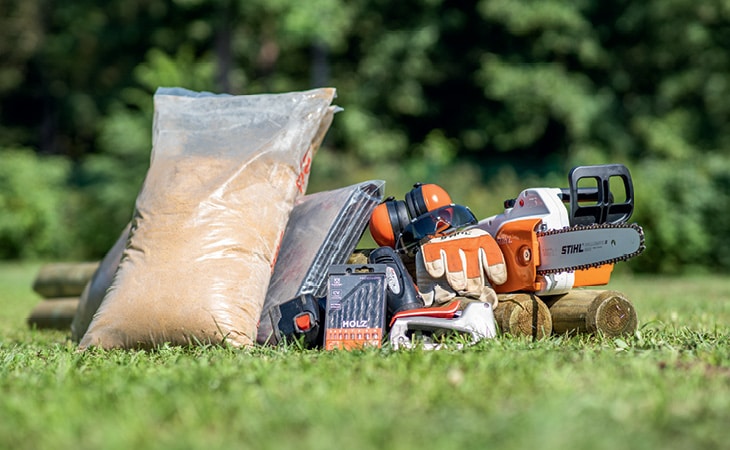
Here’s what you’ll need:
- 13 round wooden posts or stakes with a diameter of 10 cm
- 2 planed-edge boards, at least 20 cm wide
- Wood screws
- Play sand
- Sandpit geotextile
- Chainsaw
- Staple gun
- Drill
- Metre rule
- Sawhorse
- Screw clamps
STEP 1:
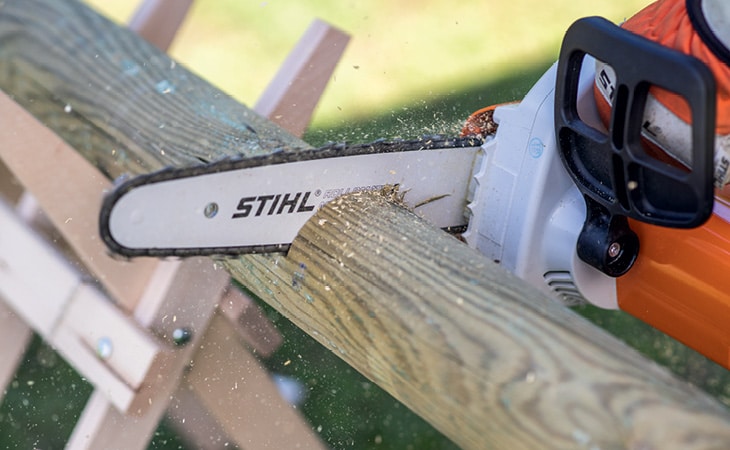
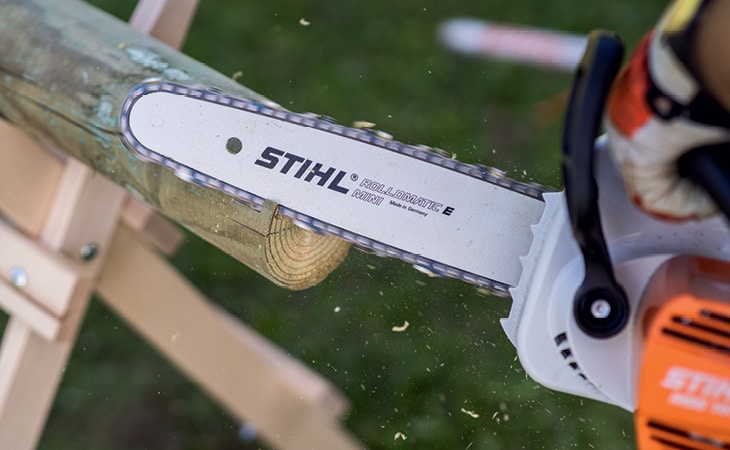
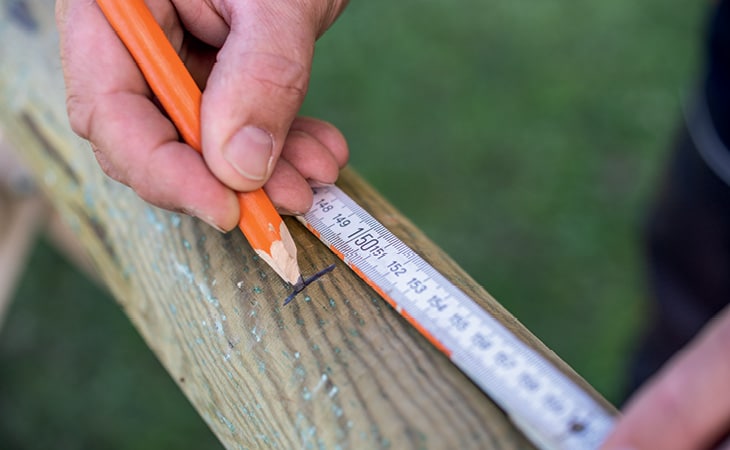
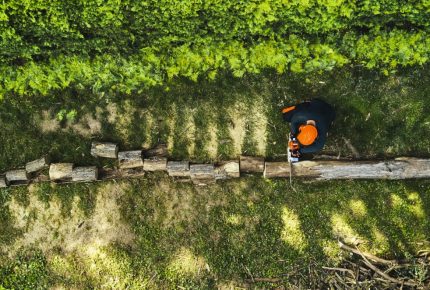
If your posts or stakes are longer than 1.5m or as required, cut them to length. Measure, mark and saw off the excess wood, cutting straight across.
Round of the edges with your chainsaw once you’re happy with the length, this will avoid people getting caught on the edges when walking by.
STEP 2:
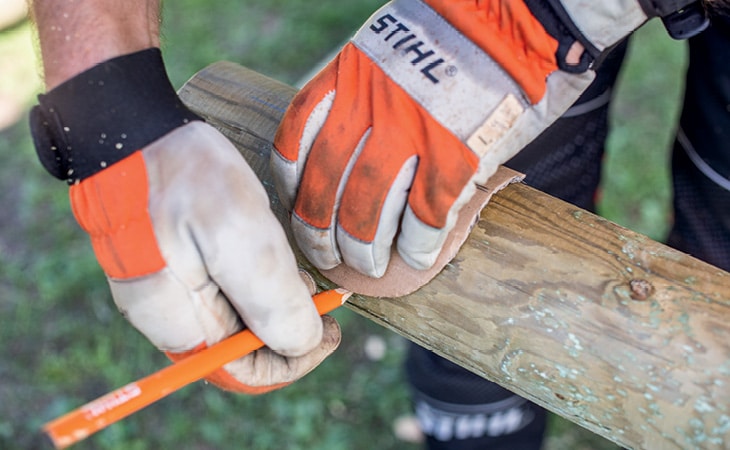
Since this sandpit follows the style of a traditional log cabin, we’ll need to carve out some notches so that the stakes can be stacked snugly on top of one another to form a wall. Start by making a mark on the stake that is 10cm from the end. At this spot, measure and mark across half the width of the wood. As our wood is 10cm in diameter, the mark will be made at 5cm. It’s very important that the notches are at the same height on both ends of the stake, so take a ruler or something straight enough and use it to draw a perfect line from one end of the wooden stake to the other.
The next step is to make a paper template to help you create uniform notches. This template will set out the shape you need to cut out to allow for a second stake to be placed into the notch, at right angles to the first, forming the corner of your sandpit. Fold the template in the middle and align the folded edge with the halfway line you have already marked on the stake to ensure that the notches are at the same height on both ends.
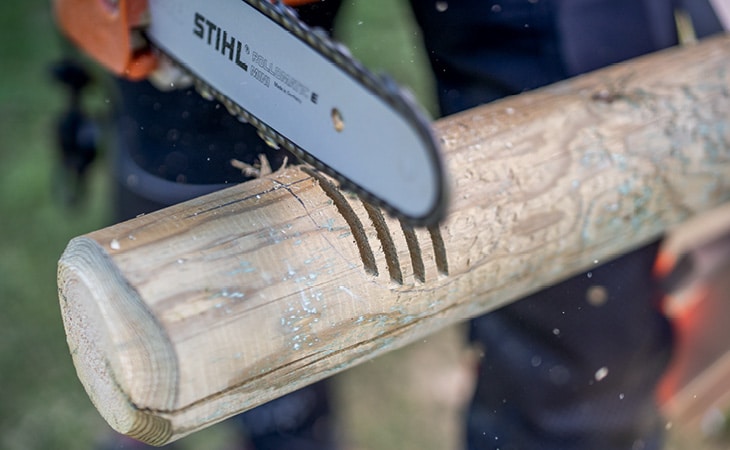
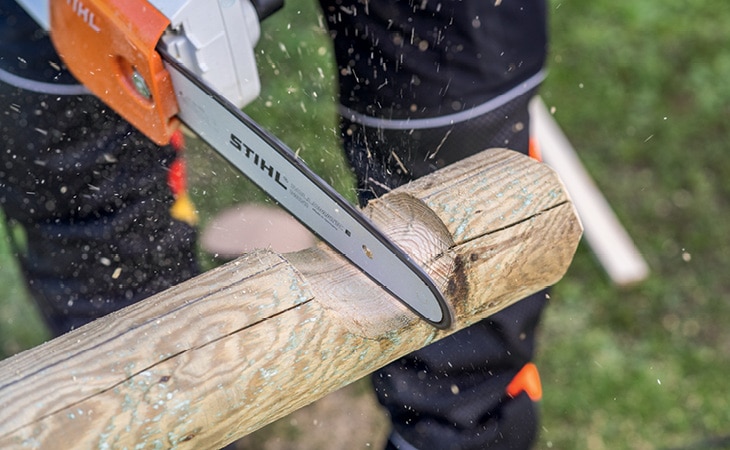
The notches are key to the structure and stability of this sandpit, so be careful when using your chainsaw to cut out the marked shape. Saw vertically into the marked-out area several times, then knock the pieces of wood out with a hammer.
Carefully smooth the notch with your chainsaw; repeat these steps for both ends of 11 more stakes, keeping one stake intact. Be sure to test the fit of each stake as you’re doing them to avoid any issues at the end!
STEP 3:
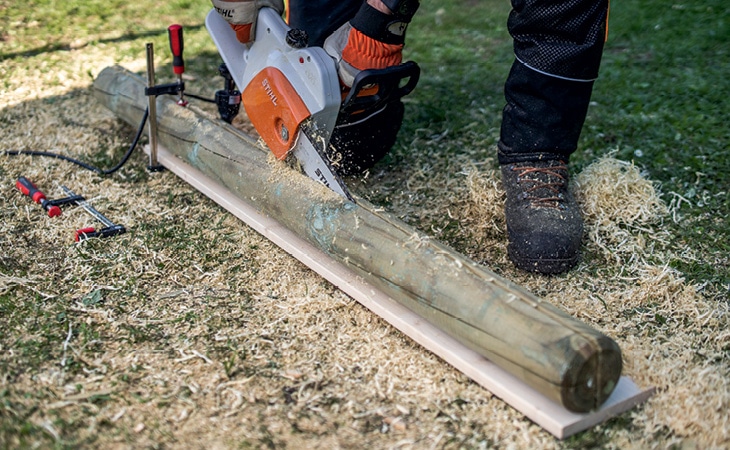
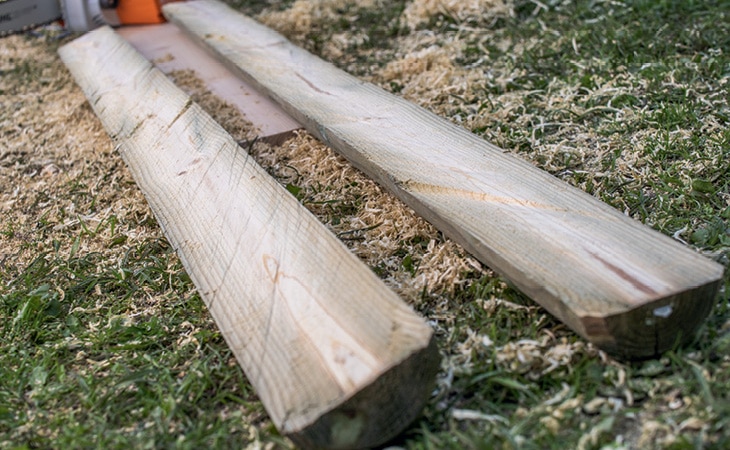
To make sure your sandpit sits level on the ground, the bottom stake needs to be split lengthwise. Grab the leftover stake that doesn’t have any notches and secure it using the clamps so it can’t roll. Mark a straight line along the full length of the stake, before using your chainsaw to cut straight along this line.
STEP 4:
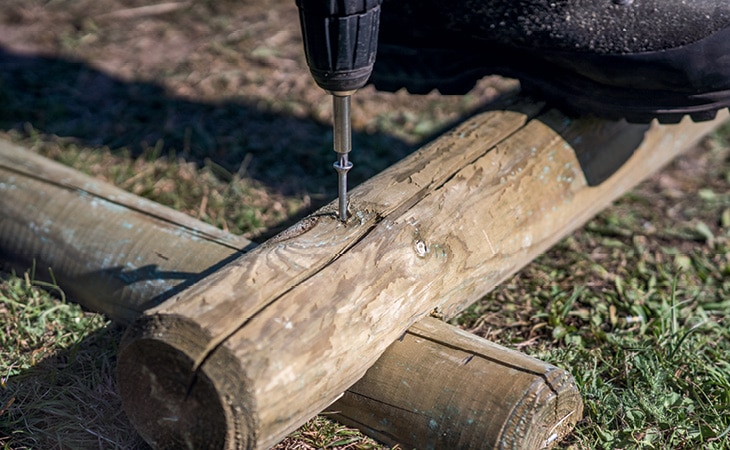
It’s time to assemble your sandpit. Start by placing the two halved pieces in the preferred location to form the opposing walls, and follow by positioning two round stakes with the notches facing downwards onto the half stakes laying on the ground.
They should fit nice and snug! Once you’re happy with the fit, secure them using a drill. Continue to stack your stakes and repeat this process until all stakes are used.
STEP 5:
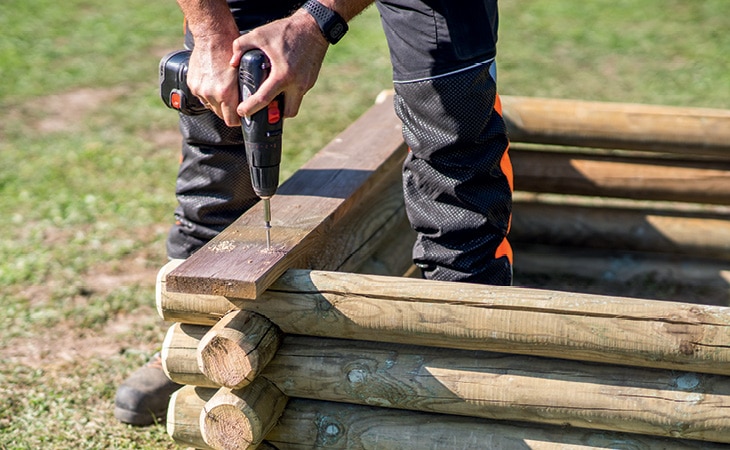
You’re almost done! It’s not time to mount the bench seats. Simply lay the flat planks on top of the sides and secure them with your drill.
STEP 6:
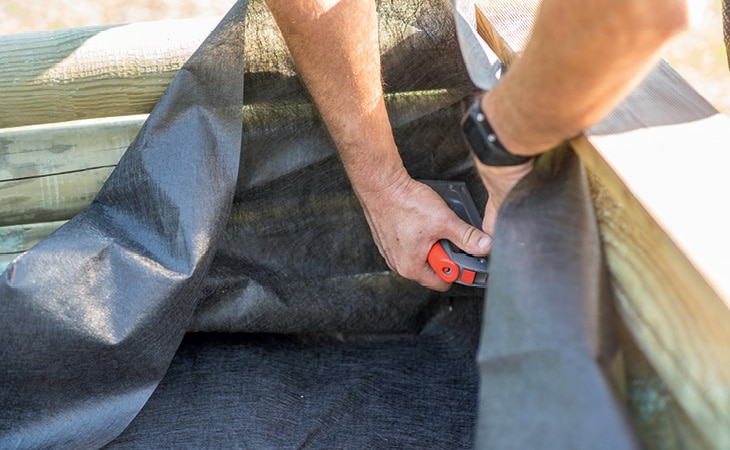
The last step is to line your sandpit to ensure the contents of the pit remain separate from the ground it’s sitting on. This will keep your sandpit free of insects and grass roots, and will also help to keep it nice and clean.
Using your staple gun, attach the lining to the base and up the sides neatly.
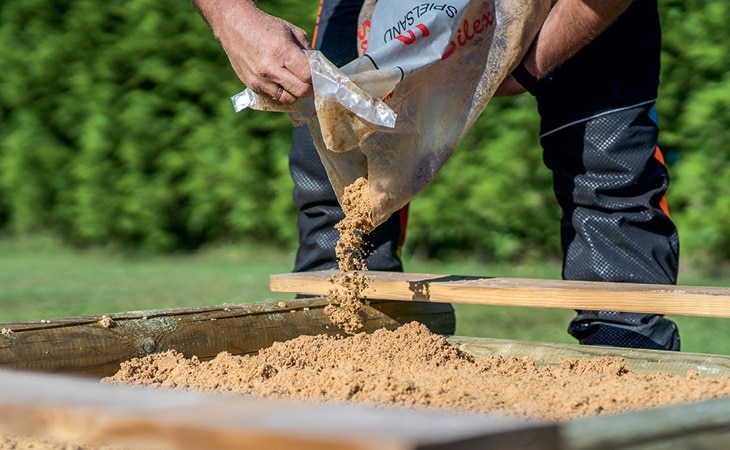
Once you’re done, fill your new creation to the brim with sand, and enjoy!
Click here for more fun projects to keep busy outdoors and in the garden.

