#How To
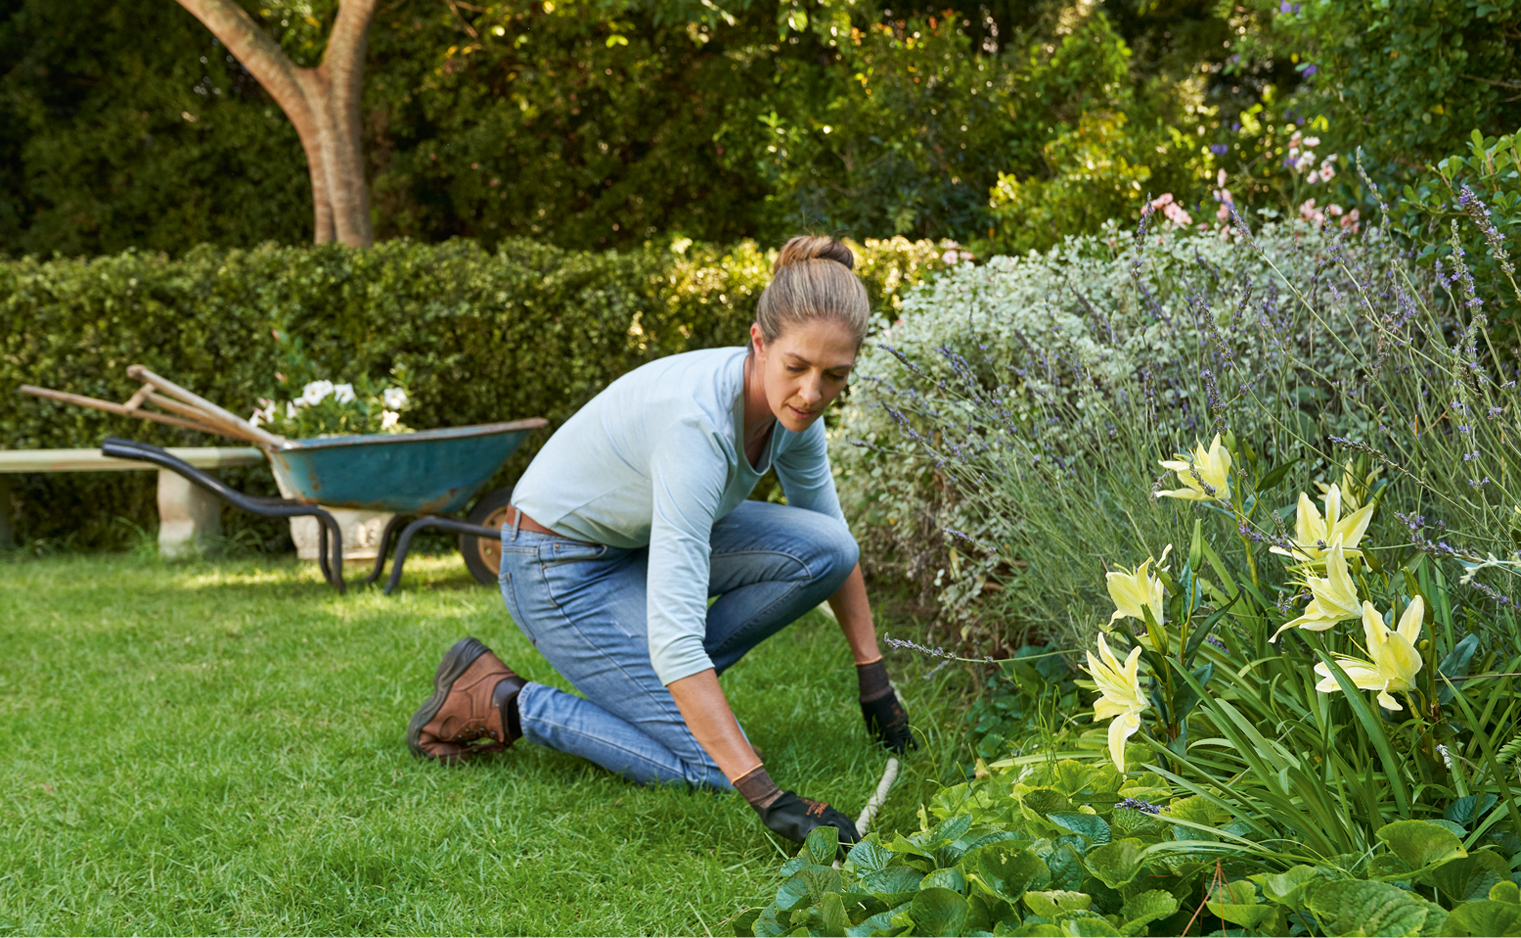
How to create the perfect garden bed edge
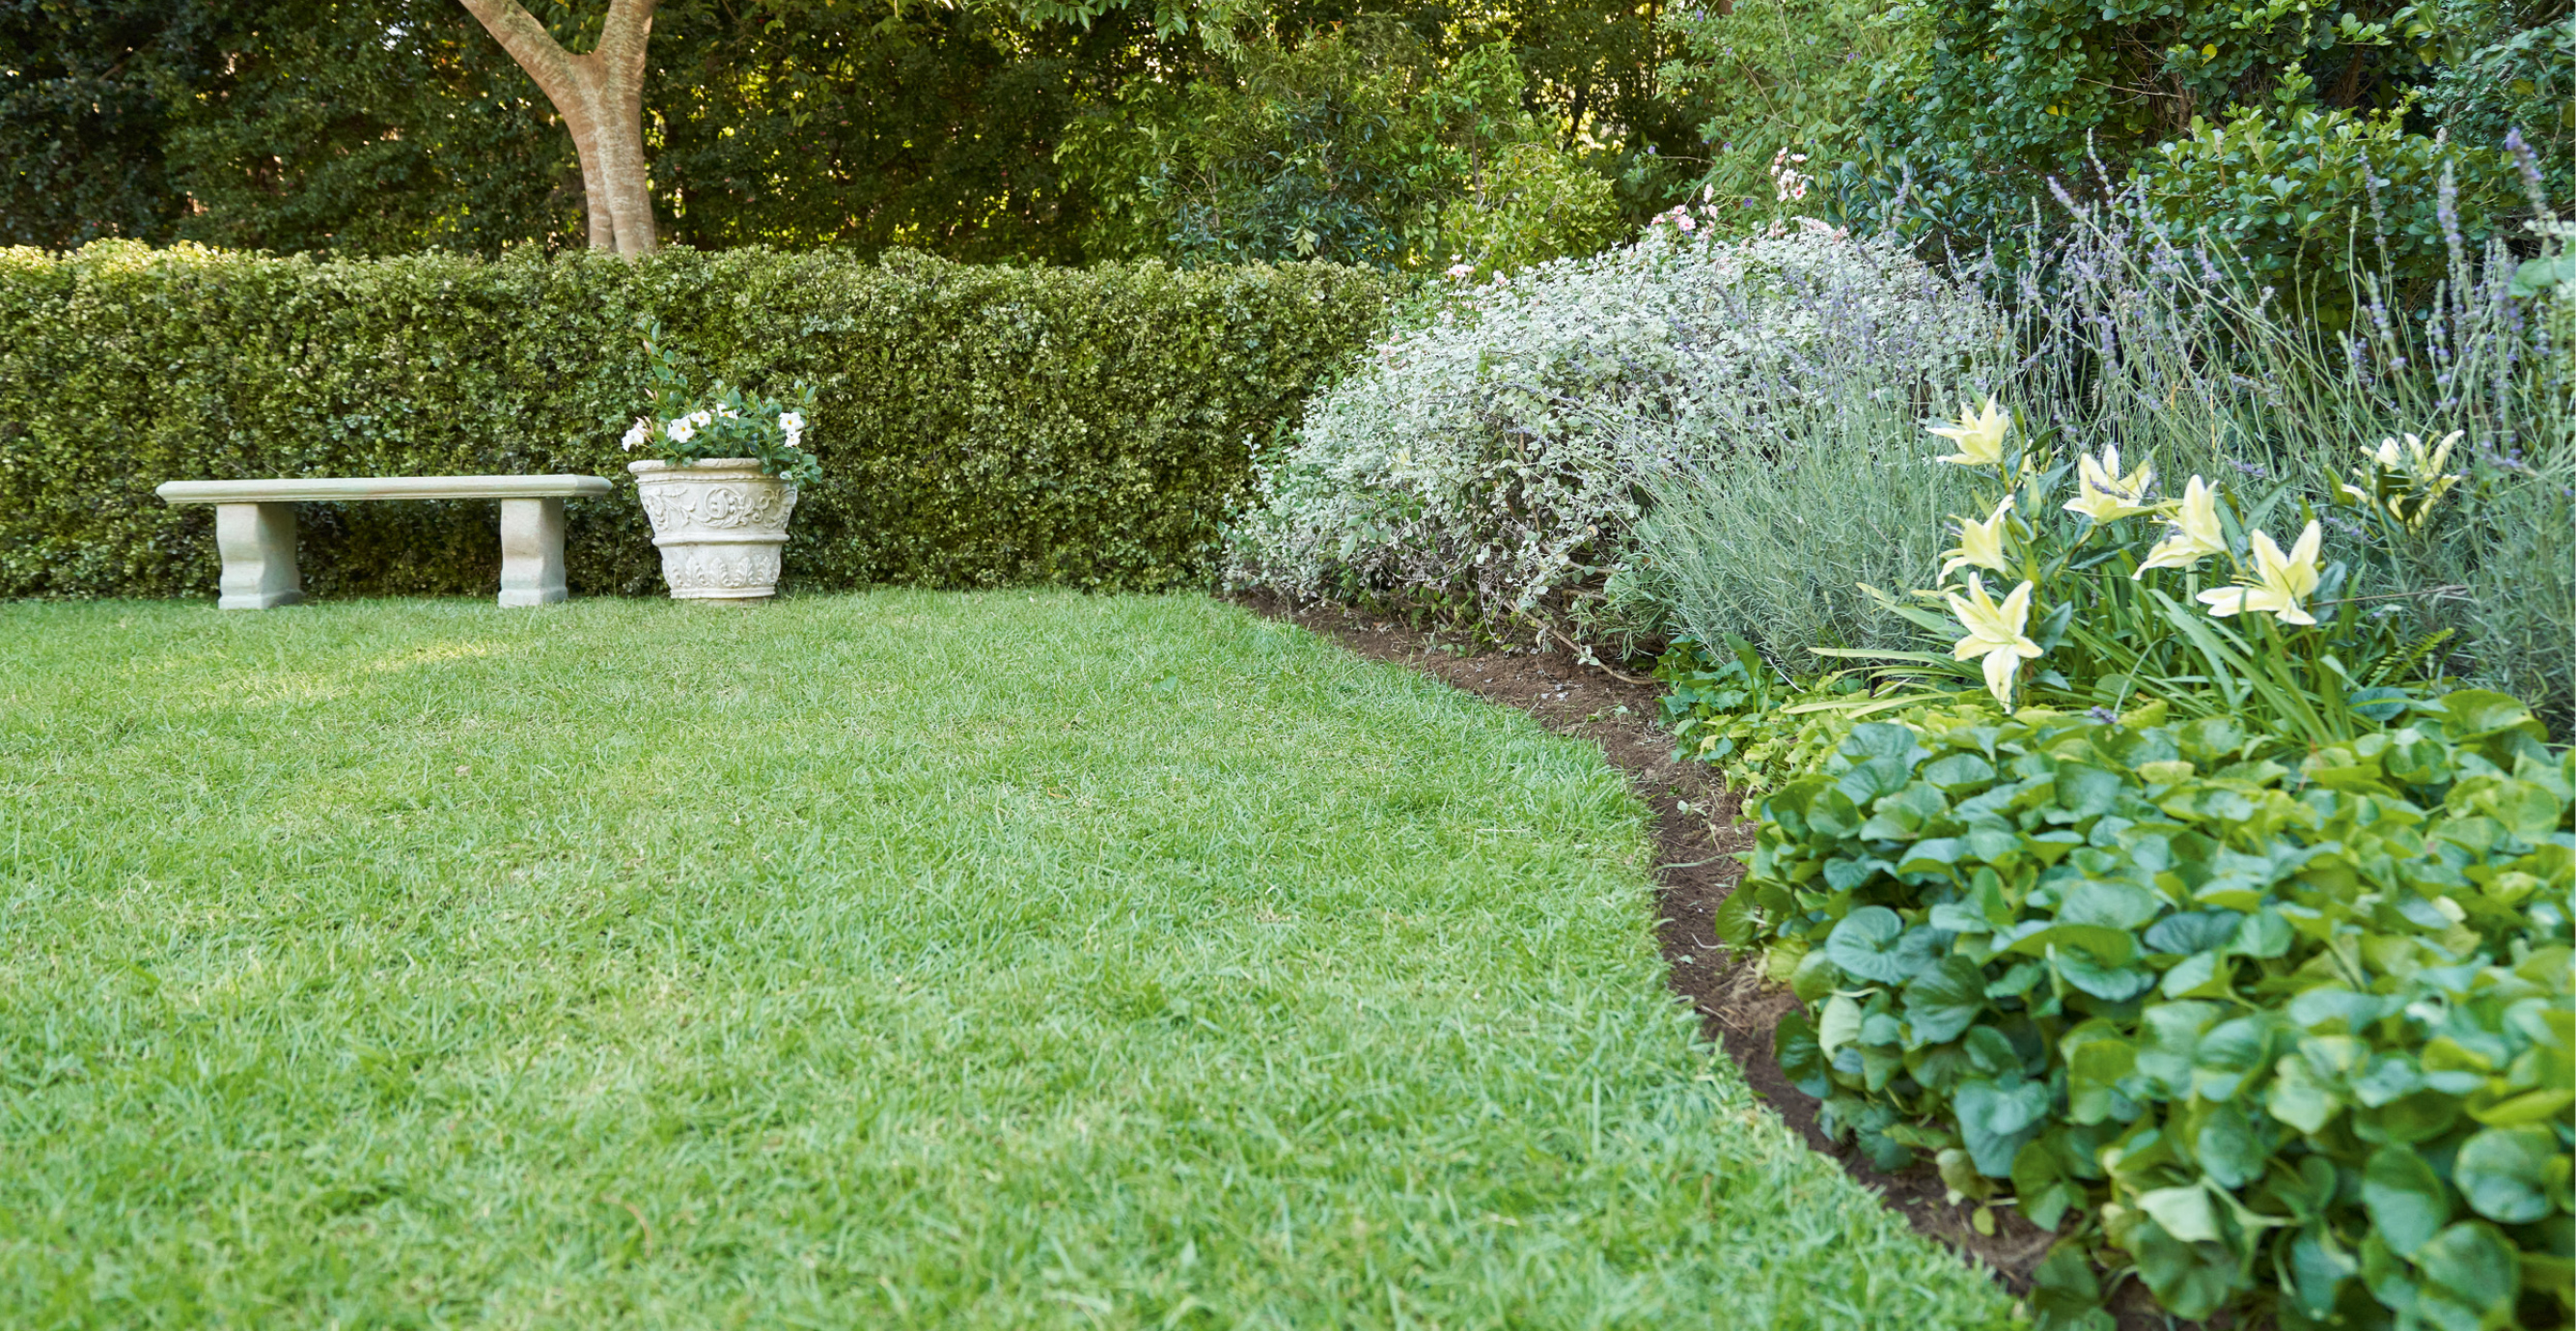
This style of lawn edge is so popular because of the neat and tidy appearance it gives. It’s a cost-effective way to add shape to your garden, and is incredibly easy to achieve, offering a smart, yet natural look. It also allows you to be completely creative with the shape of your garden beds.
What tools do you need?
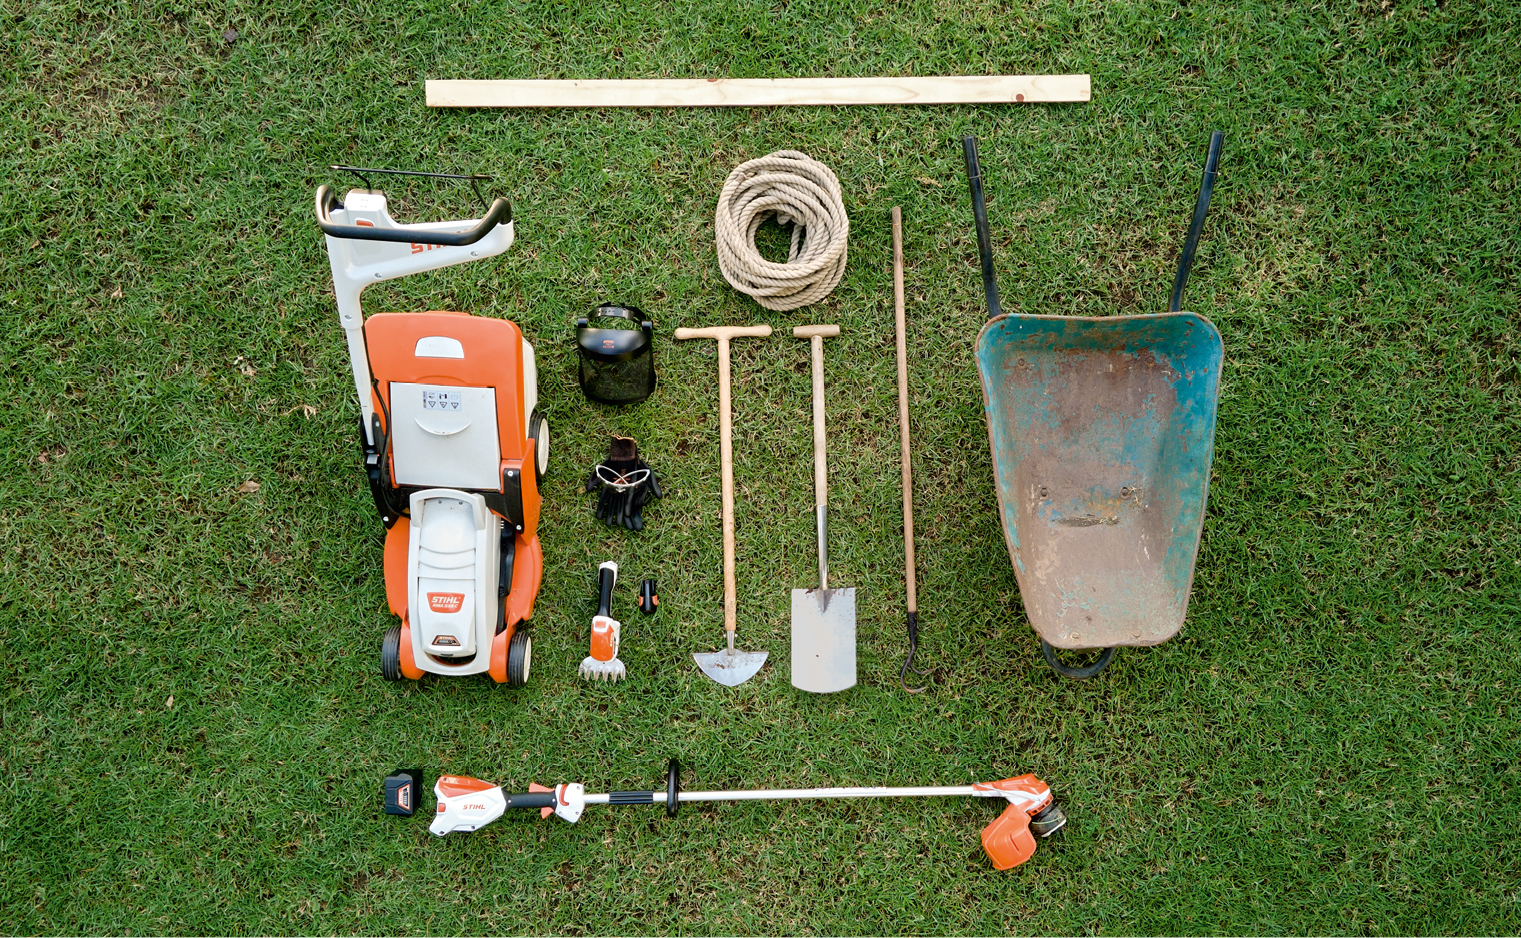
Tool list:
- Wooden board, garden hose or rope
- Half-moon edger or spade
- Claw cultivator
- A wheelbarrow may be useful for transporting the removed sections of turf
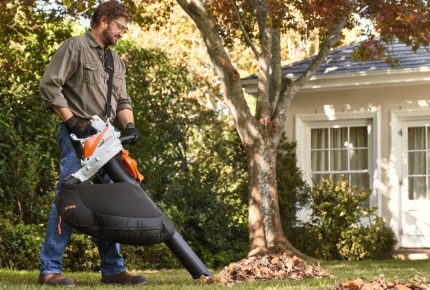
- A lawn mower and a grass trimmer to tidy the edges and collect debris once done
An important tool for fans of this lawn edge is a half-moon edging tool; this is a garden tool similar to a spade but with a crescent-shaped blade. It is also known as an edging iron or an edging knife, and its straight blade is what enables greater precision.
You could also use a spade with a slightly curved blade, and only edge small sections of the lawn at a time so that it does not become wavy or crooked. The half-moon edger makes precise, straight lines, while a spade will create an untidier edge. If you want a neater, more precise line, you may have to take your edging too, round more than once.
Neat and straight lawn edging
The bed, for example your perennial bed, borders onto a lawn. The transition is difficult to see because the lawn is already growing into the bed in places or over a large area. With our tips and the right power tools, you can get your lawn edges under control and your garden will look neat and well-tended – even if it’s a naturalistic style.
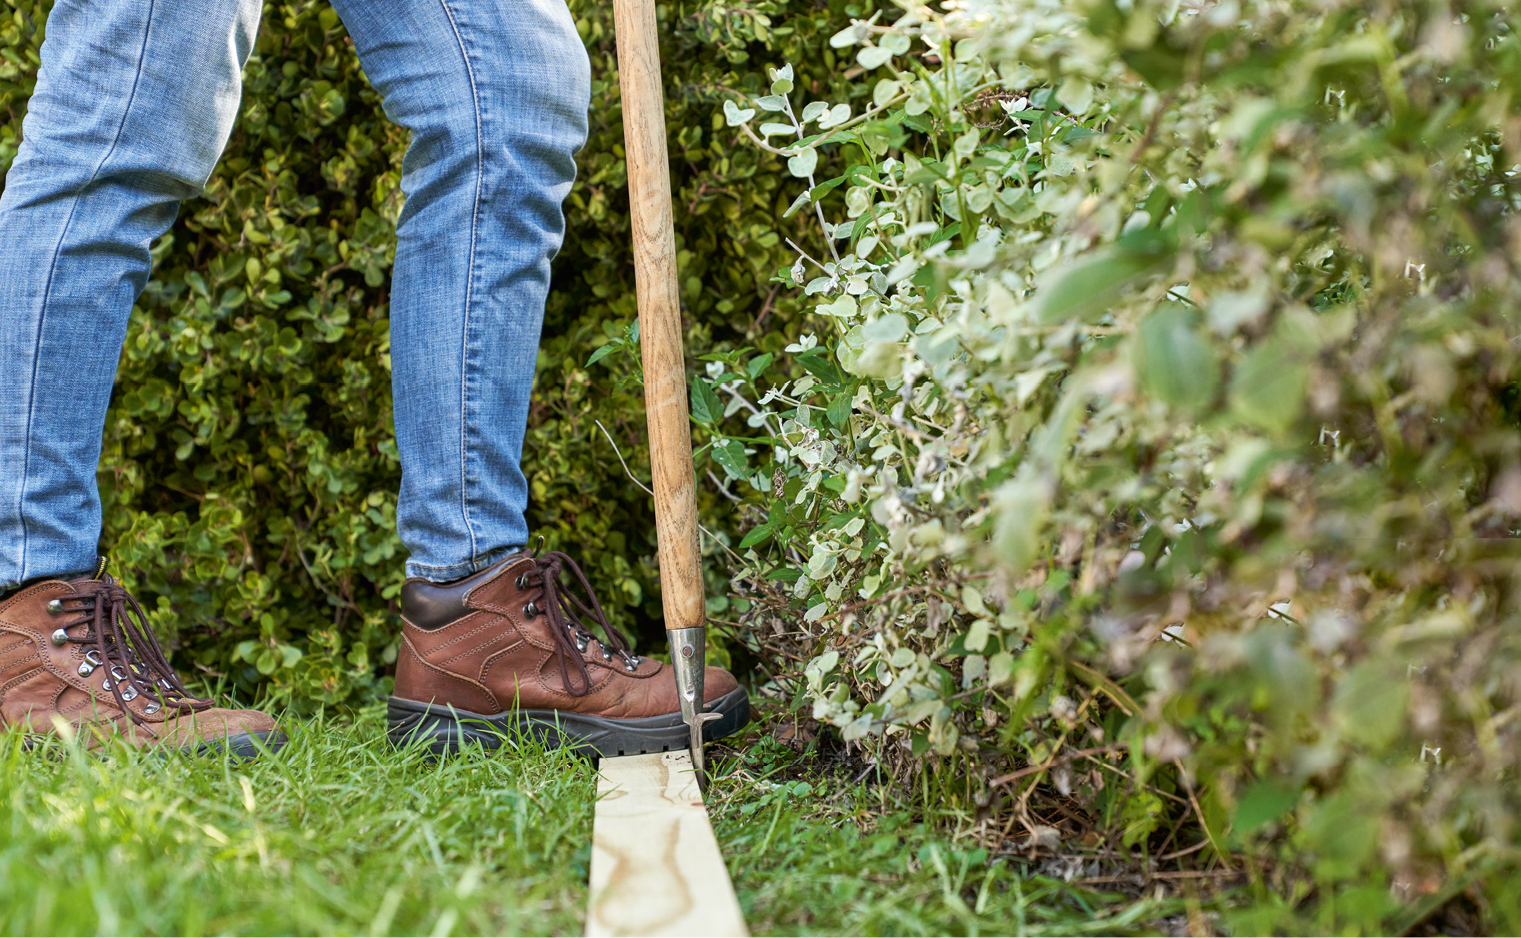
Step 1: Mark the lawn edge
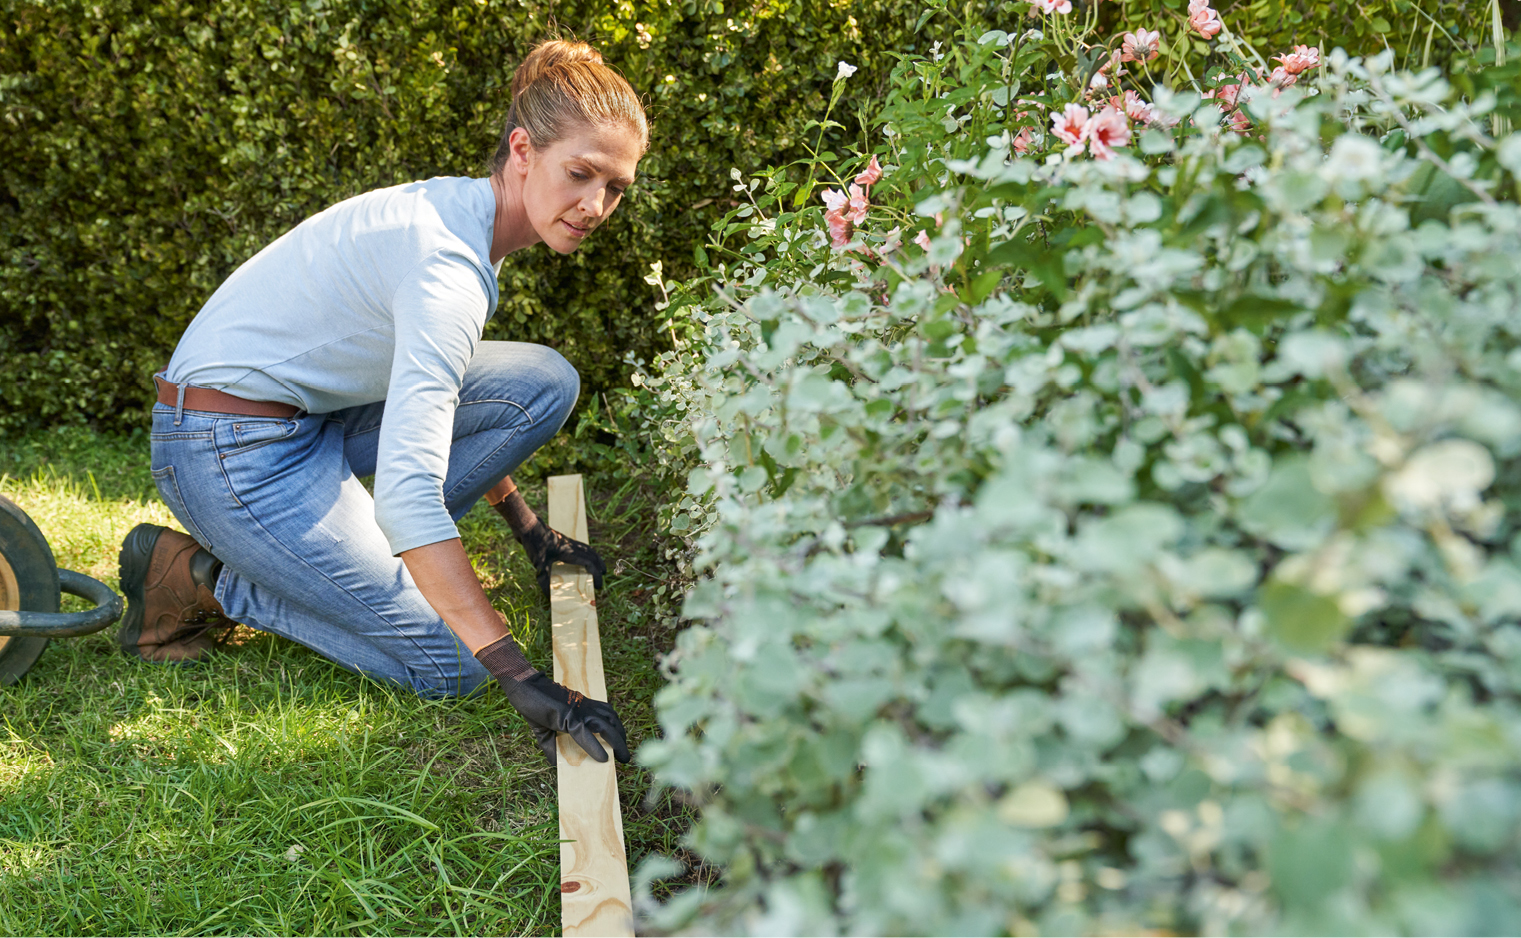
Place a long, straight wooden board in the place of the proposed lawn edge, tight against the garden bed. Alternatively, stretch a planting line. If the bed or lawn edge needs to be curved, lay out a hose or rope along the shape instead.
Step 2: Create the edge
Now use a spade or half-moon edger to cut through the turf along your board, hose, or rope. This will create your English lawn edge a little at a time.
Step 3: Remove the released turf sections
Remove the resulting turf pieces by lifting them out at a shallow angle. These can be composted very well or, for example, used to repair other spots on your lawn.
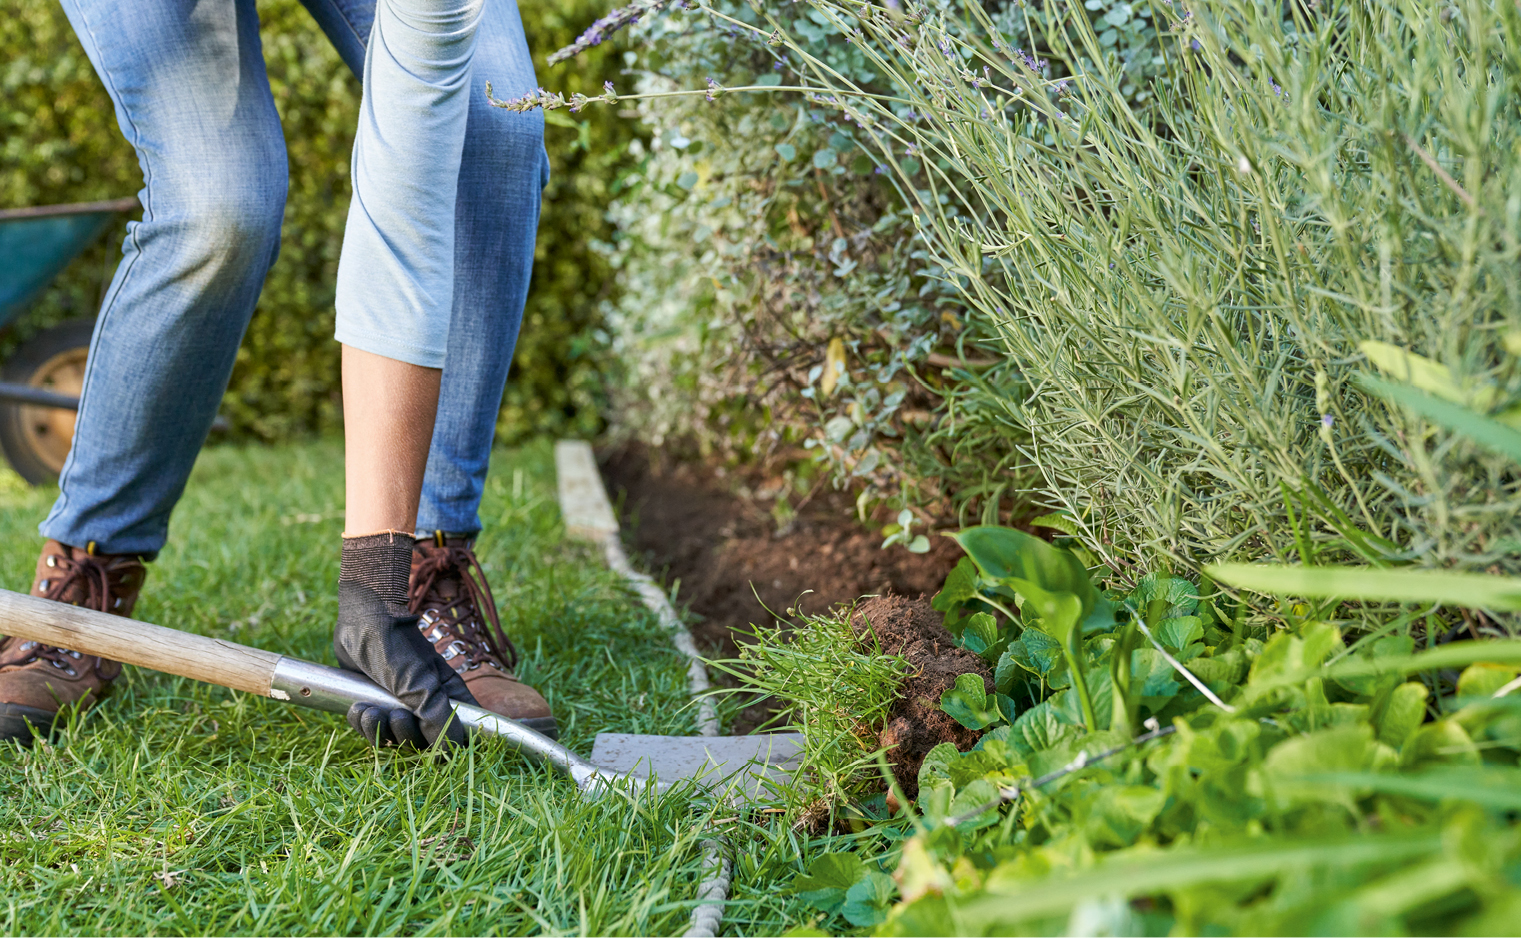
STEP 4: Loosen the soil at the edge of the bed
Use a claw cultivator or narrow rake to loosen the soil at the edge of the bed where you have removed turf. Doing this will bring any remaining grass roots in the ground to the surface, from where you can easily pull them out. This buys you more time before grass runners grow back into the bed.
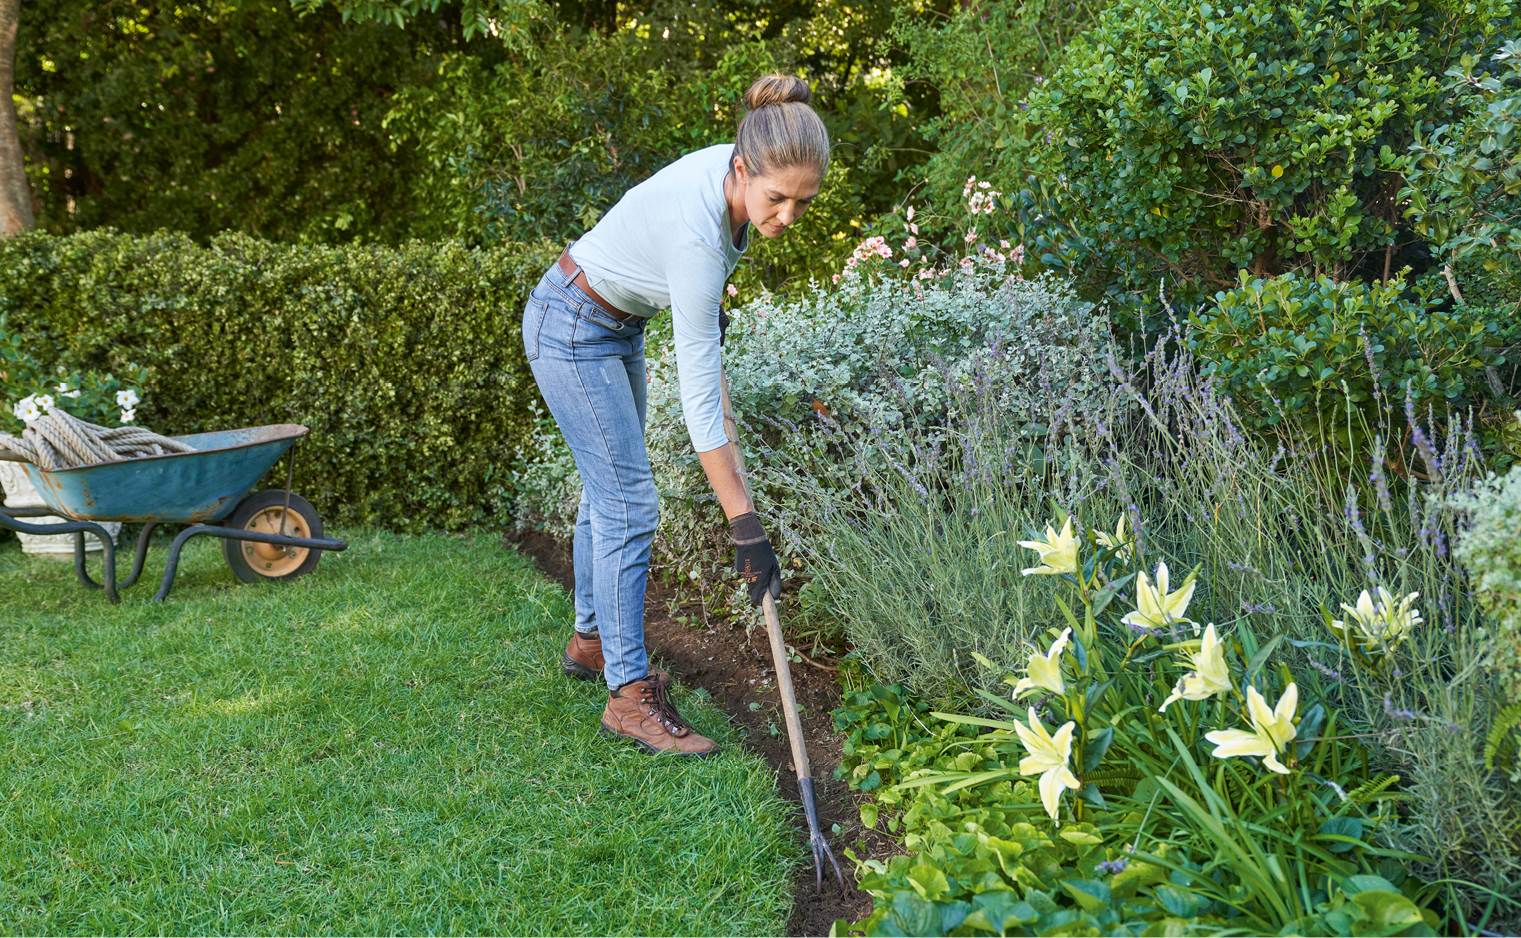
STEP 5: MAINTENANCE
You’re done! Over time, particularly in the warmer months when your lawn is growing at a rapid rate, your new edging may become shaggy as the lawn grows over the line. You can easily fix this by slowly running along the edge with a grass trimmer. If possible, trim before mowing the lawn, and then pick up the clippings with the lawn mower. Any clippings in the bed can be left there as they will act as a natural fertiliser.
Click here for more DIY project guides to enjoy at home.
Related