How to make a wooden candlestick
A traditional decoration…with a twist!
Many of us love making the home a welcomed retreat during the Christmas period, with a never-ending menu of food and a dazzling Christmas tree creating a joyful atmosphere and a comforting haven from the world. The glow of an Advent candle adds a special touch. Why not spread some of that festive ambience outdoors too? DIY outdoor Christmas decorations are a great way to celebrate the season and share some magic with anyone who passes by.
We’ve put together instructions to make a simple and striking set of rustic wooden candlesticks as a charming and long-lasting alternative to the usual outdoor Christmas decorations. The best thing is that they are so simple in design and require very few materials: to make your own wooden candlesticks, you’ll need just four logs and a chainsaw.
DIY wooden candlesticks: materials and tools
Select four logs of different lengths (around 15-20cm in diameter) for your DIY outdoor Christmas decorations. Choose whatever type of wood you like: any softwood or hardwood will work, though soft coniferous timber is easier to saw than, for example, hard oak.
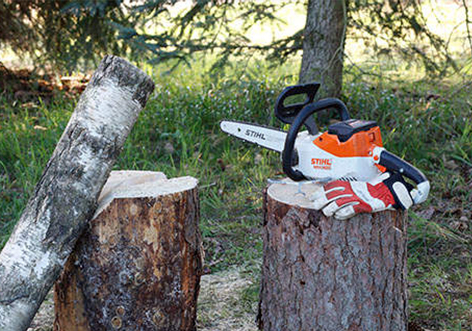
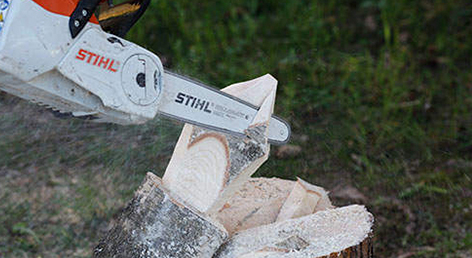
To make crafting your outdoor wooden Christmas decorations fast and fun, you need the right power tool. STIHL offers a range of compact chainsaws for DIY projects and we recommend you check out either the MS 251 Wood Boss® chainsaw or the MS 194 T chainsaw.
Let’s get to work! Carving four wooden candlesticks for outdoor display won’t take long.
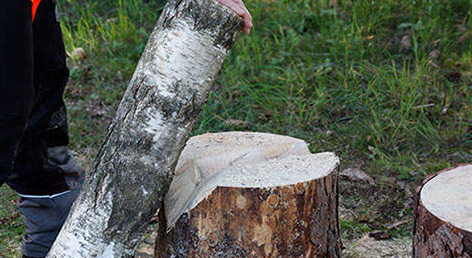
STEP 1: Secure your log
Secure a log so that it doesn’t roll away; a tree stump with a V-shaped notch makes a great sawhorse.
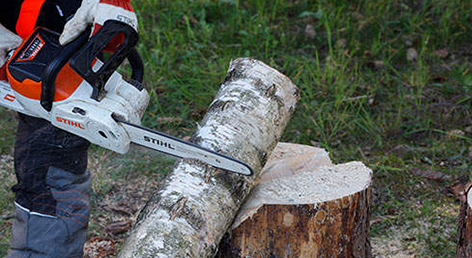
STEP 2: Mark the flame base
Decide how tall you want the flame on your candlestick to be. Mark the base of the flame with a cut all around the log. Cut about a quarter of the way into the wood – the centre part will be the wick.
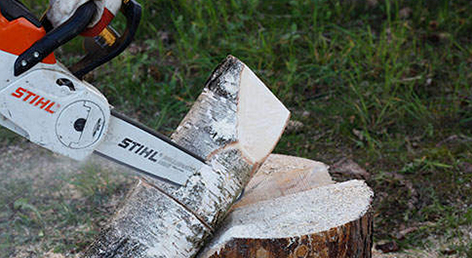
STEP 3: Carve the flame shape
Slowly carve out the flame for your wooden candlestick. Start by cutting a wedge to begin forming the tip of the flame, then guide the chainsaw down towards the wick that you have already marked. Keep turning and sawing the workpiece until the shape of the flame becomes clear.
STEP 4: Refine your design
Finish up your wooden candlestick decorations however you want to. Decide whether the flame should be rounded or more angular, with a natural finish or painted – let your creative juices flow!
Repeat all the steps with the other logs.
TIP: Using a range of sizes for your wooden candlesticks adds will add interest and a festive feel to your home or backyard.