#How To
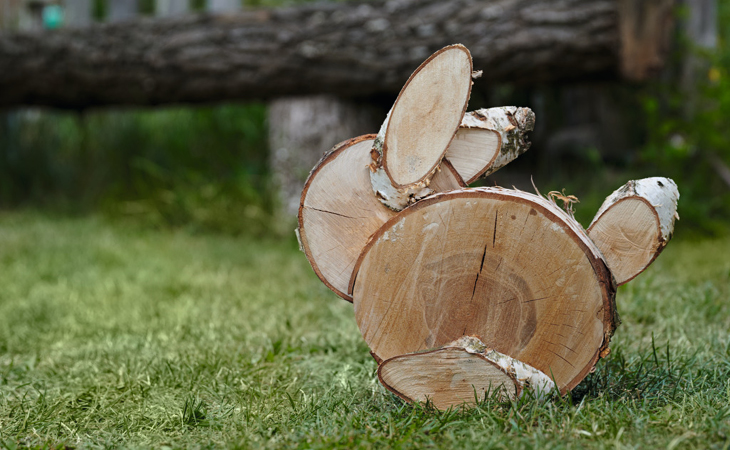
Celebrate Easter With Our DIY Wooden Bunny
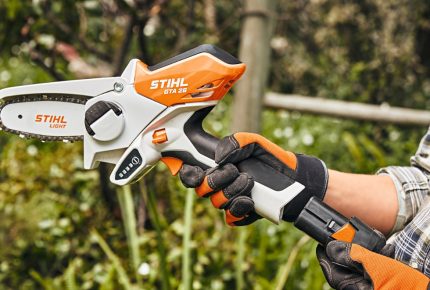
If you’re looking for some inspiration to keep the kids busy and entertained over the Easter weekend, we have the perfect project to get the whole family out into the garden for a little DIY, not to mention a good excuse to get out your chainsaw!
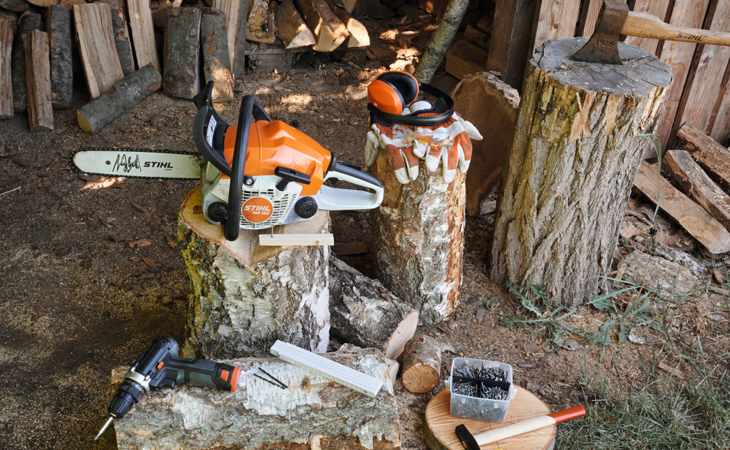
All you’ll need for this simple yet fun project are three different sized round logs, ranging roughly from 5-10cm right through to 30cm, a chainsaw, some sanding paper, a drill, a sawhorse (or a log with a groove like we are using), a hammer, and any decorations you might want to use to personalise your bunny at the end.
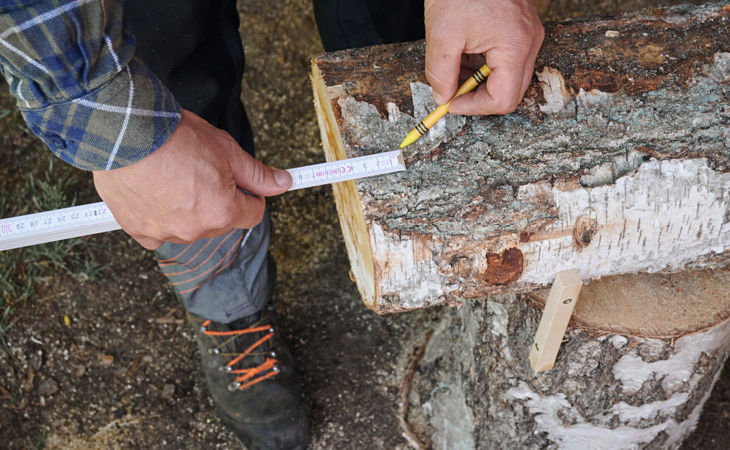
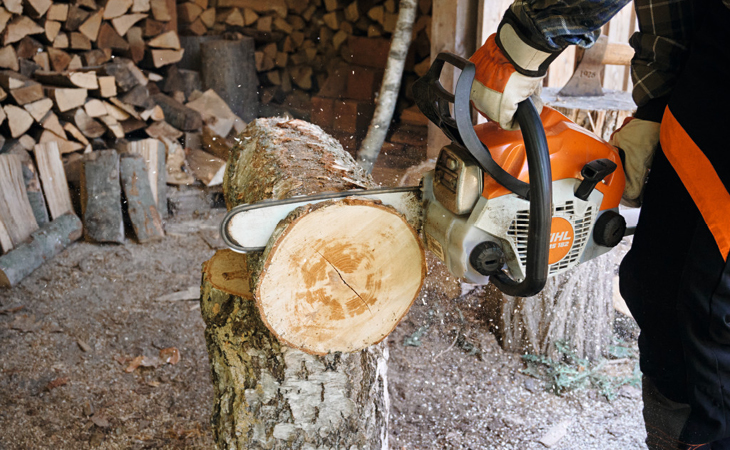
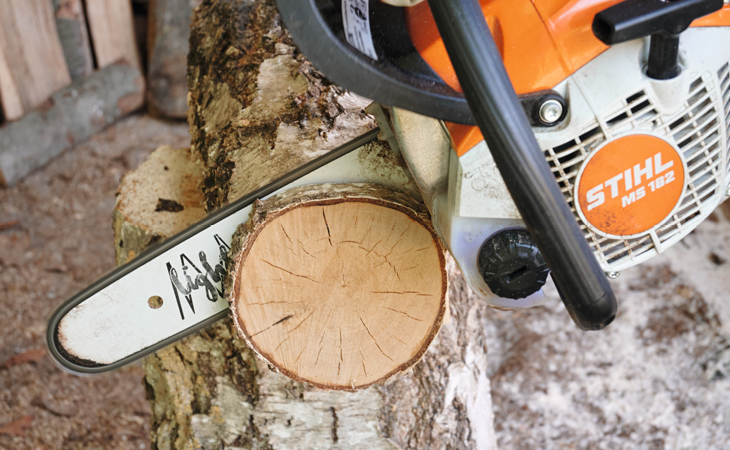
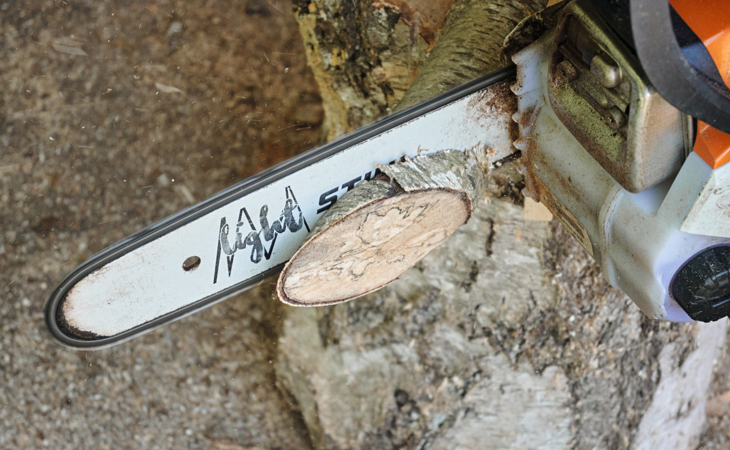
STEP 1: The first step is to secure your largest piece of wood on your sawhorse, and cut a single disc to create the body of the bunny. The disc for the body piece should be no thinner than 2cm, as it is the base that will hold your entire bunny together. Once you have your disc, or discs if you’re making a few, give the edges a good sand to make sure they’re nice and tidy.
STEP 2: The next step is to create the head using your second largest log. Cut a disc that is either the same, or slightly thinner than the width of the body. Once you are happy with the cut, sand the edges down.
STEP 3: Now it’s time to create the bunny’s feet and ears using your smallest log. Staring with the feet, cut two small disc that are similar in width to the body and the head, and smooth them off with the sanding paper.

The ears are created using this same log, however it’s the way in which we cut these pieces that will give you the nice elongated shape for the ears. Secure this log to your sawhorse or log with the end poking out at least half a meter so you can safely make the cut. On an angle, cut two thin discs to create the ears, and sand the edges down.
STEP 4: cut a piece for the bunnies tale, similar to how we did in step three.
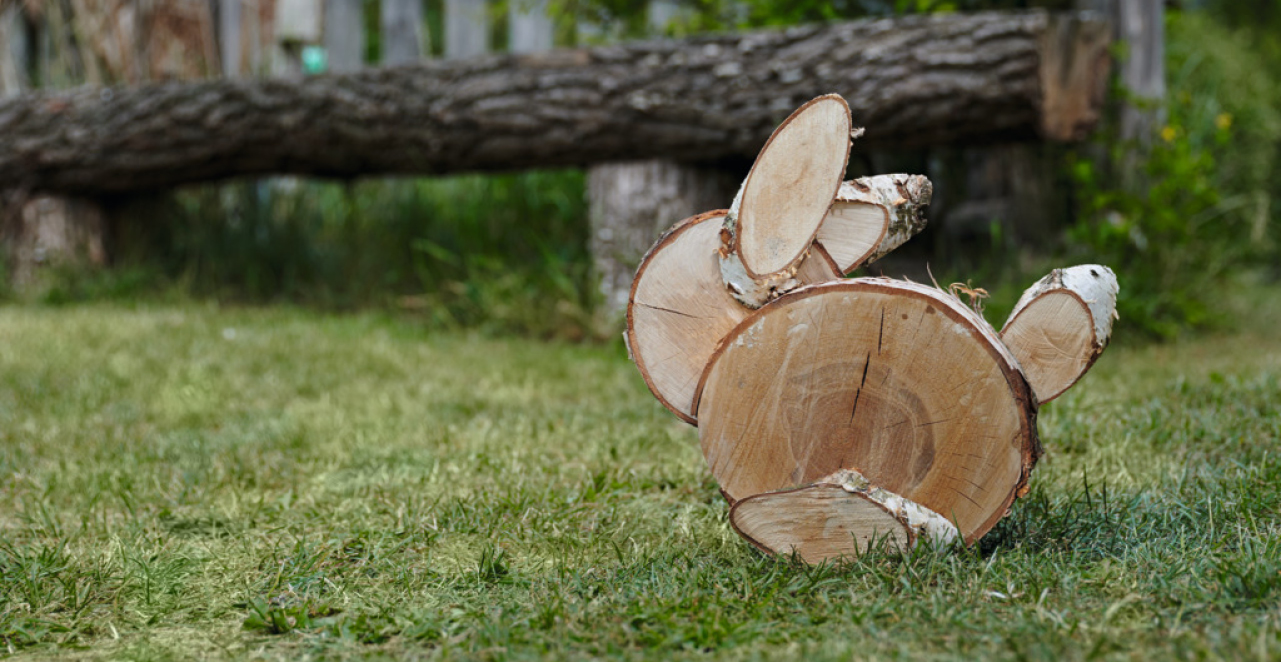
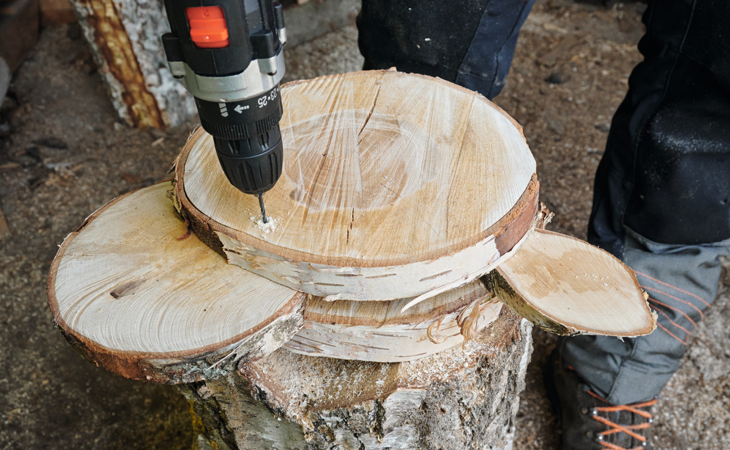
STEP 5: Once your pieces of wood are ready, it’s time to put your bunny together! Do all of your fixing on a flat surface. Start by attaching the feet, before attaching the head and sliding the ears underneath the head. Once your bunny has been pieced together, drill the individual pieces together.
STEP 6: Once your bunny is looking like a real bunny, get creative and add some personal touches. Use things like buttons for eyes, ribbons, paint, or anything else you can find around the house to make your bunny it’s own!
Related