#How To
GARDENING IN SPRING: PRUNING, POTTING & SOWING
Dreaming of your garden or balcony overflowing with a radiant display of flowers and plants this Spring? Then this is the article for you!
From pruning to potting, repotting to seeding, read on to discover the simple steps you can follow this Spring to create a garden blooming with vibrant colour and life.
Pruning potted plants in Spring
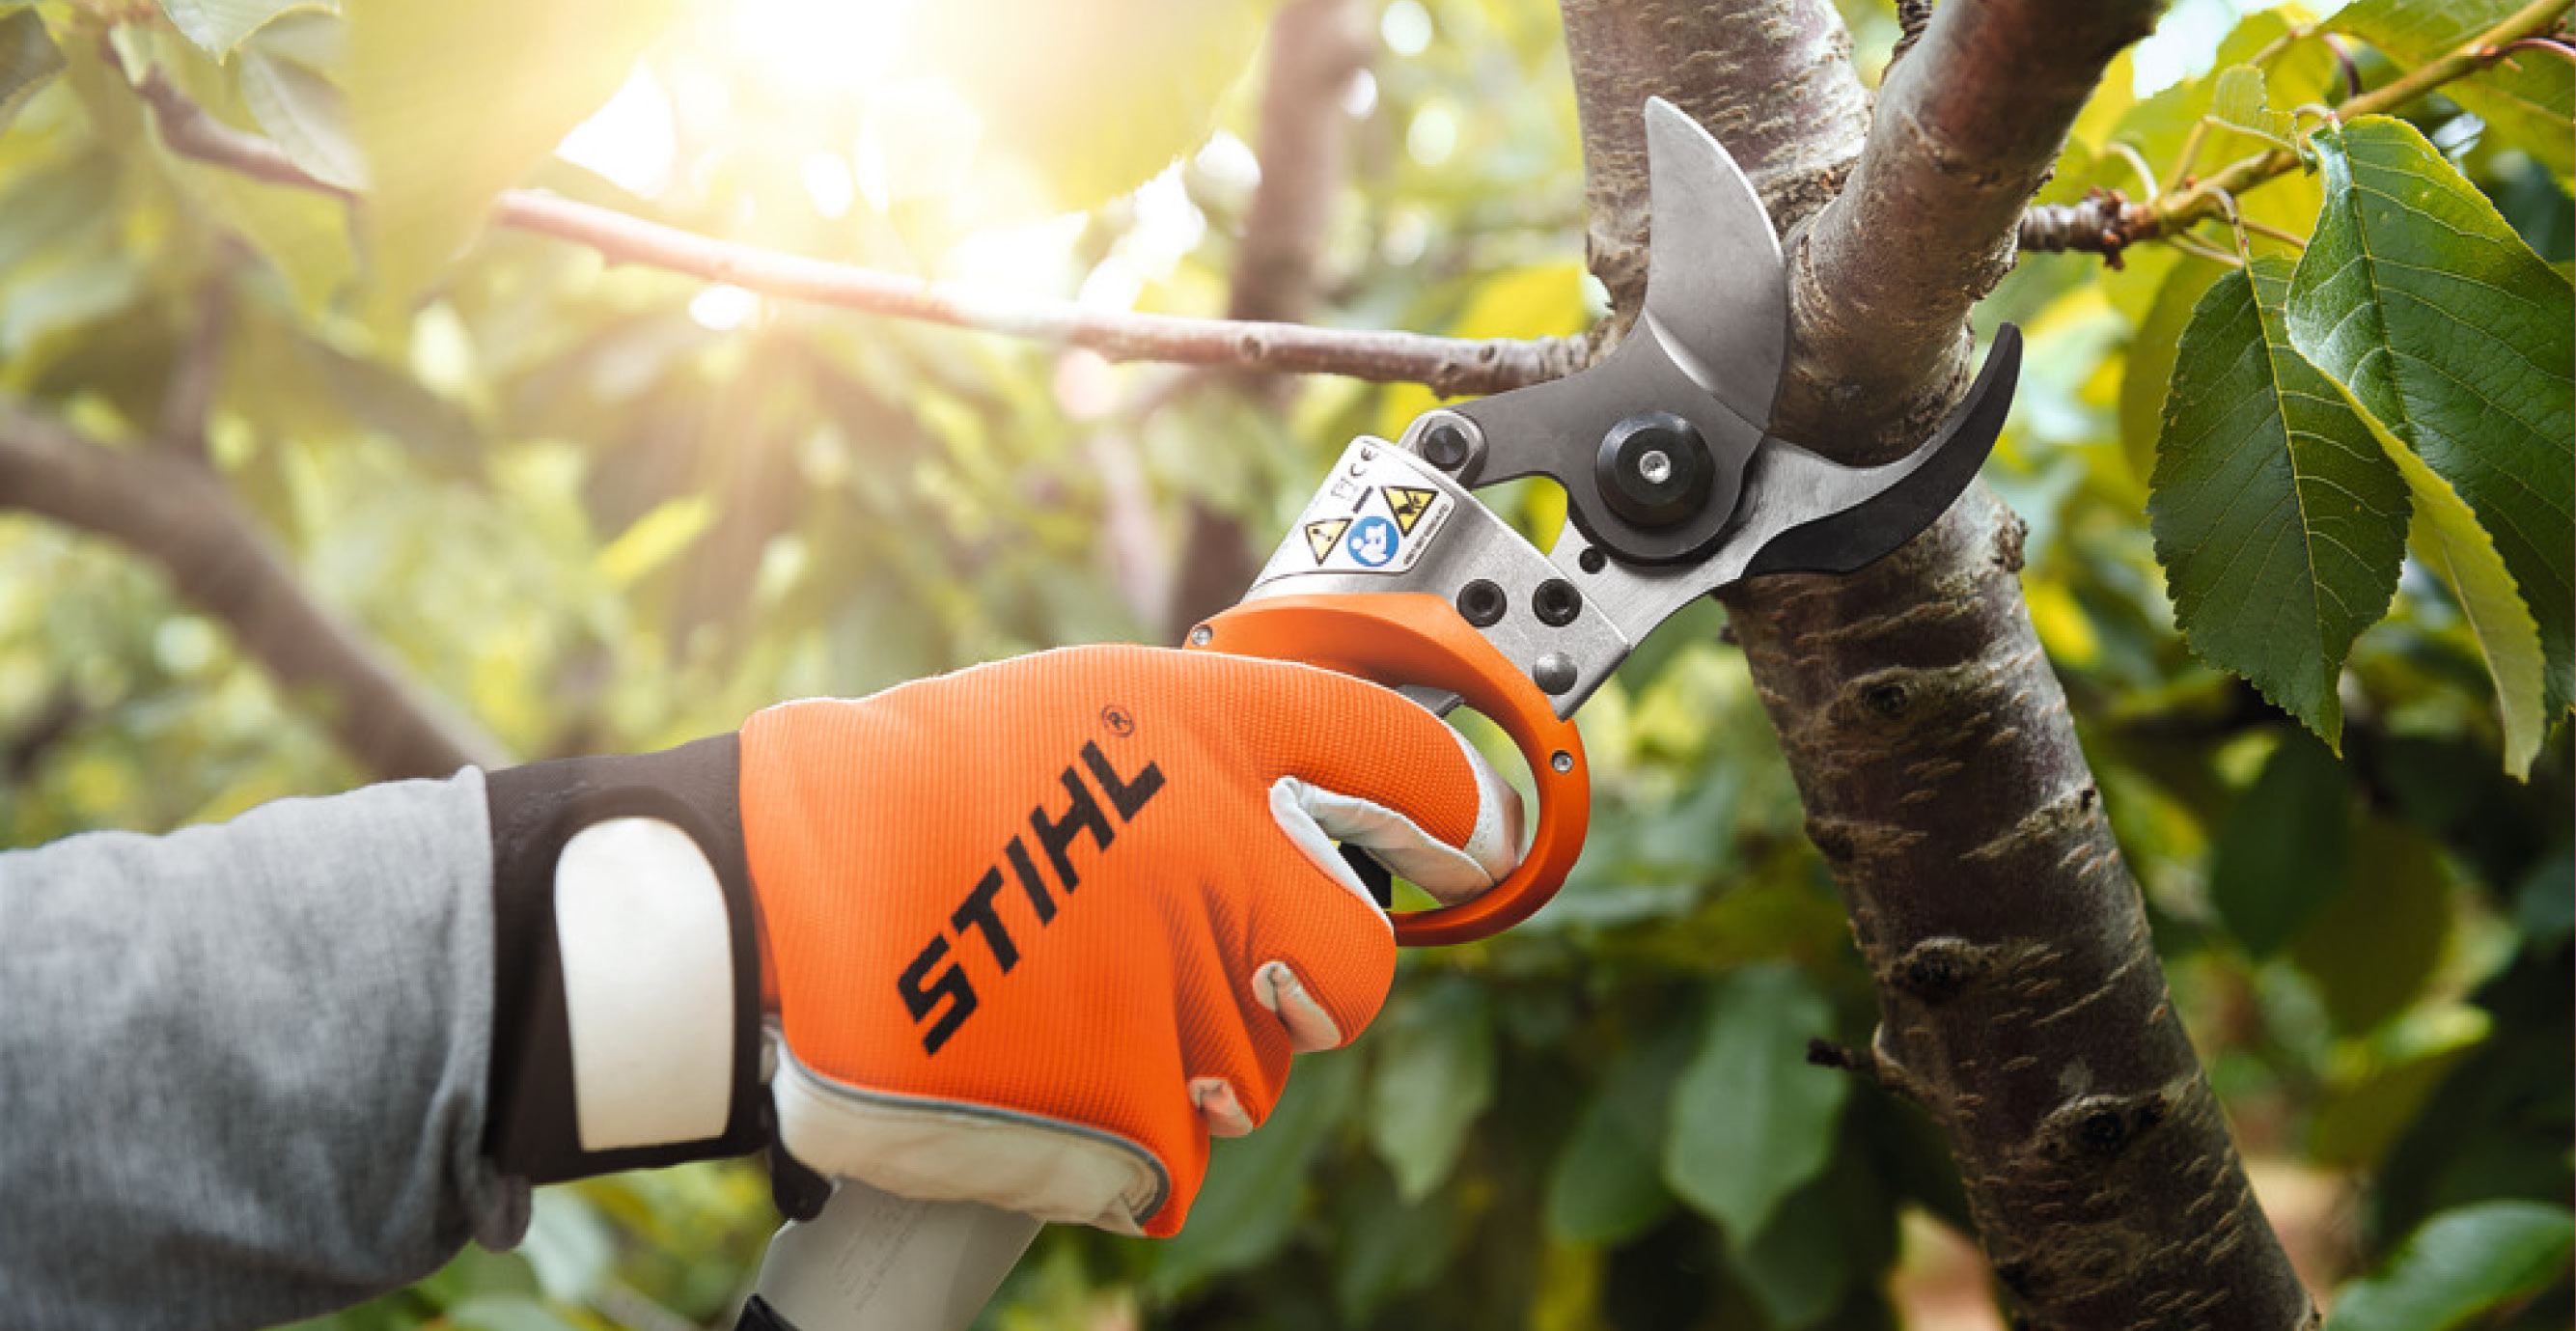
Pruning your plants by thinning them out and cutting off old, dried or overlapping shoots prepares them for healthy Spring growth. Pruning is also the ideal way to shape and control the size of your potted and container plants. Best of all, all you need is one very simple tool: pruning shears!
When can plants start to be pruned?
Generally, there is no fixed pruning date. However, plants should always be cut before the first budding. If you remove fresh shoots later, this will only use up more of the plant’s energy reserves.
During Winter, potted plants can form ‘water sprouts’. These are long, soft, light green or light yellow shoots which develop when there is not enough light. To safeguard the health of your plants, prioritise the removal of these shoots as part of your Spring pruning regime. Once these are trimmed, placing your potted plants somewhere warm and bright will prevent new water sprouts from forming again.
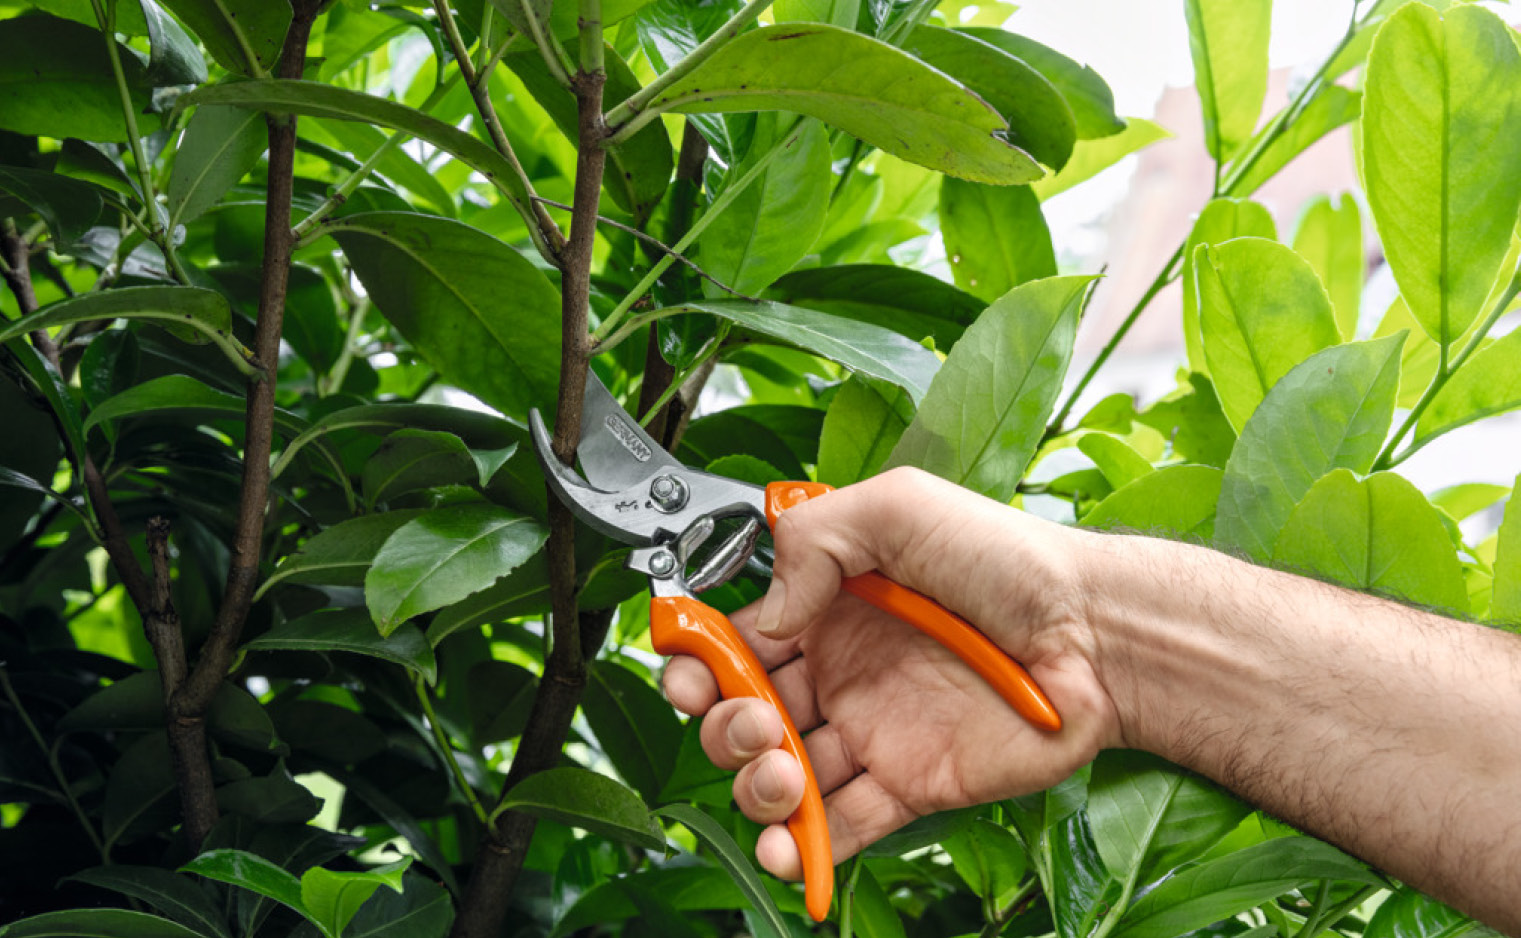
How to prune your plants correctly
In addition to the water sprouts mentioned above, remove old, dried and damaged twigs. If possible, cut the shoots off directly at the stem or on a thicker side branch, and don’t leave any stumps on the branches. This is because branch stumps usually dry out and don’t sprout again.
Geraniums, fuchsias, daisies and summer-flowering container plants bloom on the new shoots, so hard pruning of up to 5-10 cm of branch length is possible here. This allows the plant to remain compact and bushy. Oleander, on the other hand, is a biennial and flowers on older shoots.
If you want to thin out plants which have grown too big, rather than cut them back too much, trim them in stages until the whole plant is reduced in size after a few years.
Tip: Don’t simply prune plants that have grown too big all at one height. Instead shorten the branches by a third. By doing so, you will add shape to the plant. A little patience is worth it, since the alternative is having to go without flowers for a whole year. An easy rule to remember is the following: the harder the pruning, the longer it takes to flower.
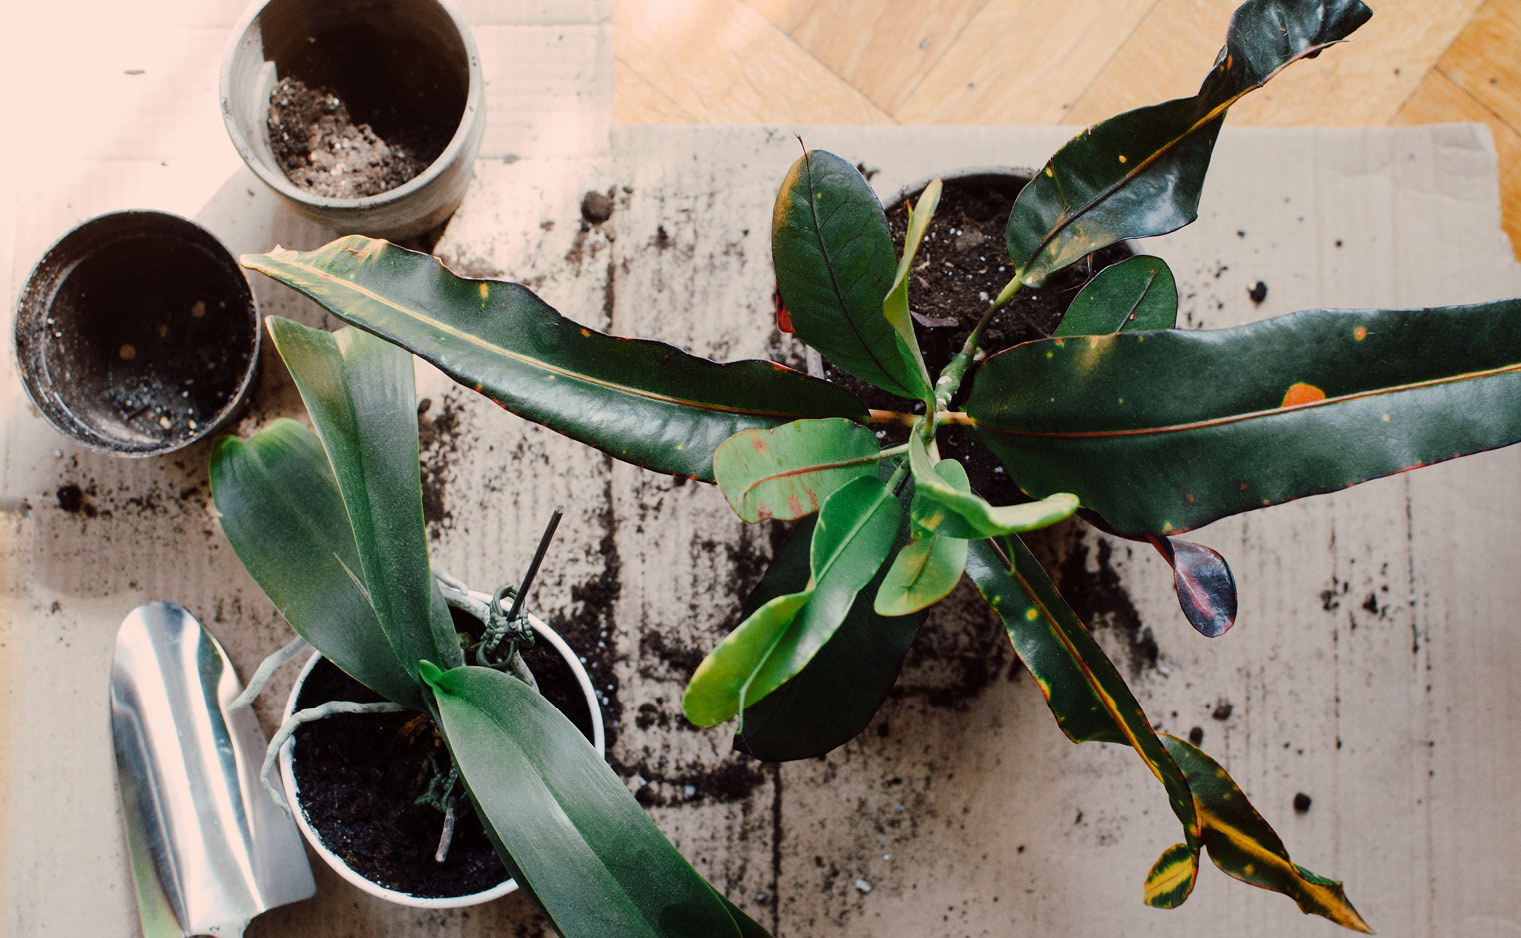
Potting and repotting made easy
With potted plants, the pot will eventually become too small and the plant will need to be moved to a larger container. For old potted plants, this may be necessary every two to three years depending on how quickly they grow. Younger plants may need repotting annually. If the root ball is completely rooted and the roots are already growing out of the water drainage holes, it is definitely time for repotting.
It’s not just the size of the pot which plays a part: even if container plants don’t yet have a completely rooted root ball, they still require new soil on a regular basis. The old soil leaches out, loses nutrients and become unstable so that it quickly becomes muddy when it rains.
Tip: Fresh soil provides the plant with fresh nutrients, has more water reserves, and you don’t have to water it as much. Balcony plants should be given new soil every year.
Timings and preparation: what you need for repotting
Aside from new soil, you need pots or containers for the plants, a hand shovel and fertiliser. For container plants, a long knife can be helpful to remove the root ball from the pot more easily. Newly-purchased balcony plants can be potted in a new container straight away.
Finding suitable soil and containers
Choosing the right soil depends entirely on the length of time the plant will be in the pot. For seasonal planting, a good ‘home-brand’ from a garden centre is fine; peat-free soil is preferable for environmental reasons.
If a plant is to remain in the pot for longer, such as container plants, a high-quality, branded potting soil is recommended. There is no need to resort to special soil until several plants of the same kind end up in one container. Citrus plants, hydrangeas and azaleas are an exception, as they need a special acidic soil.
When selecting a suitable container, make sure that it has a wide base and is not higher than it is wide. This ensures that it won’t tip over easily. Gravel used as drainage can weigh the container down and make it even more stable. The classics are pots made of clay and terracotta. These are heavy, but still have their advantages: the material protects the roots from heat in sunny locations and from frost in Winter.
For those who like the aesthetics of stone and terracotta but would prefer a more cost-friendly version, there are also many plastic pots to be found in the same design. A plastic pot generally keeps the soil moist for longer because no water can evaporate through the walls. A final piece of advice: make sure that the pot has a water drainage hole. Waterlogging can harm any plant.
Instructions for potting and repotting
The new pot should be two fingers wider than the old one.
For very large plants that you don’t want to move to a larger pot, you can just reduce the size of the root ball.
To do so, remove the plant from the container and cut the root ball all the way around with a long knife until it looks like a cube. Then put the plant back in the old pot with fresh soil.
Place crocks over the water drainage holes and water can still drain around the clay.
Place a cotton cloth or newspaper over the drainage hole to prevent soil from escaping.
Fill with some soil, then insert the plants and fill the container almost to the brim.
Press on the plants gently with both hands so that 2-3 centimetres remain between the top of the soil and the edge of the pot, depending on its size.
Tricks to make potting and repotting easier
The drainage holes should only be a few centimetres wide, otherwise they will be too effective and the pot will be drained. Drainage ensures that excess water finds its way out of the pot.
If possible, place the container on flat stones or feet so that ants can’t get inside easily and water can drain out better.
Having adequate space between the soil level and the top of the pot is particularly useful for thirsty plants. Instead of pouring the water slowly and carefully onto the plant, you can simply pour the water normally and it will be held within this space, similarly to a collecting basin, and will then slowly trickle away.
Mulching also works in a container. Gravel is effective, and grass cuttings can also be used.
Mineral fertilisers are the best option. Organic fertilisers often work too slowly in balcony containers and in seasonal plants there is no need to improve the soil.
For plant containers with built in water reservoirs, be aware that the built-in tank self-sufficiency only begins working after four weeks. That’s how long plants need to take root. Until then, you also have to water these pots normally.
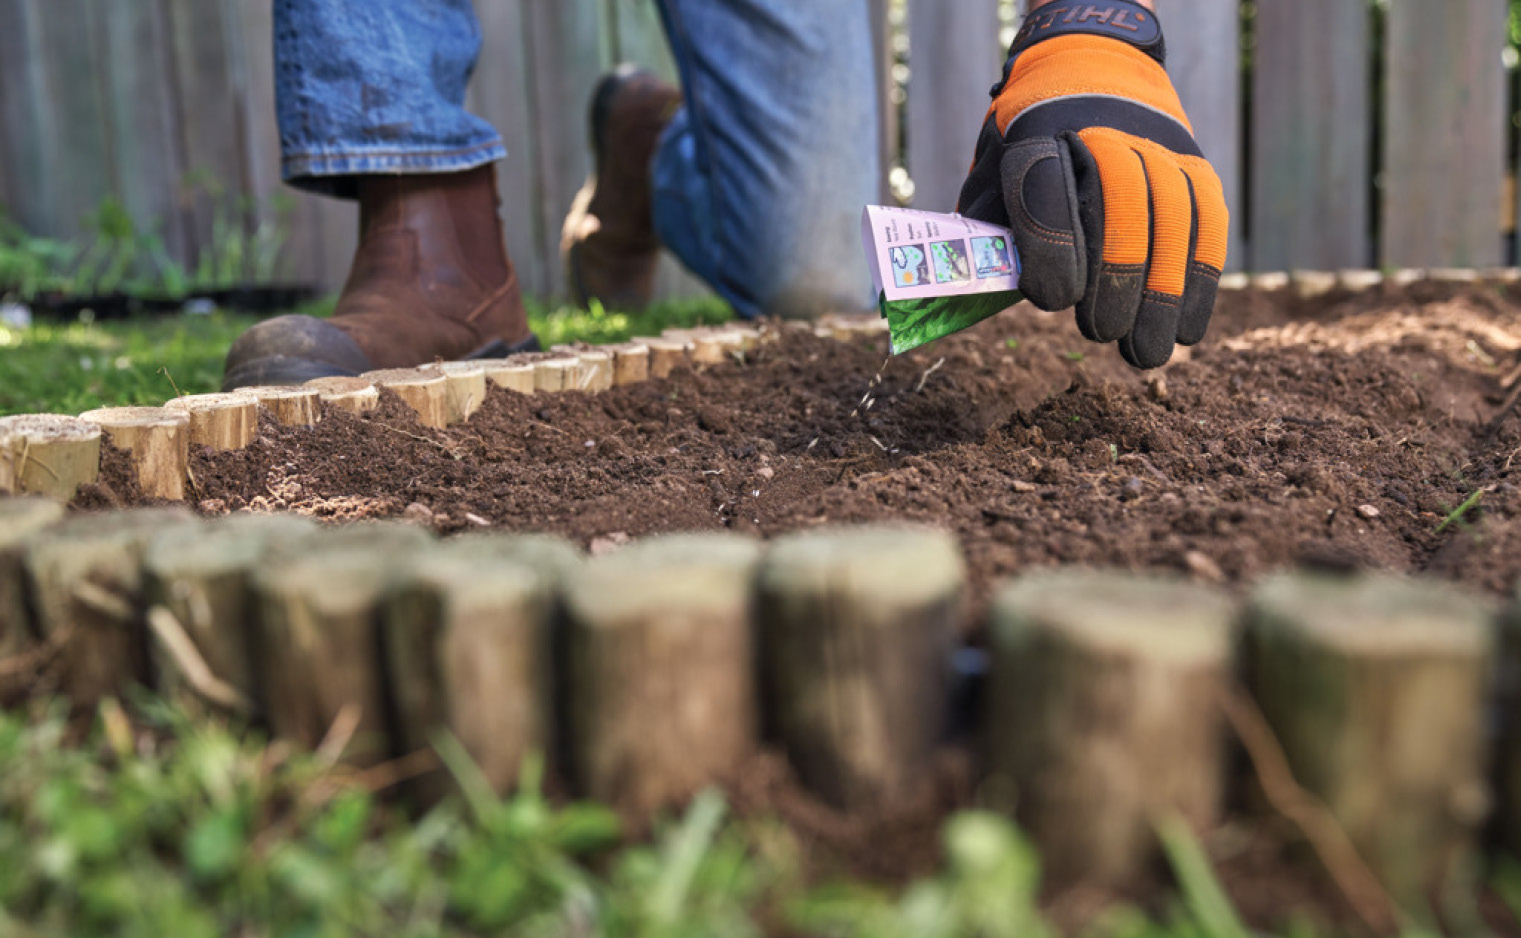
Sowing in Spring
When it comes to adding new plants to your garden, you don’t need to automatically default to purchasing them from a nursery.
Sowing seeds is both simple and rewarding, and presents gardeners with some key advantages over purchasing young plants.
To begin with, the selection of seed varietals available is much greater than the diversity of young plants typically on sale at garden centres.
Seed packets are also much cheaper than young plants. And another advantage: if you are looking for rare plants, sowing them is the best option since they often don’t exist as young plants.
Read on to discover what you need to consider when sowing seeds.
Preparation and materials for sowing
You will need: seeds, a wide ruler as a wooden stick, seed trays, a wide piece of wood to press on, multi-pot pallets or small pots and sowing soil.
It’s recommended to only use special sowing soil when sowing seeds. Because this soil is low in nutrients, the seedlings are forced to be active and form many roots to meet their nutrient needs. The resulting shoots later ensure that the young plants develop into strong plants in the right soil. If you are sowing directly into a field, then sowing soil is not necessary.
When sowing, you should always pay attention to hygiene and clean old seed containers with hot water, as the young plants are very sensitive. Harmful fungi can damage the seed or destroy it completely.
Seed trays are typically used for smaller seeds, and for those plants and vegetables that require a lot of warmth for germination (e.g. tomatoes or eggplants).
Tip: You can purchase seed trays, or simply use any low, rectangular plastic tray (for example, shallow take-away containers), or even make your own out of newspaper. If possible, seed plug trays – with individual compartments – are ideal as they make it easier to transplant individual seedlings into garden beds.
When using seed trays, you can either place them somewhere warm in the garden, or even indoors – windowsills are typically suitable – and handy! – for this purpose.
Not all seeds need to be germinated in seed trays. Summer flowers can be sown directly into the bed, thus avoiding the need for a preculture on the windowsill. Root vegetables such as carrots are also sown directly into the bed, as they can’t be replanted from a sowing container into the bed.
How to proceed with sowing
The seed size determines whether you sow in single pots or seed trays. Large seeds can be placed directly into a pot, individually or two by two, where they will thrive until they come into the open.
Small seeds are placed in flat sowing trays, where they grow in large numbers.
Here’s how to proceed: fill half of the tray with soil and press lightly with your fingers to lightly compress the soil.
Then fill the container completely so that the soil in the middle of the tray protrudes clearly above the edge. Then remove the excess with the wooden stick. Hold it slightly at an angle of 45° – and pull it over the edge of the tray. This automatically compresses the soil further. Then press the soil slightly with a wide piece of wood so that a slight curvature is created towards the edge.
Now evenly distribute the seeds directly from the seed packet into the seed tray and sift over them with some soil.
Tip: Mix extremely small seeds such as begonias with bird sand and distribute the mixture into the tray using a tea strainer. The seedlings from the tray must be ‘pricked out’, or separated, into small pots before they can be planted out – as soon as they can be gripped by the strongest part of the growing stem that has the initial leaf junctions (the cotyledon). Only use the strongest seedlings when pricking out.
The best way to water the seeds is with a watering globe purchased from your local garden centre or nursery.
Depending on the type of seeds you are using, you may want to place a film hood over the seedling tray to generate additional warmth, and to keep the seedlings more protected at night. If you don’t have a film hood, you can simply cover the trays with clear plastic and a rubber band. Having the cover also enables the seeds to retain more moisture.
Tip: Seedlings often grow towards the light source and become crooked. With a simple trick, however, the seedlings remain straight: place the seed trays in a cardboard box with one side left open. Stick aluminium foil in this box so that the incident light is reflected. Seedlings grown in such a light box become much stronger.
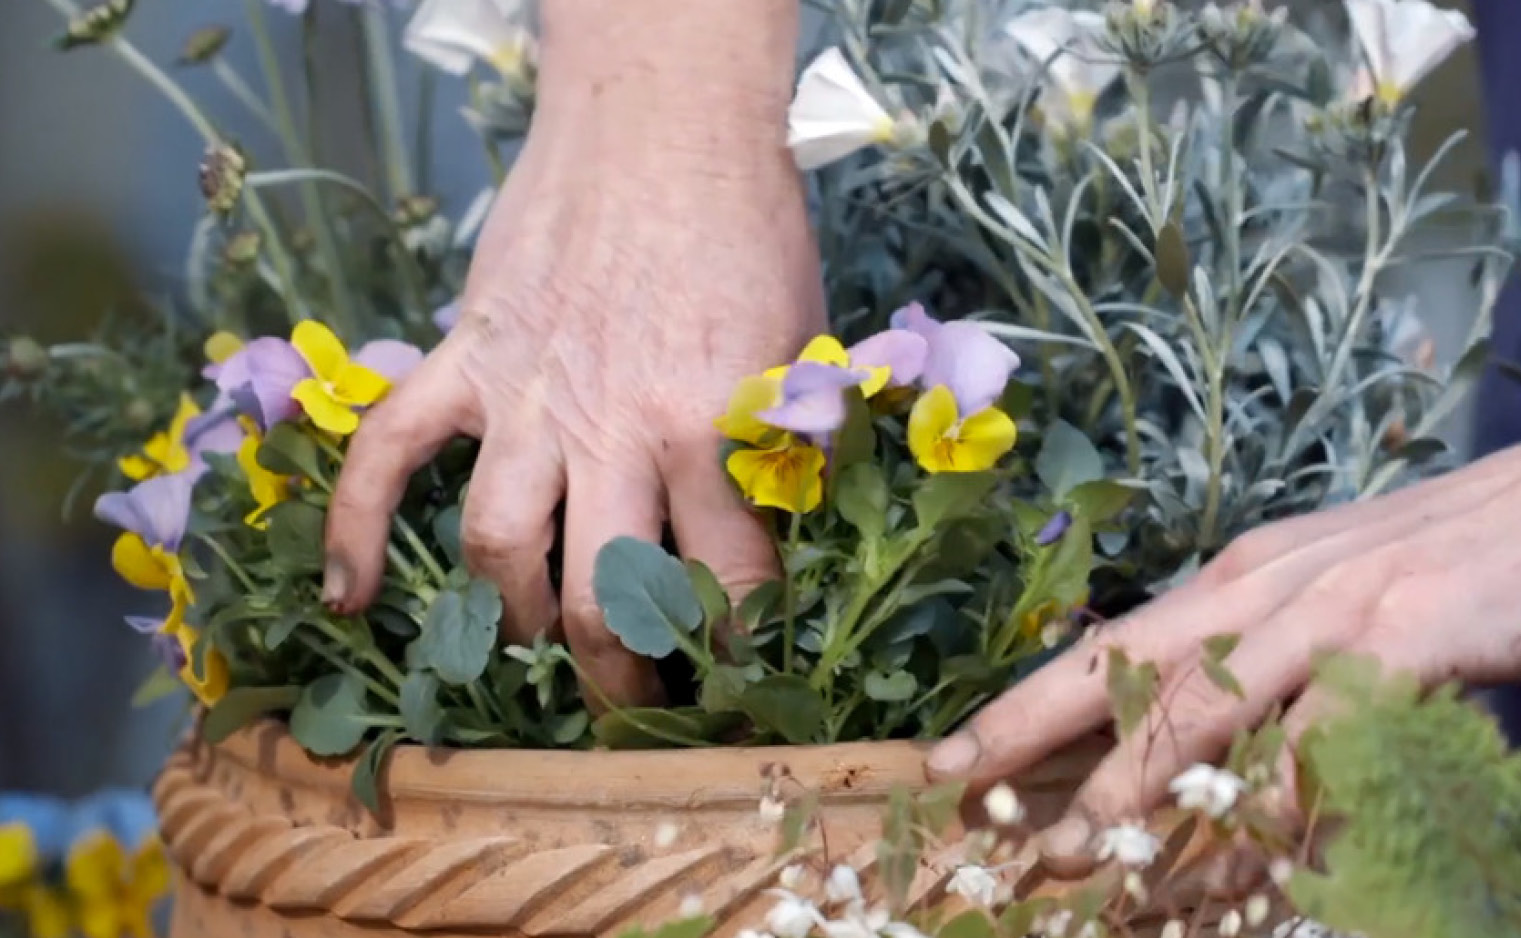
Colourful, mixed, hanging: the right mixture for Spring
There are no limits when it comes to choosing plants for a pot, container, balcony box, or the garden. The only thing that does need to be consistent is the preferred location of the plants to enable them to flourish.
In principle, it is advisable to place smaller plants at the front and the larger ones at the back. Whether you choose a colourful mix of different flowers or stick to monochrome harmony – it’s all down to your own creativity. Roll on Spring!
For all your gardening tools, click here to see the Stihl range of pruning shears, secateurs and pruning saws, engineered with German design for precise cutting and optimal plant health.
Related