#How To
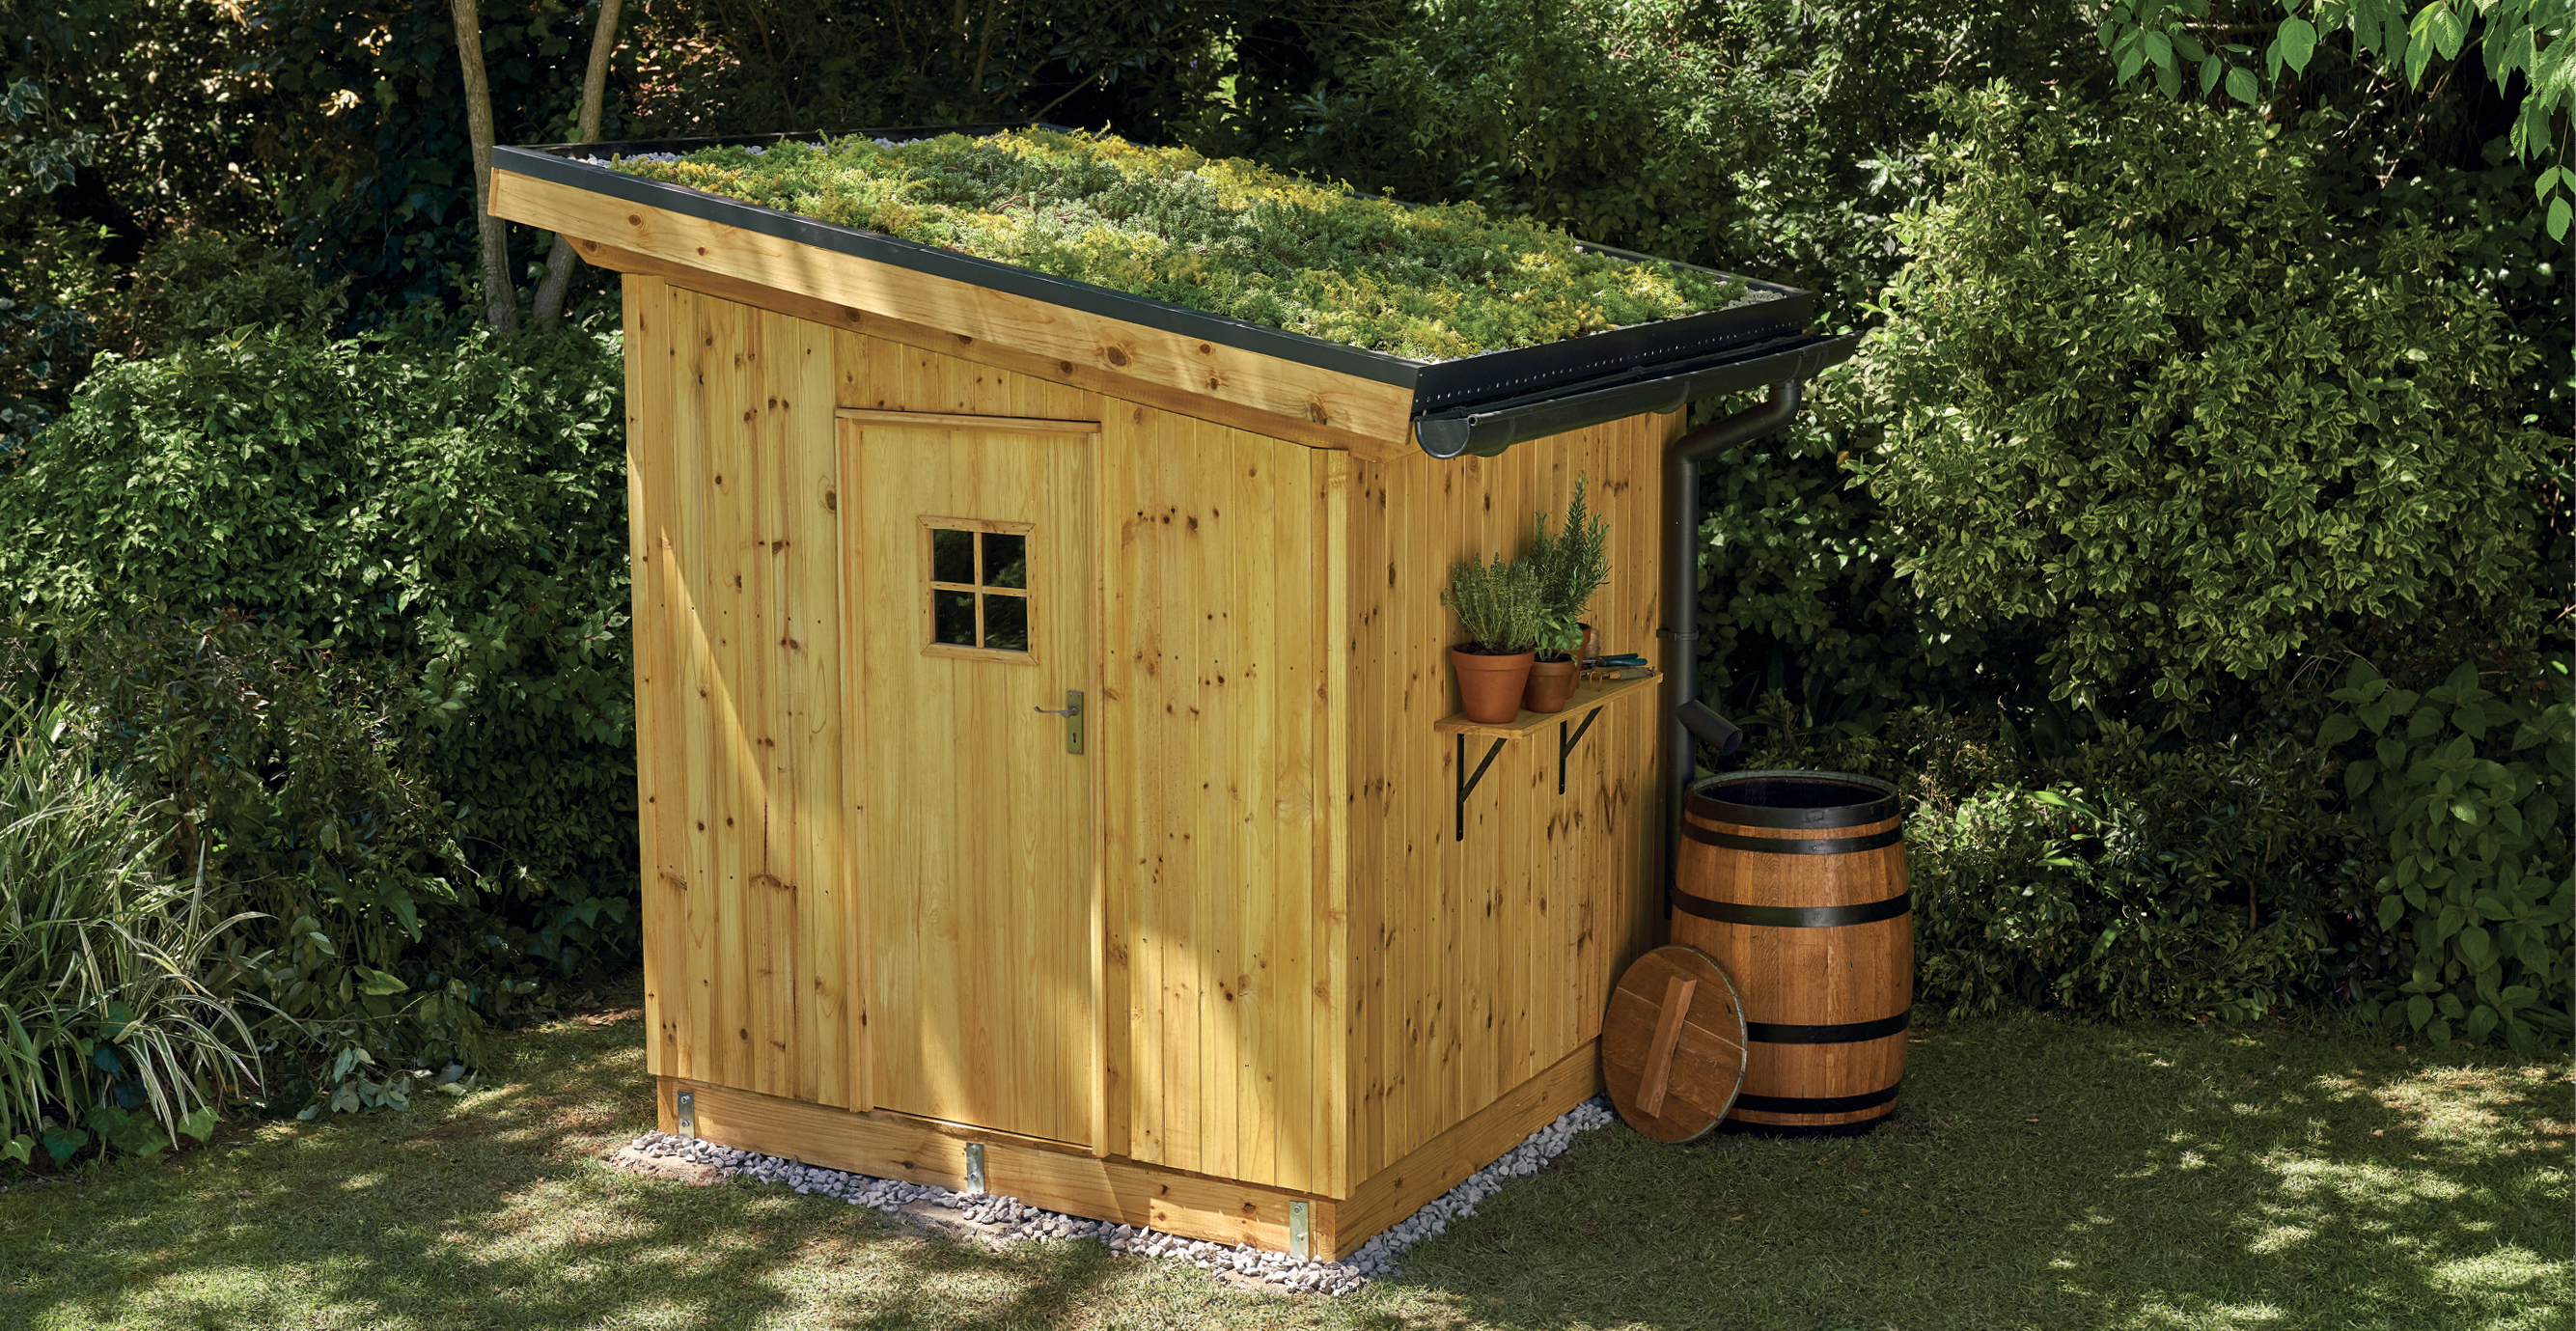
How To Build A Garden Shed
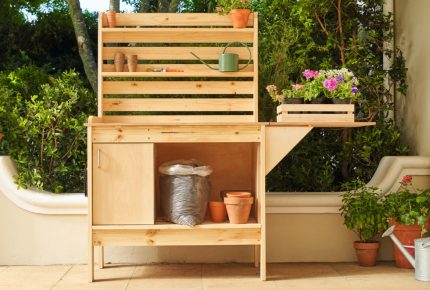
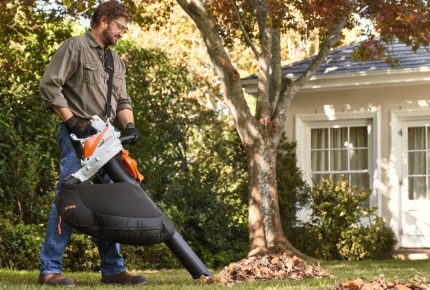
If you have a garden, then a garden shed is an invaluable addition that will help keep things in order. It will quickly serve as a place for leftover potting soil, empty plant pots and other utensils. It also offers a safe and dry storage place for garden power tools such as lawn mowers and hedge trimmers, keeping them protected against cold, moisture and dirt so that they continue to function correctly, as well as manual tools such as spades and rakes.
It may seem like a daunting challenge, but building your own garden shed just needs a little skill and knowledge, and offers the huge advantage that you can adapt it to suit your needs. You’ll need to take some time to prepare, but don’t worry; our detailed instructions take you right from planning your garden shed to completing the build.
Things to consider before you get started
- My property, my rules?
Not exactly. Construction on private property is subject to regulations, and there may be some instances when building a wooden shed requires planning permission. There are a few intricacies to planning laws dependent on your exact situation, so you should look over the current building regulations supplied by your local council before you start to build your garden shed.
- Be a good neighbour
To avoid conflict with your next-door neighbours, you should ideally discuss your building plans with them in advance. This gives you the chance to ensure that your garden shed will not cause issues with other property boundaries and will not block anyone’s view.
- Plan ahead
This isn’t something you’ll want to try and knock over in a days work. We recommend planning to complete this project over three or four days, perfect for a long weekend or over the holidays. Choose a location that is easily accessible for wheelbarrows and large pieces of equipment. Try and choose a spot that isn’t prone to getting wet and muddy, good irrigation is preferred. We also recommend building on a flat ground; although it is also possible to build a shed on a slight slope, levelling the floor requires additional effort.
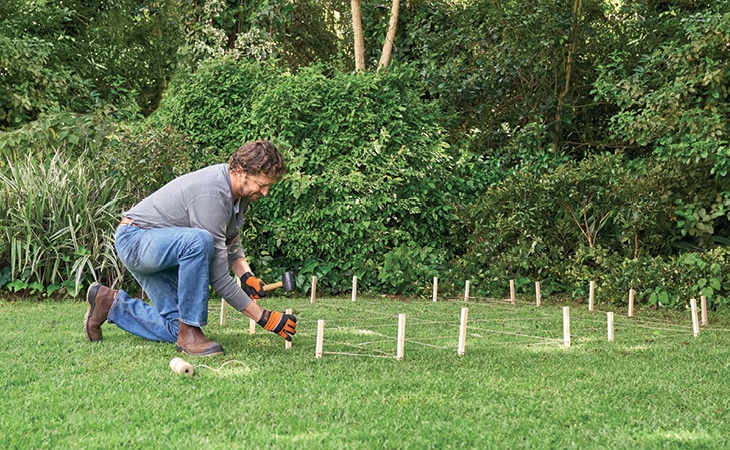
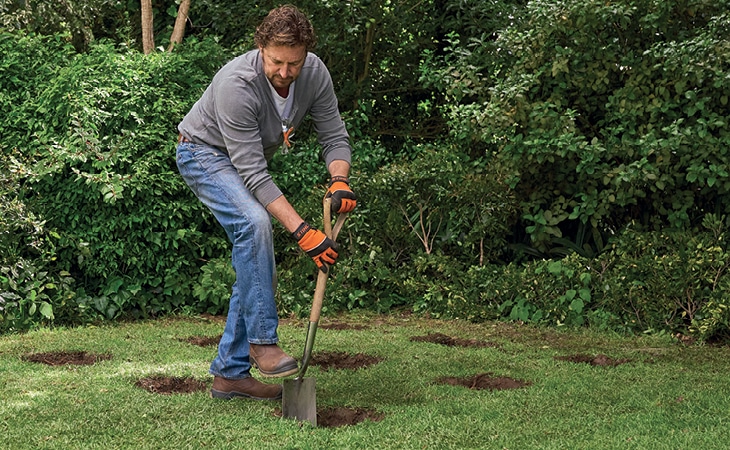
Step 1: Prepare the area
Use stakes to mark the outline of your garden shed on the ground. Remove any stones and weeds from inside the area and use a spirit level to check if the ground is even or needs to be levelled off.
Step 2: Build the pile foundations
When exposed to frost, rain or heavy loads, soil can shift – and this type of movement could warp your DIY shed with time. A solid foundation helps to prevent this and ensure that your garden shed remains sturdy for years to come. It also means you can create space between the wood and the soil, guaranteeing safe water runoff and frost protection for the shed. There are various approaches to making a foundation for a garden shed, including building a full concrete base and using blocks. This method uses concrete piles set into the ground.
For a 2 x 2 m garden shed, you should measure and mark the positions for 9 foundation piles, each measuring around 40 x 40 cm. For adequate structural support, the holes should all be 1 metre apart. In sandy soils you will need to use wooden formwork to create square holes. Use a spade to dig each hole to a depth of 70 cm.
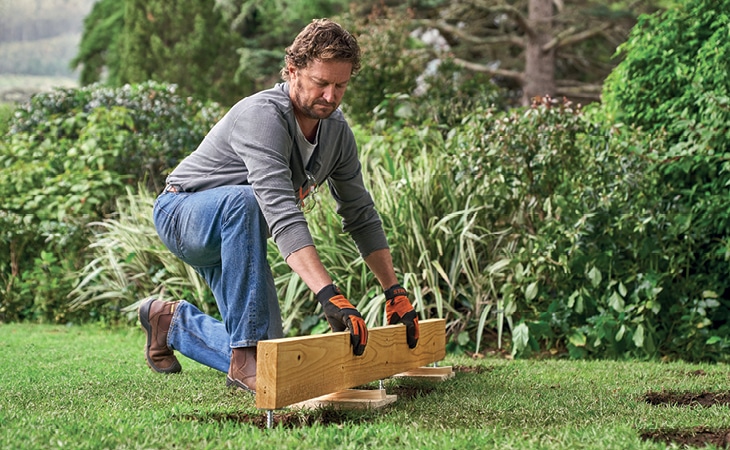
Use your chainsaw to saw 3 floor joists to a length of 1.9 metres, using the 50 x 150 mm timber beams.
Mount 3 ground anchors to each joist in such a way that each anchor post will be centred in the middle of a hole. It is important to slightly recess the timber at the point you attach the bracket. Otherwise, the mount will not sit correctly and the full weight of the shed will be distributed across the screws alone.
Using wooden blocks to rest the floor joists on, position the joists so that the anchor posts hang centrally in the holes. Use a spirit level to ensure the floor beams are each flat and also level with each other.
Pour concrete into the holes to 1 cm below the joists and leave to harden. The wooden blocks will hold the joists in position during this time. As soon as the concrete has dried, you can install the crossbeams. Start by sawing the two outer pieces of timber to 2 m; for the centre support you will need two pieces measuring 92.5 cm in length.
Evenly fill the squares with grit.
Step 3: Install the flooring
You can now lay a floor over the foundation of your garden shed. Use your chainsaw to cut the floorboards to length, securing them to a workbench for cutting.
Lay the first board so it rests across three perpendicular joists and the tongue faces into the shed. Screw it securely to the joists. Then push the groove of the second board onto the tongue of the first – if you can’t easily get a good fit, knock it into pace with a piece of scrap wood, taking care not to damage the tongue. Screw the board in place and continue laying the whole floor in the same way. Cut away the overhang from the tongue of the final board.
Step 4: Assemble the walls
It is easier to entirely pre-assemble each wall before installing them onto the garden shed base. We recommend you do this on an even, level surface – the base you have just built will work well. Alternatively, you could place 4 or 5 trestles together to work on.
These measurements are to create a shed with a single pitch roof, so the front and back wall are the same size (though one has the door in it) and one side wall is taller than the other. Use the 76 x 50 mm timber to build the frames; the lengths you need are given below.
Right shed wall 2000 x 1800 mm frame:
- 2x 2000 mm
- 4x 1700 mm
- 6x 600 mm (crossbeams)
- OSB panels
Left shed wall (tall wall) 2000 x 2065 mm frame:
- 2x 2000 mm
- 4x 1965 mm
- 6x 600 mm (crossbeams)
- OSB panels
Rear shed wall (slanted top):
- 6x 550 mm (crossbeams)
- 1x 1848 mm, (for the base)
- 1x 1950 mm, cut to an 8° angle at the top
- 1x 1855 mm, cut to an 8° angle at the top
- 1x 1775 mm, cut to an 8° angle at the top
- 1x 1710 mm, cut to an 8° angle at the top
- 1x 1870 mm for the top bar of the frame, cut to 8° at one end and 82° at the other (the ends should be parallel).
Front shed wall (slanted) with door:
- 2x 554 mm (for the base)
- 5x 454 mm (crossbeam)
- 1x 740 mm (lintel)
- 1x 1950 mm, cut to an 8° angle at the top
- 1x 1830 mm, cut to an 8° angle at the top
- 1x 1775 mm, cut to an 8° angle at the top
- 1x 1710 mm, cut to an 8° angle at the top
- 1x 1870 mm for the top bar of the frame, cut to 8° at one end and 82° at the other (the ends should be parallel).
Note: You do not need to angle the horizontal top bars of the two side walls, because the roof joists of the garden shed will be notched at these points.
Saw the 76 x 50 mm beams to the lengths specified above and connect them together as indicated, using 6 x 100 mm screws. The spaces between the vertical wall battens should all measure 600 mm. The spaces between horizontals should measure 600 mm at the bottom and in the middle, and 400 mm at the top – except for the tall left wall, in which the spaces between all horizontal battens should be 600 mm.
Cut the OSB panels to size and screw them to the shed wall frames from the inside using the 3.5 x 40 mm screws.
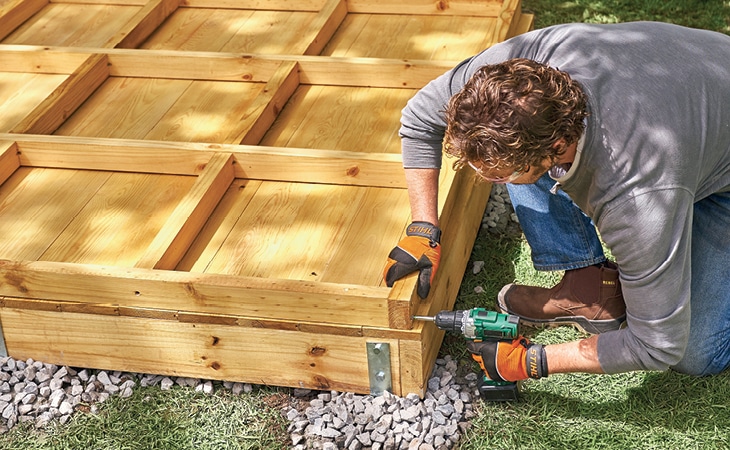
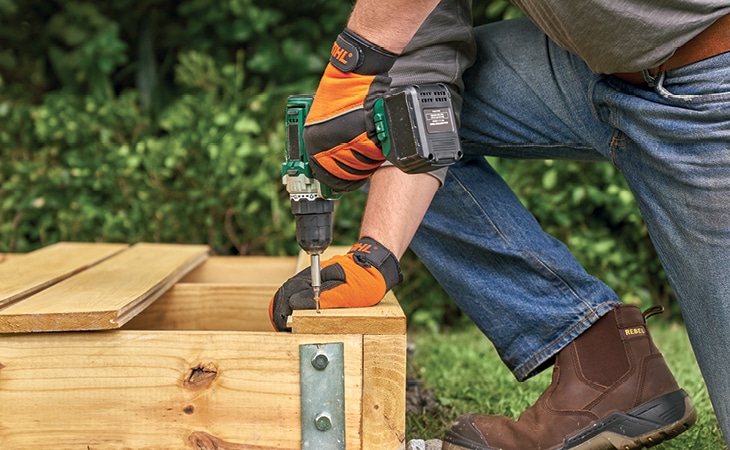
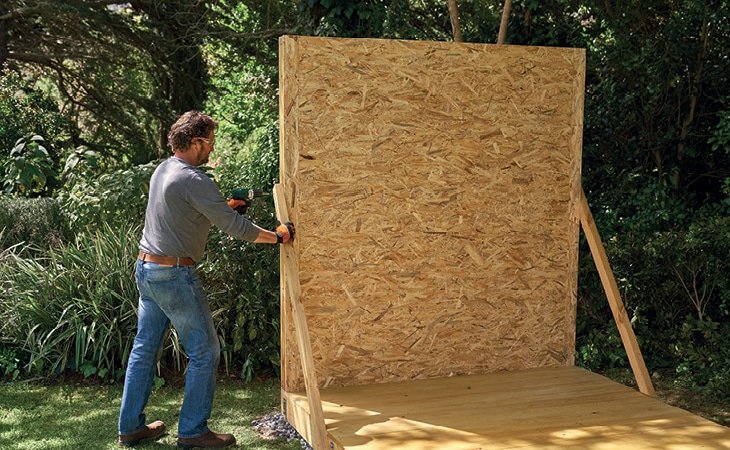
Step 5: Install the walls
You can now install the pre-assembled walls on the base and screw them together.
First you need to secure the tall left wall in position with two temporary battens as shown. Use a spirit level to check that the shed wall is straight before you fix the supports in place.
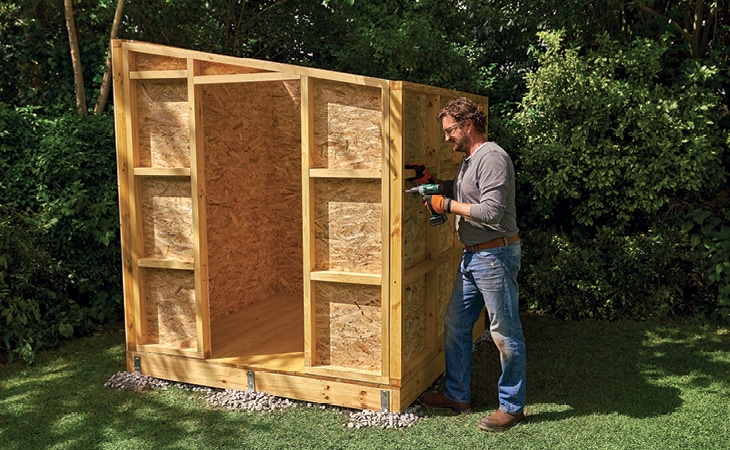
You can now put in place and screw together all the walls in turn, using 6 x 100 mm screws. When this is done the attached walls will effectively form thicker supporting posts at each corner of your garden shed. Only remove the temporary supporting battens when the walls are solidly upright and have been screwed into place. Then, hang the door on the front wall of the garden shed.
Note: For those parts of the frame where it is not possible to drive a screw in straight to connect components, you can simply screw at an angle.
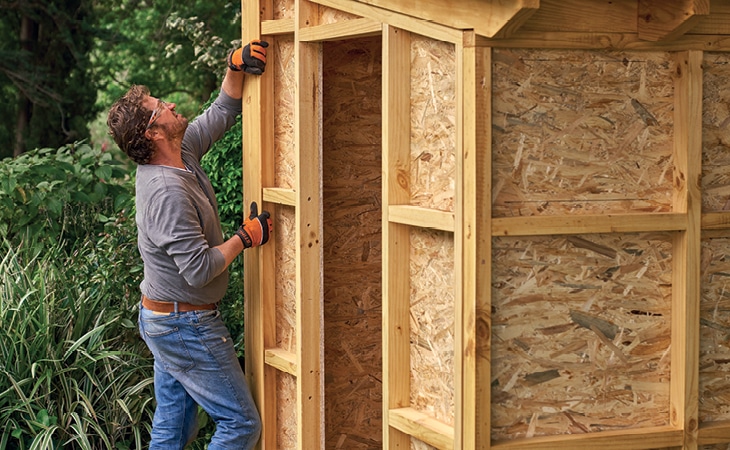
Step 6: Prepare the roof beams
Now it’s time to make the roof. You will need to make five rafters from the 150 x 50 mm timber. Saw the beams to a length of 2430 mm and cut the ends at angles of 30° and 60° respectively (the ends should be parallel). To be able to securely connect the roof beams and wall joists, you need to make notches, or grooves, in the wood. These need to be made at every position that the roof beams meet the vertical posts of the wall frames, at a distance of 20.4 cm to 28 cm from the end of each beam, and they should be 76 mm long and 1.5 cm deep. Saw the gaps first and then chisel them out further. Finally, connect the rafters to the support posts using the 6 x 150 mm screws.
STIHL tip: When attaching the roof beams to the sides, use a drill bit to countersink the screw holes to about 2 cm. This will help prevent the long screws from buckling to the sides under the weight.
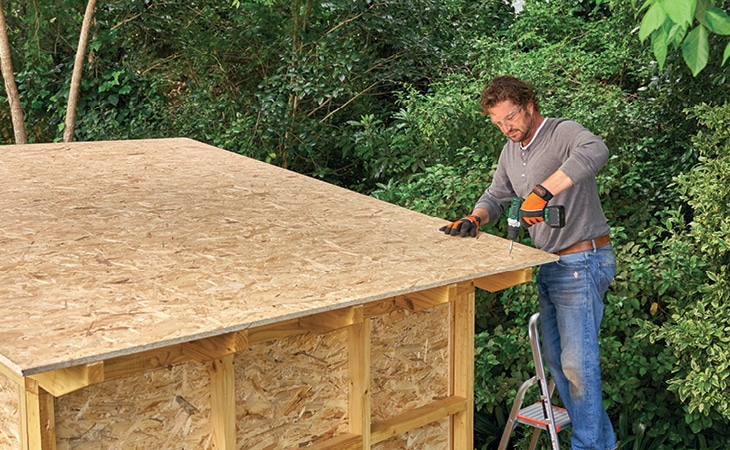
Step 7: Mount the roof battens and panel
Screw 8 battens from the same timber, each cut to a length of 483 mm, in place between the rafters and perpendicular to them. Ensure that the top face of the battens is flush with the top of the rafters. Then fix the OSB roof panel in place.
Step 8: Clad exterior
The next step is to cover the rough structure you have built with a beautiful cladding made from tongue-and-groove panelling. This means that as well as being an attractive garden feature, your shed will also be windproof and weather-resistant.
You can use screws or nails to secure the panelling to the framework. Attaching the panelling so that the joins are vertical means that water can run off easily and will not get trapped between the boards.
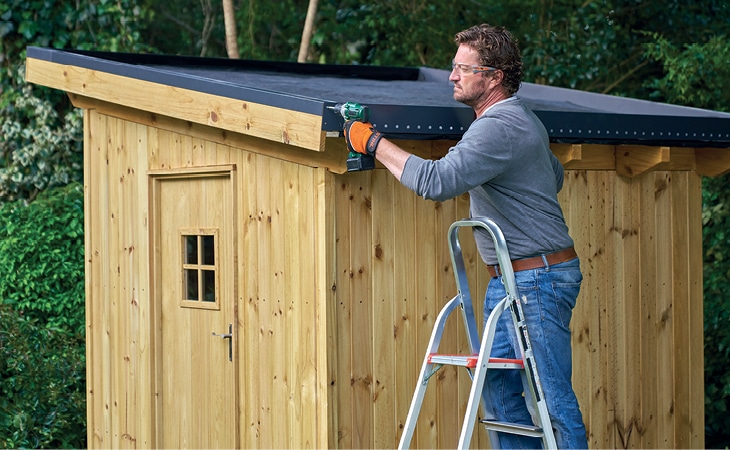
Step 9: Create roof edges
If you have chosen to give your garden shed an attractive green roof, you now need to make the necessary edging for the roof. This step uses various sizes of timber, as set out below.
For the front and back edges:
- 2 pieces of 170 x 22 mm construction timber cut to 2500 mm
- 2 pieces of 50 x 22 mm construction timber cut to 2450 mm
- 2 pieces of 78 x 22 mm construction timber cut to 2450 mm
For the tallest, left wall edge:
- 170 x 22 mm construction timber cut to 2544 mm
- 50 x 22 mm construction timber cut to 2500 mm
- 78 x 22 mm construction timber cut to 2500 mm
Step 10: Assemble green roof
Secure pond liner to the roof by means of the roof edge trim along all 4 sides. Put down a layer of root barrier sheet, then the studded drainage membrane, then another layer of root barrier; alternatively, you can use a single layer of all-in-one green roof drainage matting. Finally, attach the green roof retention strip to the right edge.
If you are not going to have a green roof on your garden shed, you can simply nail roofing felt to the frame instead.
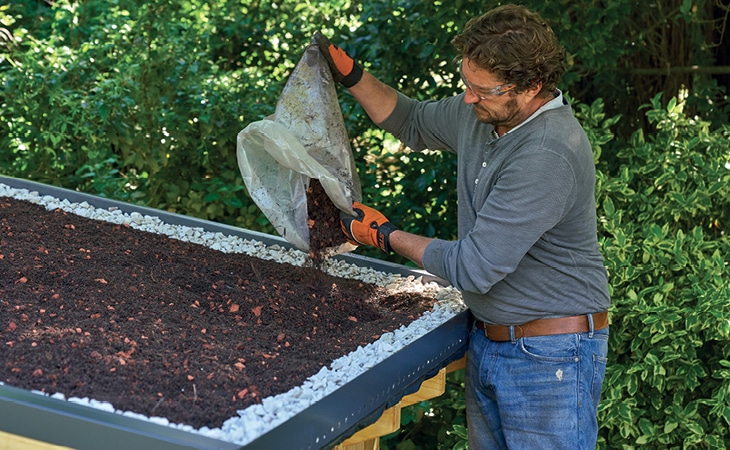
Step 11: Planting the roof
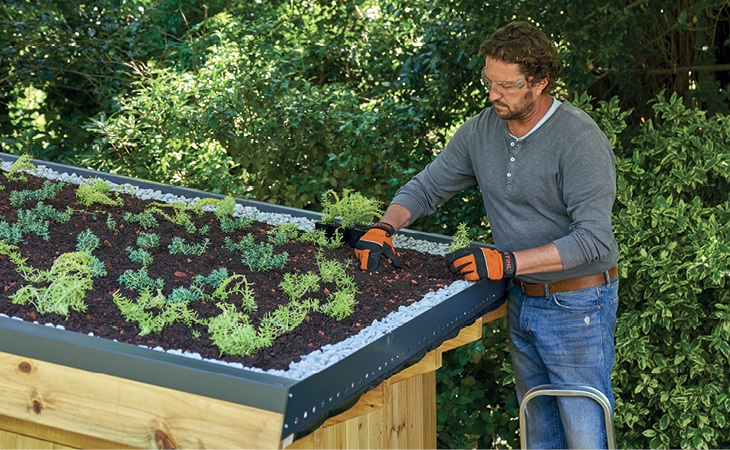
Distribute approx. 20 cm of gravel along the retention strip and the other edges of the roof, then add a suitable growing medium to cover the rest of roof. Now you can add the plants.
Robust and appealing sedums such as the redmoss stonecrop, caucasian stonecrop, goldmoss stonecrop, Angelina stonecrop and the gold fat hen stonecrop are particularly good for roof greening; heath pearlwort and antennaria will also thrive atop your garden shed.
You could simply buy plants from your local garden centre or DIY store for planting up the roof of your garden shed, or for a ready-made option you can buy a sedum blanket which is simply rolled out like turf.
The last step is to fit the guttering including a drainpipe. If you put a water butt under the pipe, you can easily collect rainwater to use on your garden, as a quick sustainability measure.
Finished! Your DIY garden shed is now ready for you to fill up! Your hard work will soon pay off in tidy organisation, now that your garden utensils and tools have a home of their own.
Share your garden projects with us by tagging @stihl_au on Instagram for your chance to be featured!
Related