#How To
How To Plant New Ground Cover
Ground cover can be planted all year round at a time that suits you, however the optimum planting time is from late Summer to Autumn, especially if you want to plant under trees. This is when the trees have completed this year’s growth and require less water, so they won’t take water away from the freshly planted groundcover. Spring is also a great time to do this, however don’t leave it too late in the season as new plantings can get stressed in the summer heat.
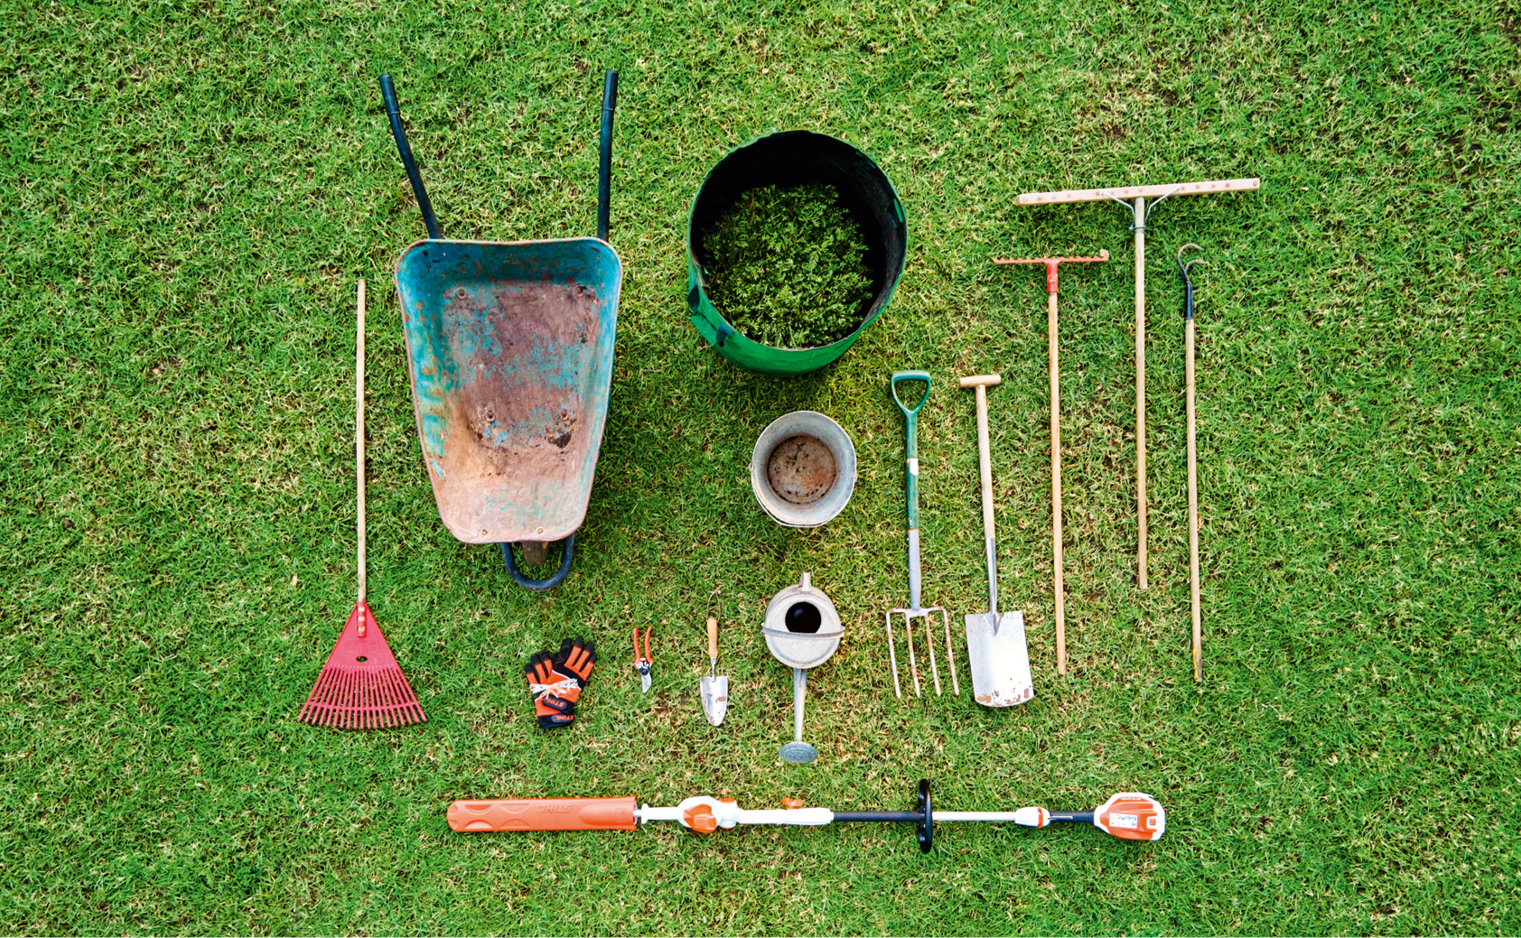
RECOMMENDED TOOLS
- Work gloves
- Safety goggles
- Digging fork and spade
- Wheelbarrow
- Bucket
- Watering Can
- Rake
- Hand shovel
- Garden shears
- Mature compost or potting soil
- Mulch from shredded material
- A mini-cultivator such as the STIHL BF-KM including drive unit KM 56 RC-E
- Hedge trimmer such as the STIHL HLA 56
- And of course, your plants!
Start by Removing weeds
The soil must first be free of weeds, plants, and it must be loosened before you plant anything. Remove wild weeds, or, if there is lawn in this area, remove it completely to avoid it trying to grow through your new groundcover later on. A spade will help here, or a rake, depending on what it is you are removing.
Digging up solid ground
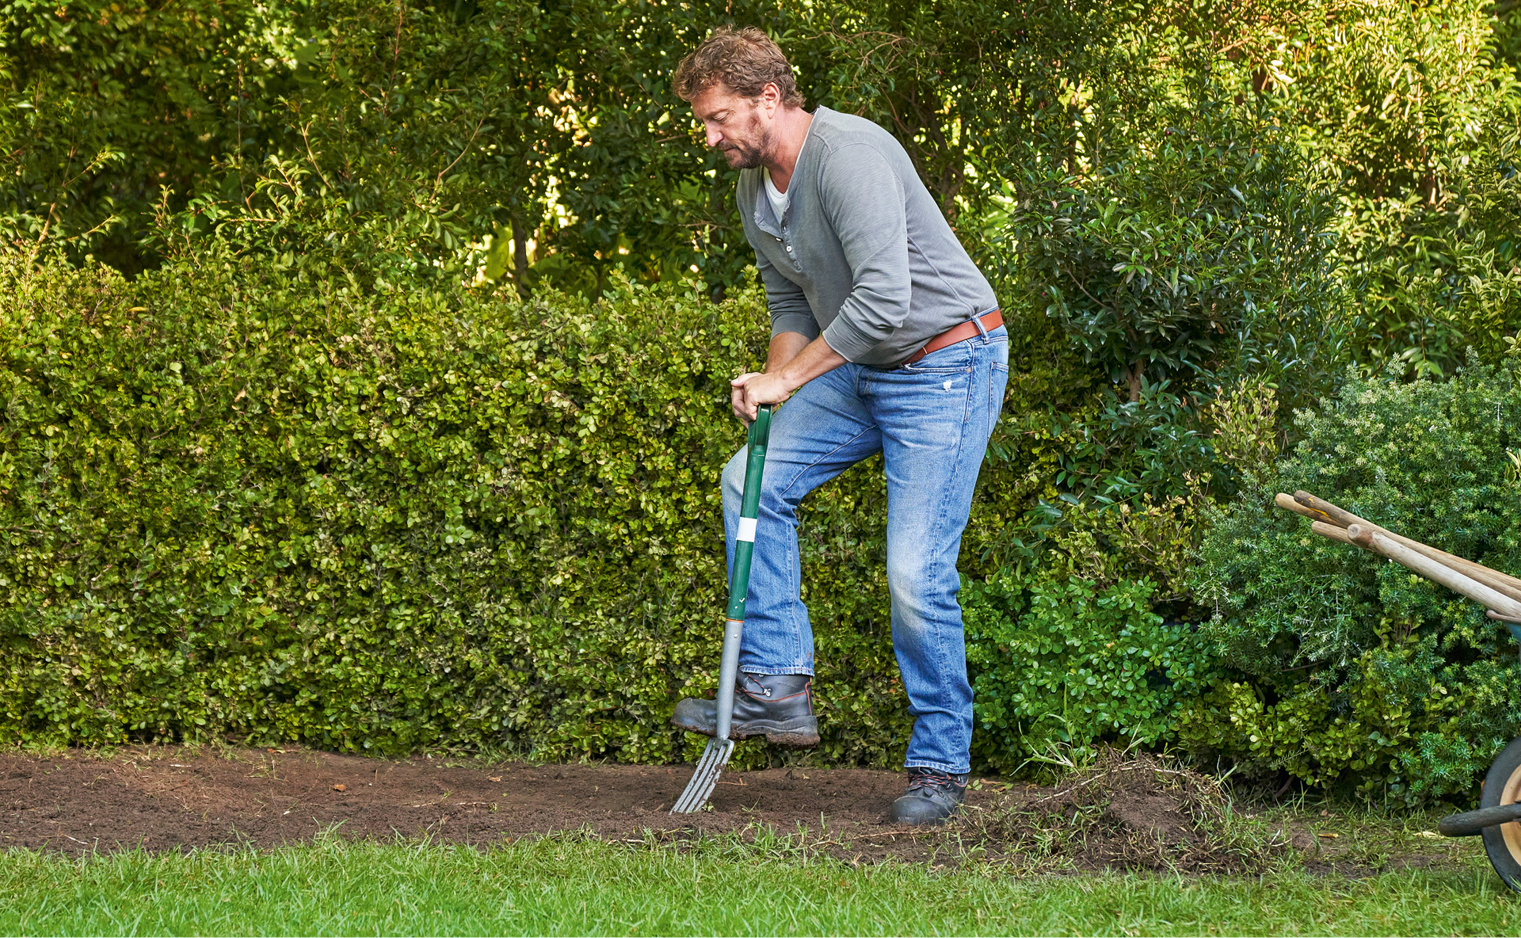
You’ll only need to dig up the soil if it is very firm. Otherwise, stick the digging fork deep into the ground, jerk the handle back and forth vigorously before lifting the digging fork and soil out of the ground, shaking the soil between the tines as you do so.
loosen the soil
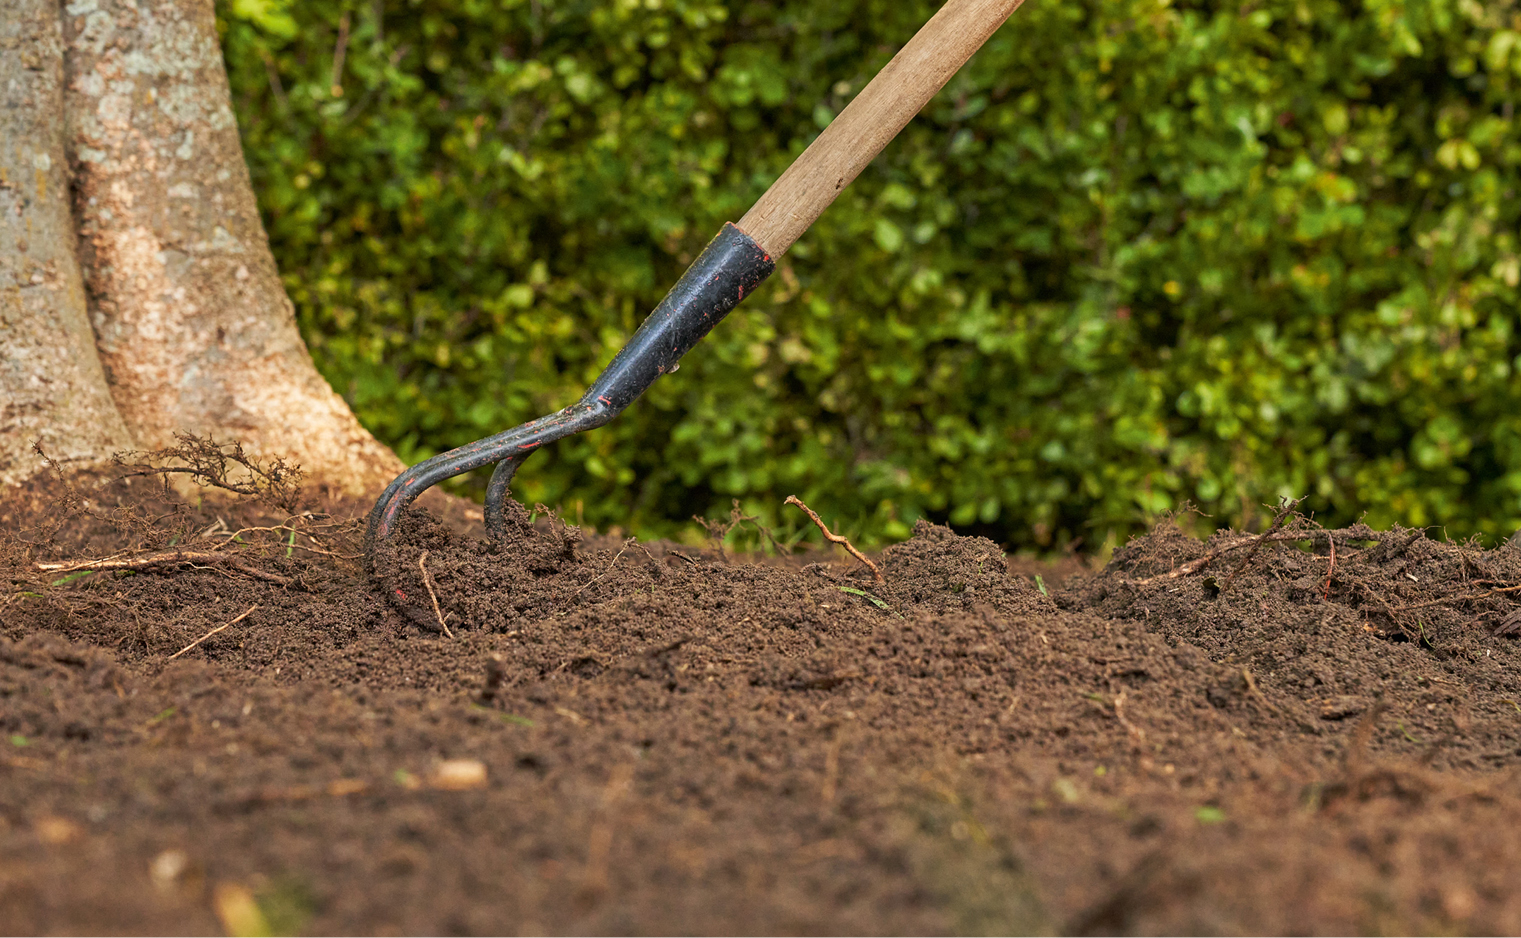
Be careful not to dig up the soil directly under a tree, as this can damage tree roots. Instead, carefully loosen the soil as deep as possible with a cultivator and remove any remaining wild weeds.
MARK THE PLANTING SITES
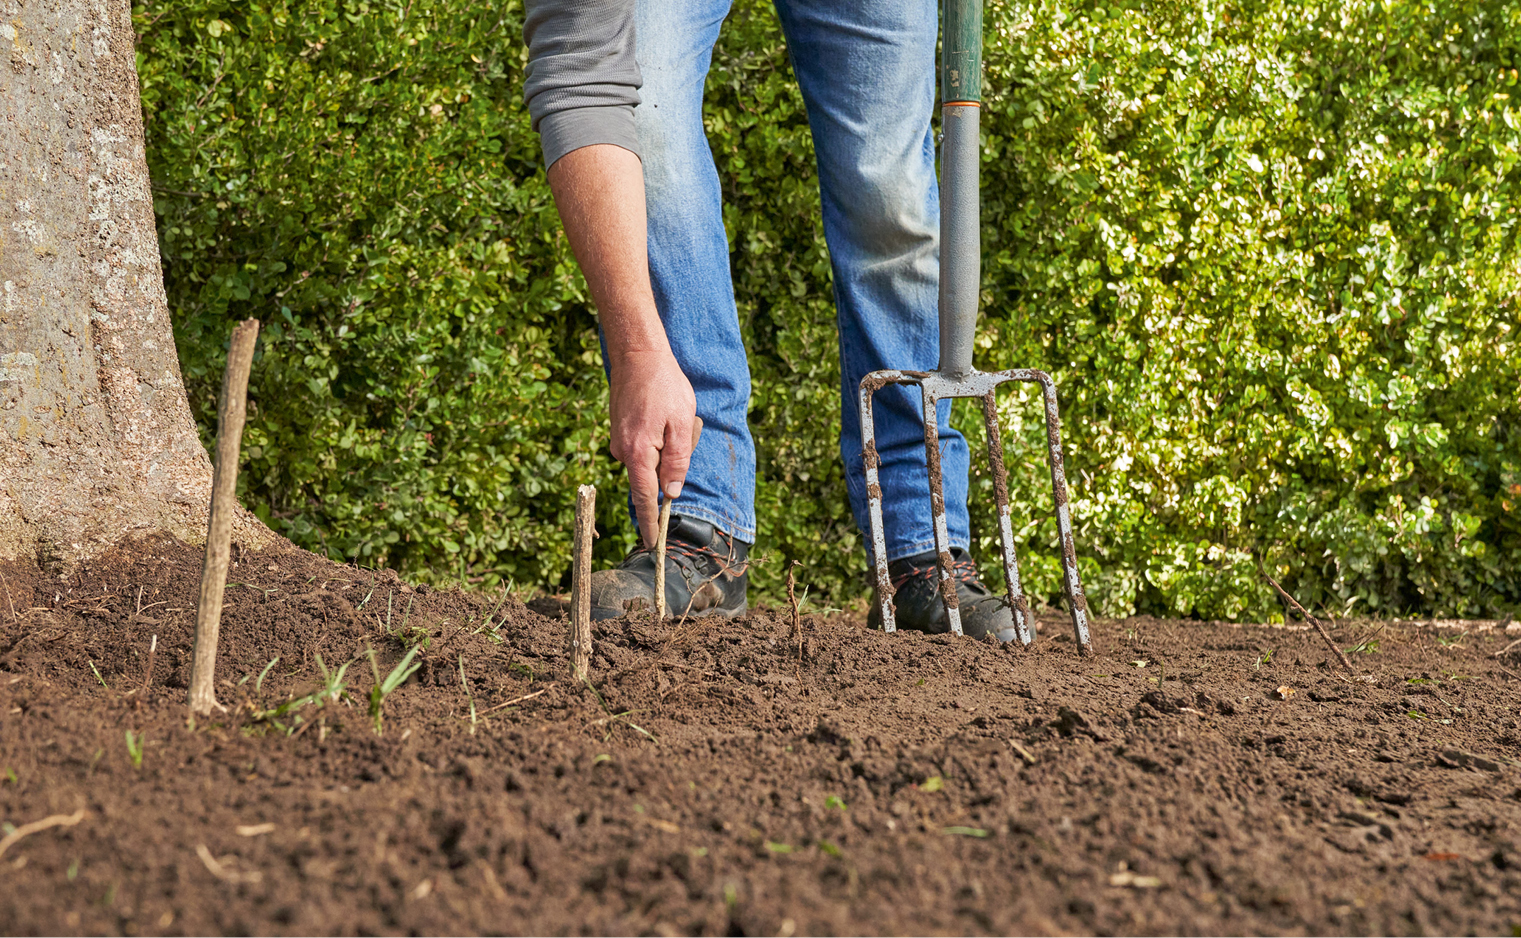
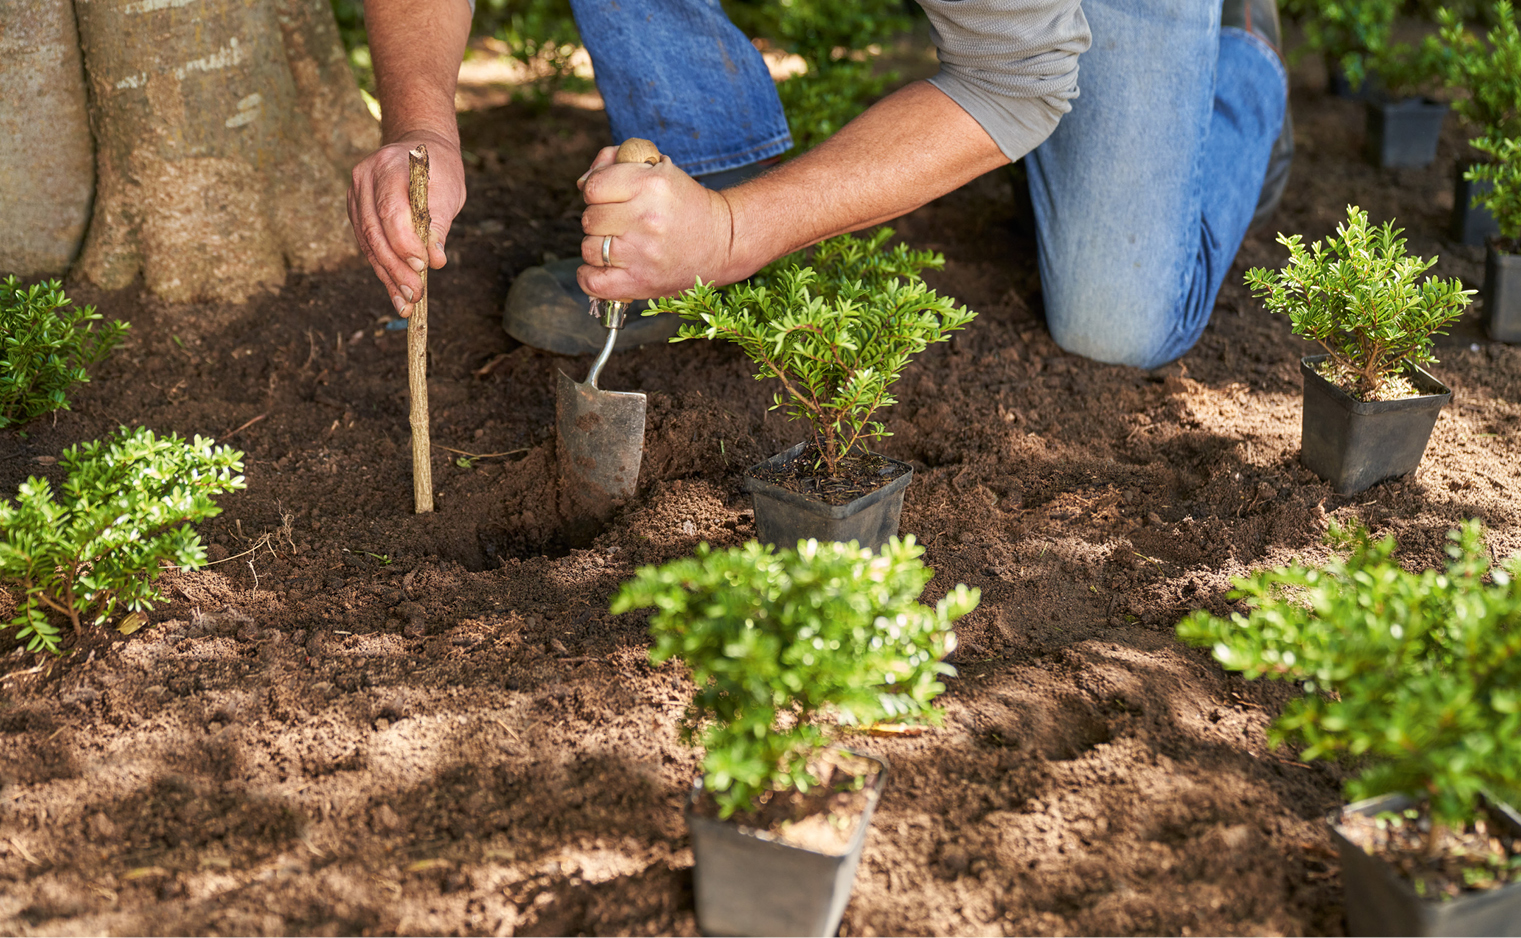
Where you come across soil under the tree that is not rooted, loosen the soil with the digging fork and mark the spots with twigs. These are the later planting sites with sufficient root space for the new ground cover plants.
REMOVE ROOTS AND PLANT DEBRIS
Remove root and plant debris from the entire area with the rake and collect stones any stones or hard materials; this is important if you want to work the area with a cultivator.
COVER THE SURFACE
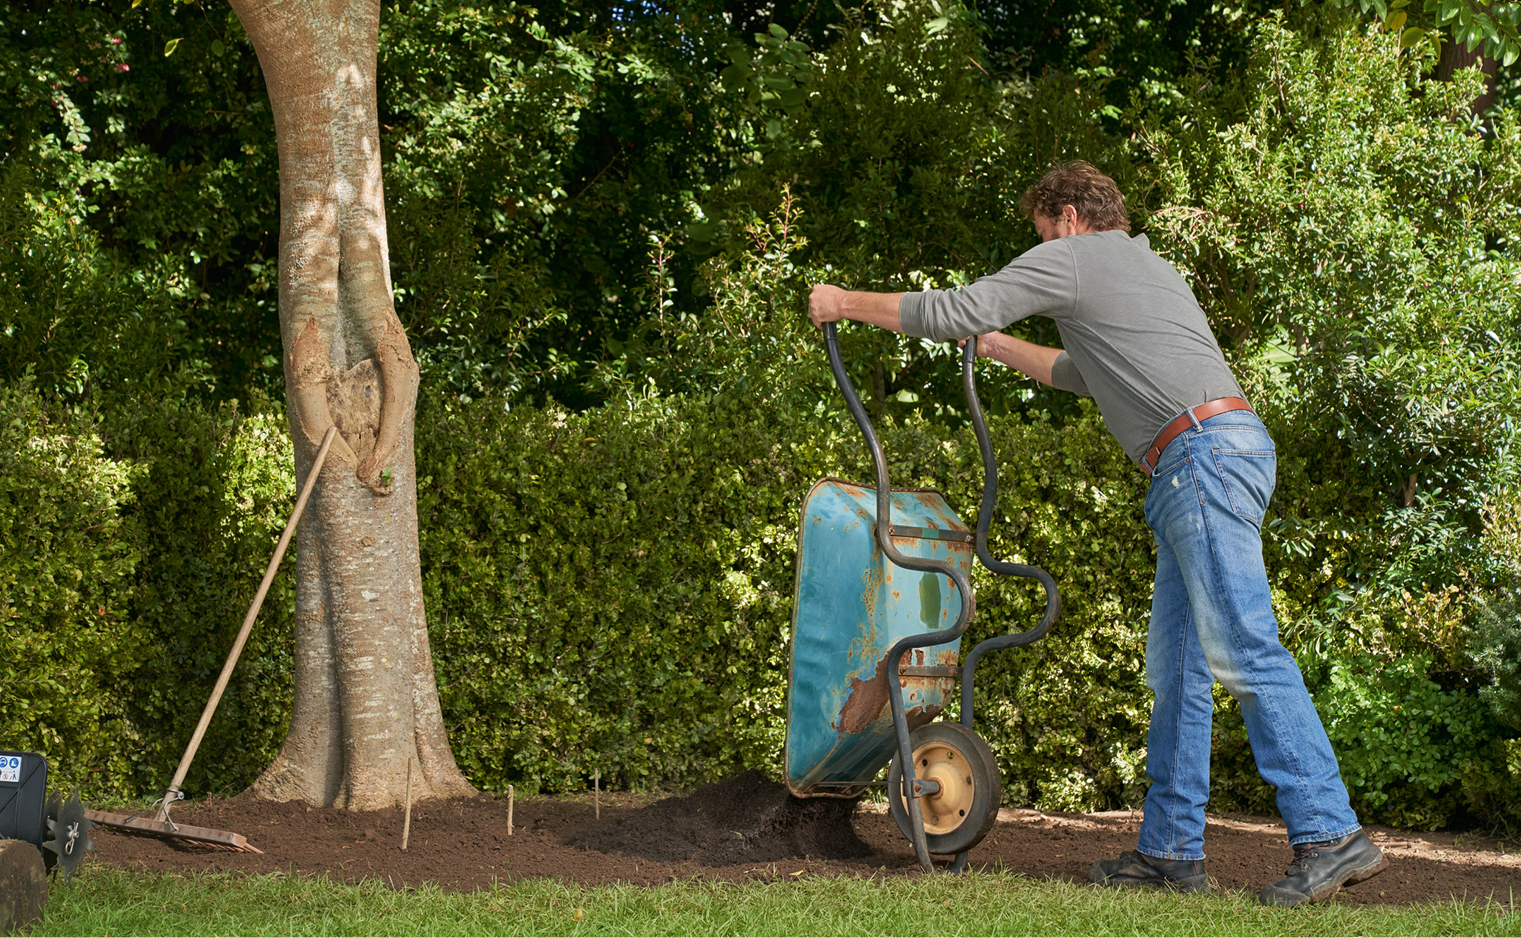
Cover the surface with a good 5 cm thick layer of compost or potting mix. Make sure you are using compost that is well mixed and decomposed; otherwise, you run the risk of adding weed seeds to the area!
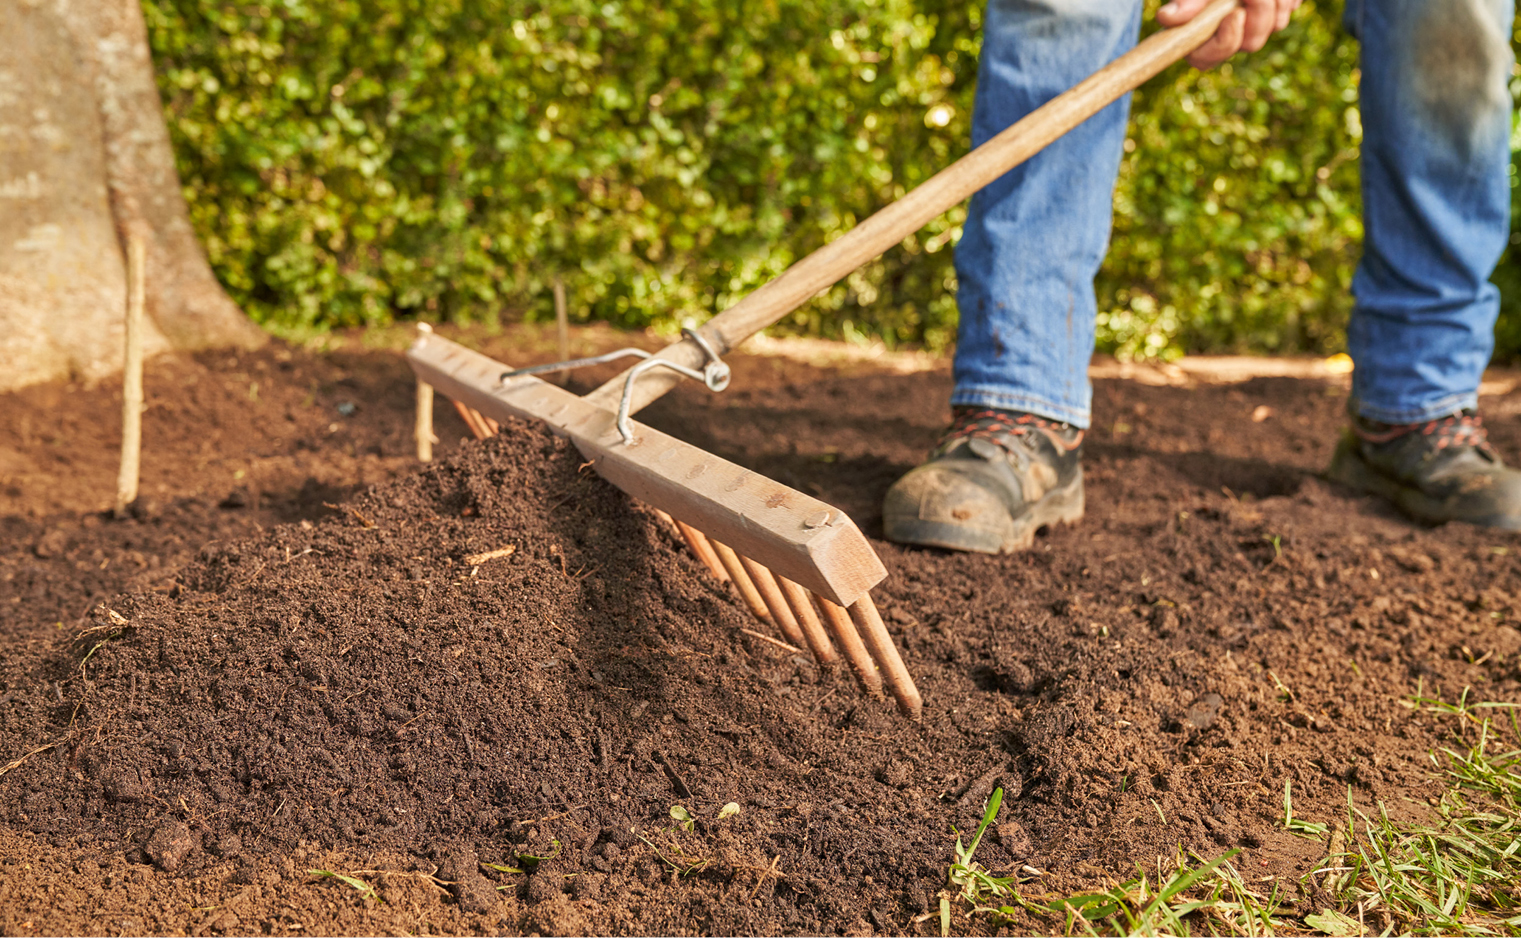
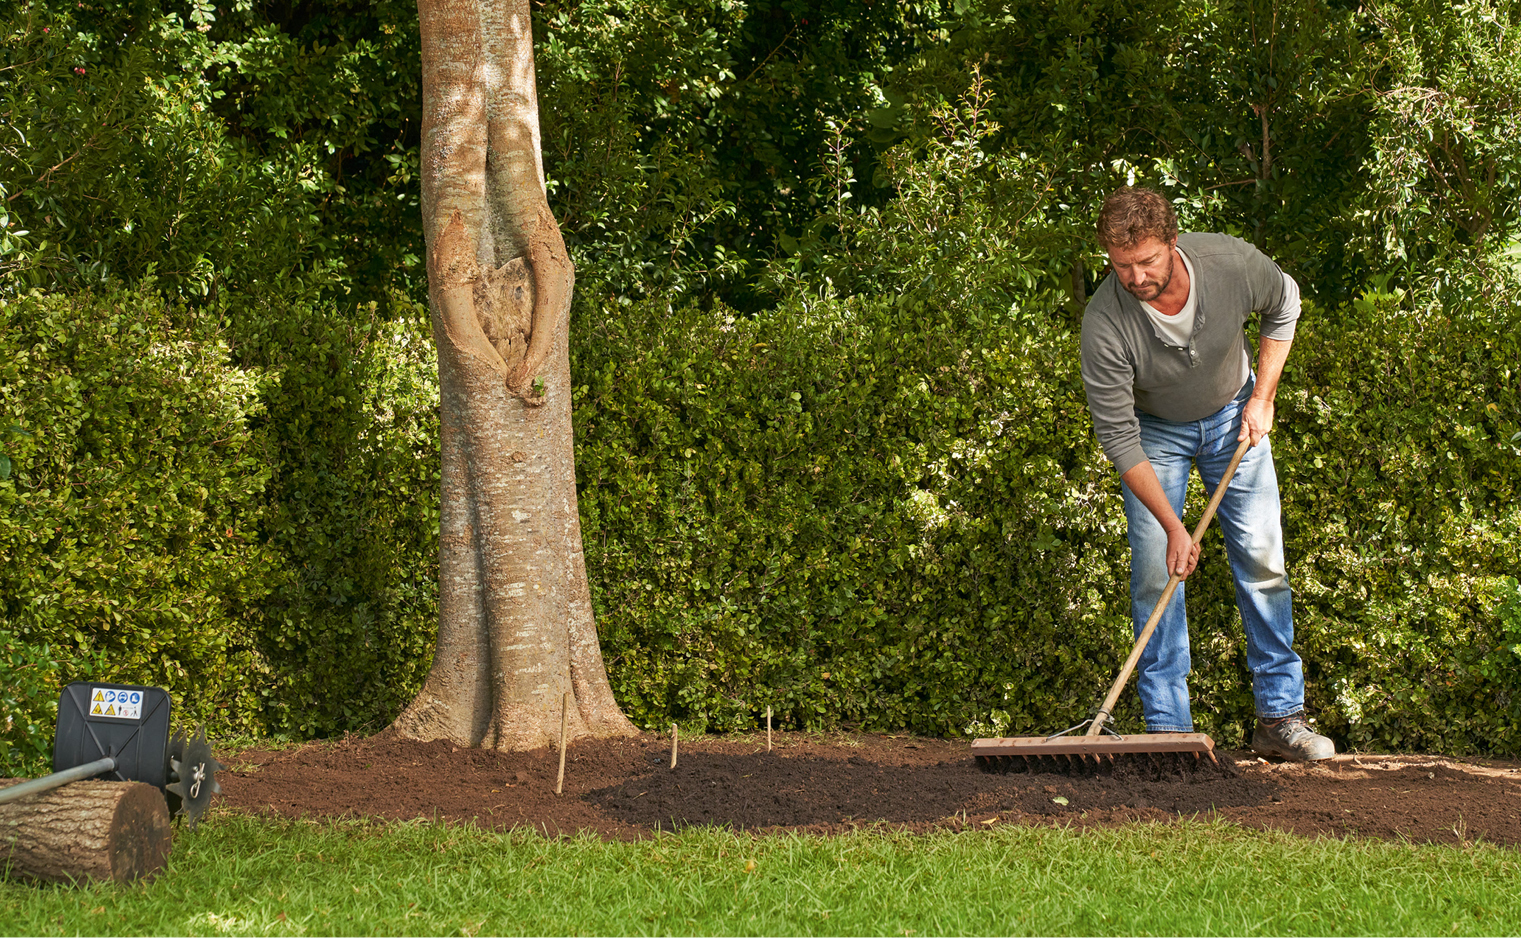
Distribute the compost or potting mix with the wooden rake and work it in lightly. Leave a 20 cm wide strip around the tree trunk uncovered and make sure that the marking branches remain in the soil. Do not add topsoil as flat-rooted trees do not tolerate topsoil.
CULTIVATE THE SOIL
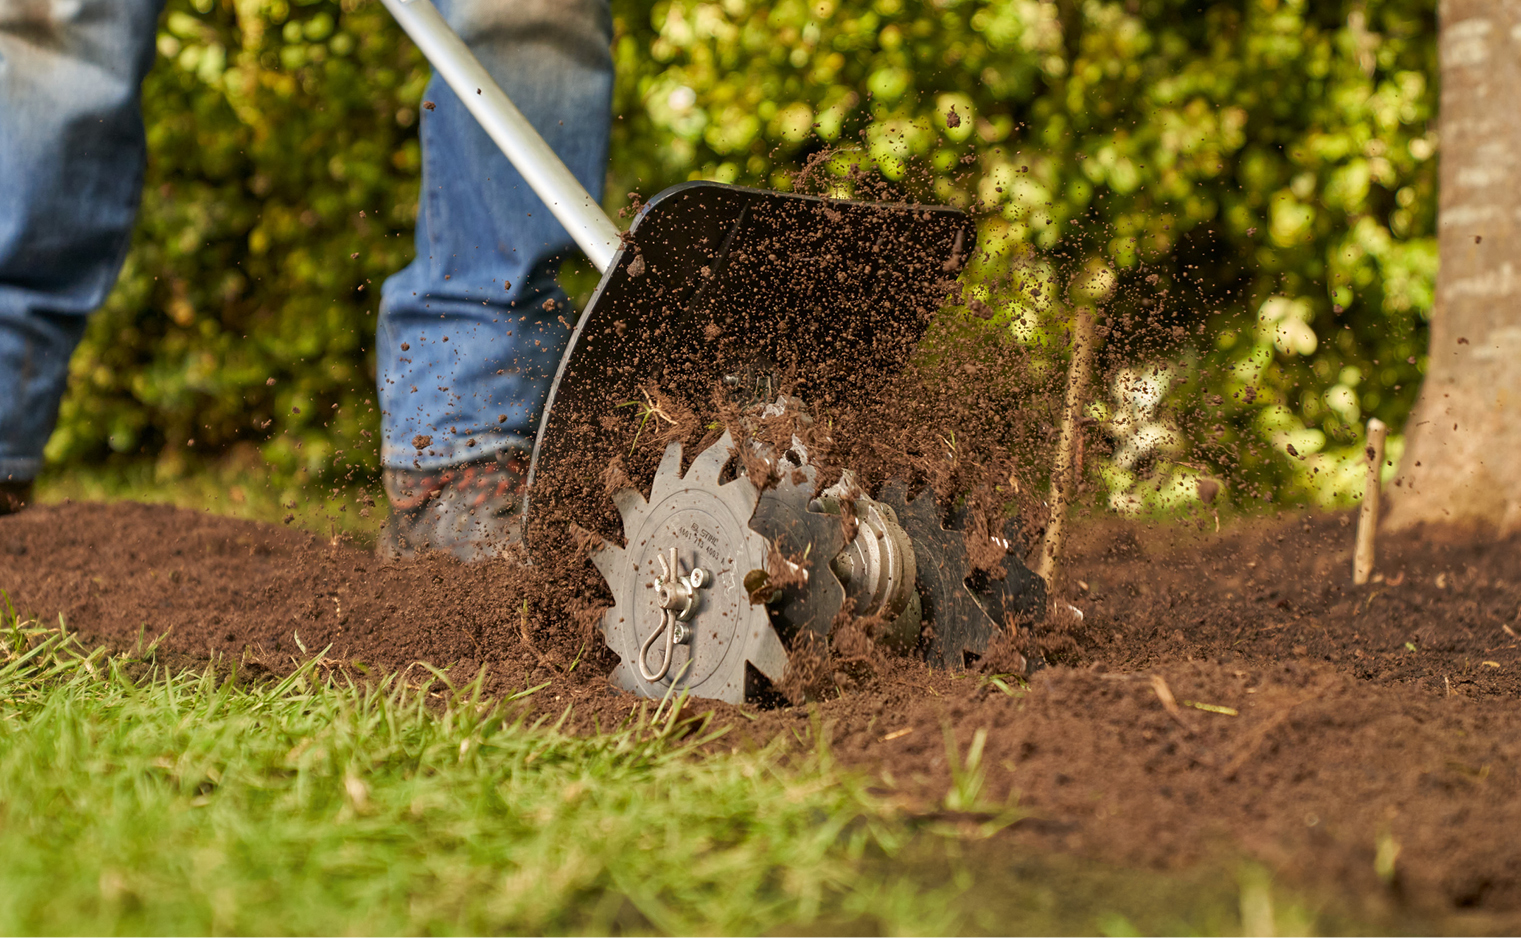
Where the soil is root-free, a cultivating tool will help you to mix in the compost with ease and leave you with a lovely loose soil mix that is perfect for planting. Once you’re done, level the soil with a rake.
PREPARE YOUR PLANTS
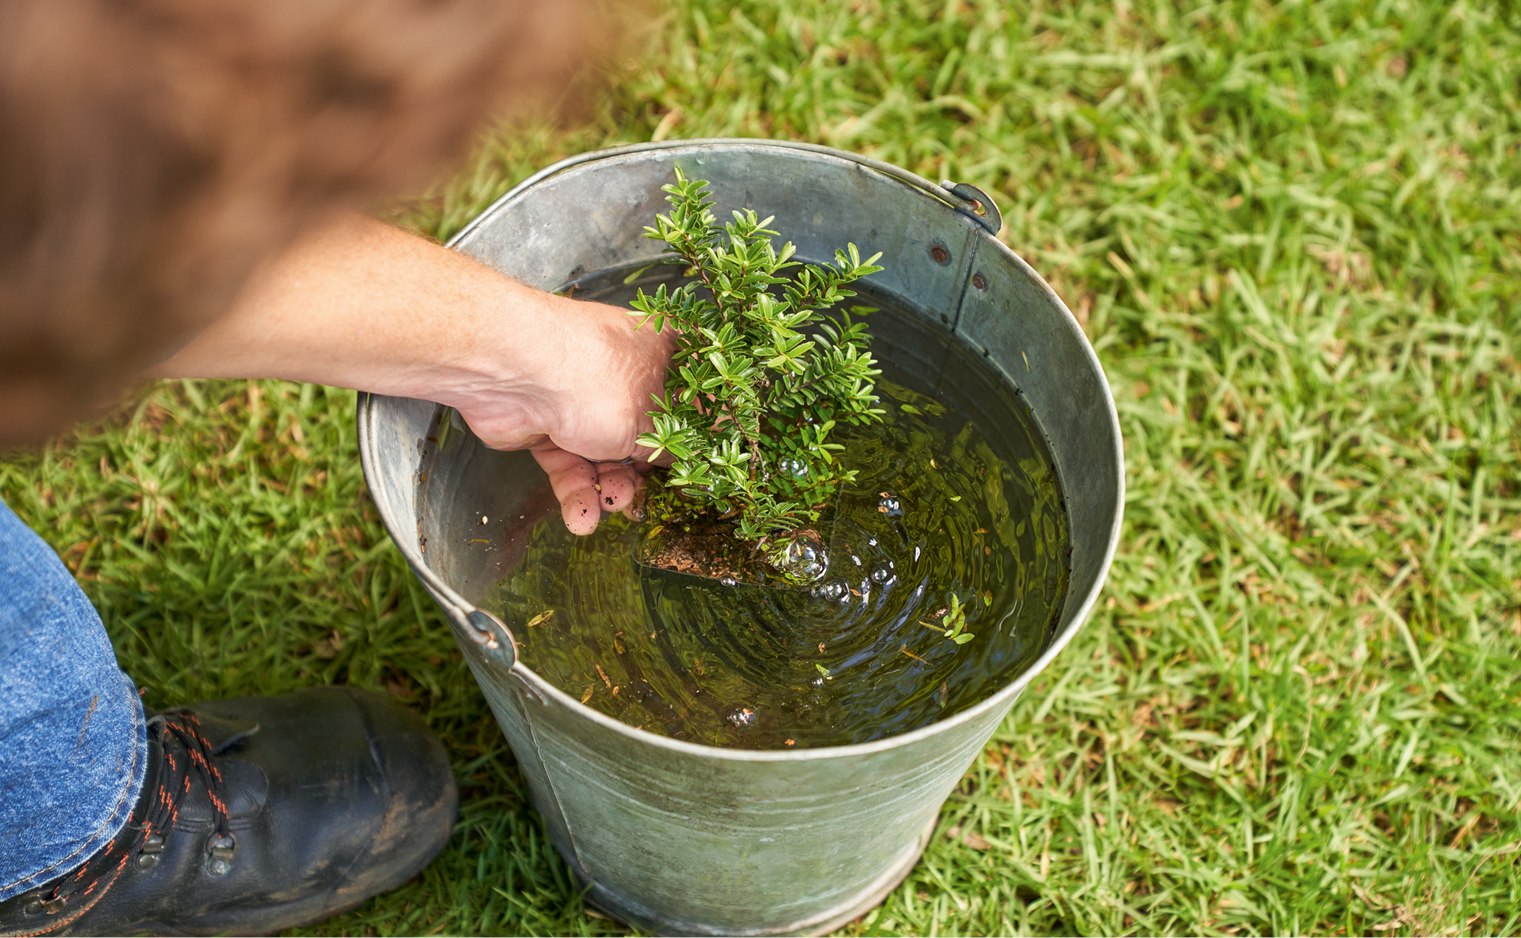
Before planting, give your plants a good soak at the root ball. This can easily be done in a bucket.
PLAN AHEAD
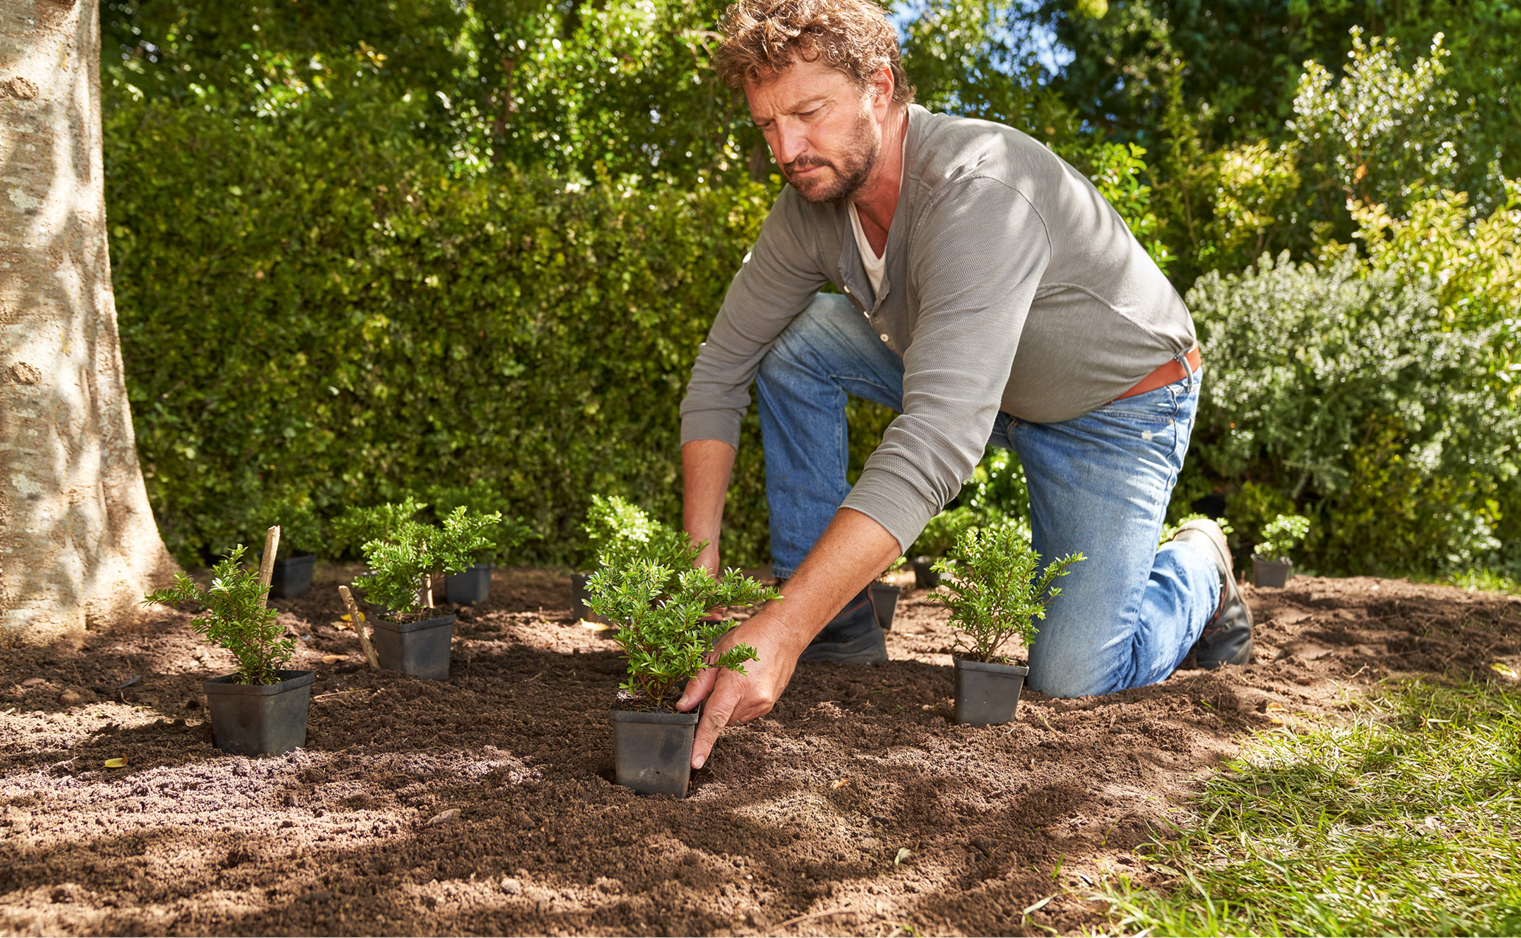
Distribute the plants over the area at the planting points. For perennials, you will need about 8 to 10 plants per square meter. Try to avoid walking on the surface while you do this, as you’ll compress the soil.
get planting!
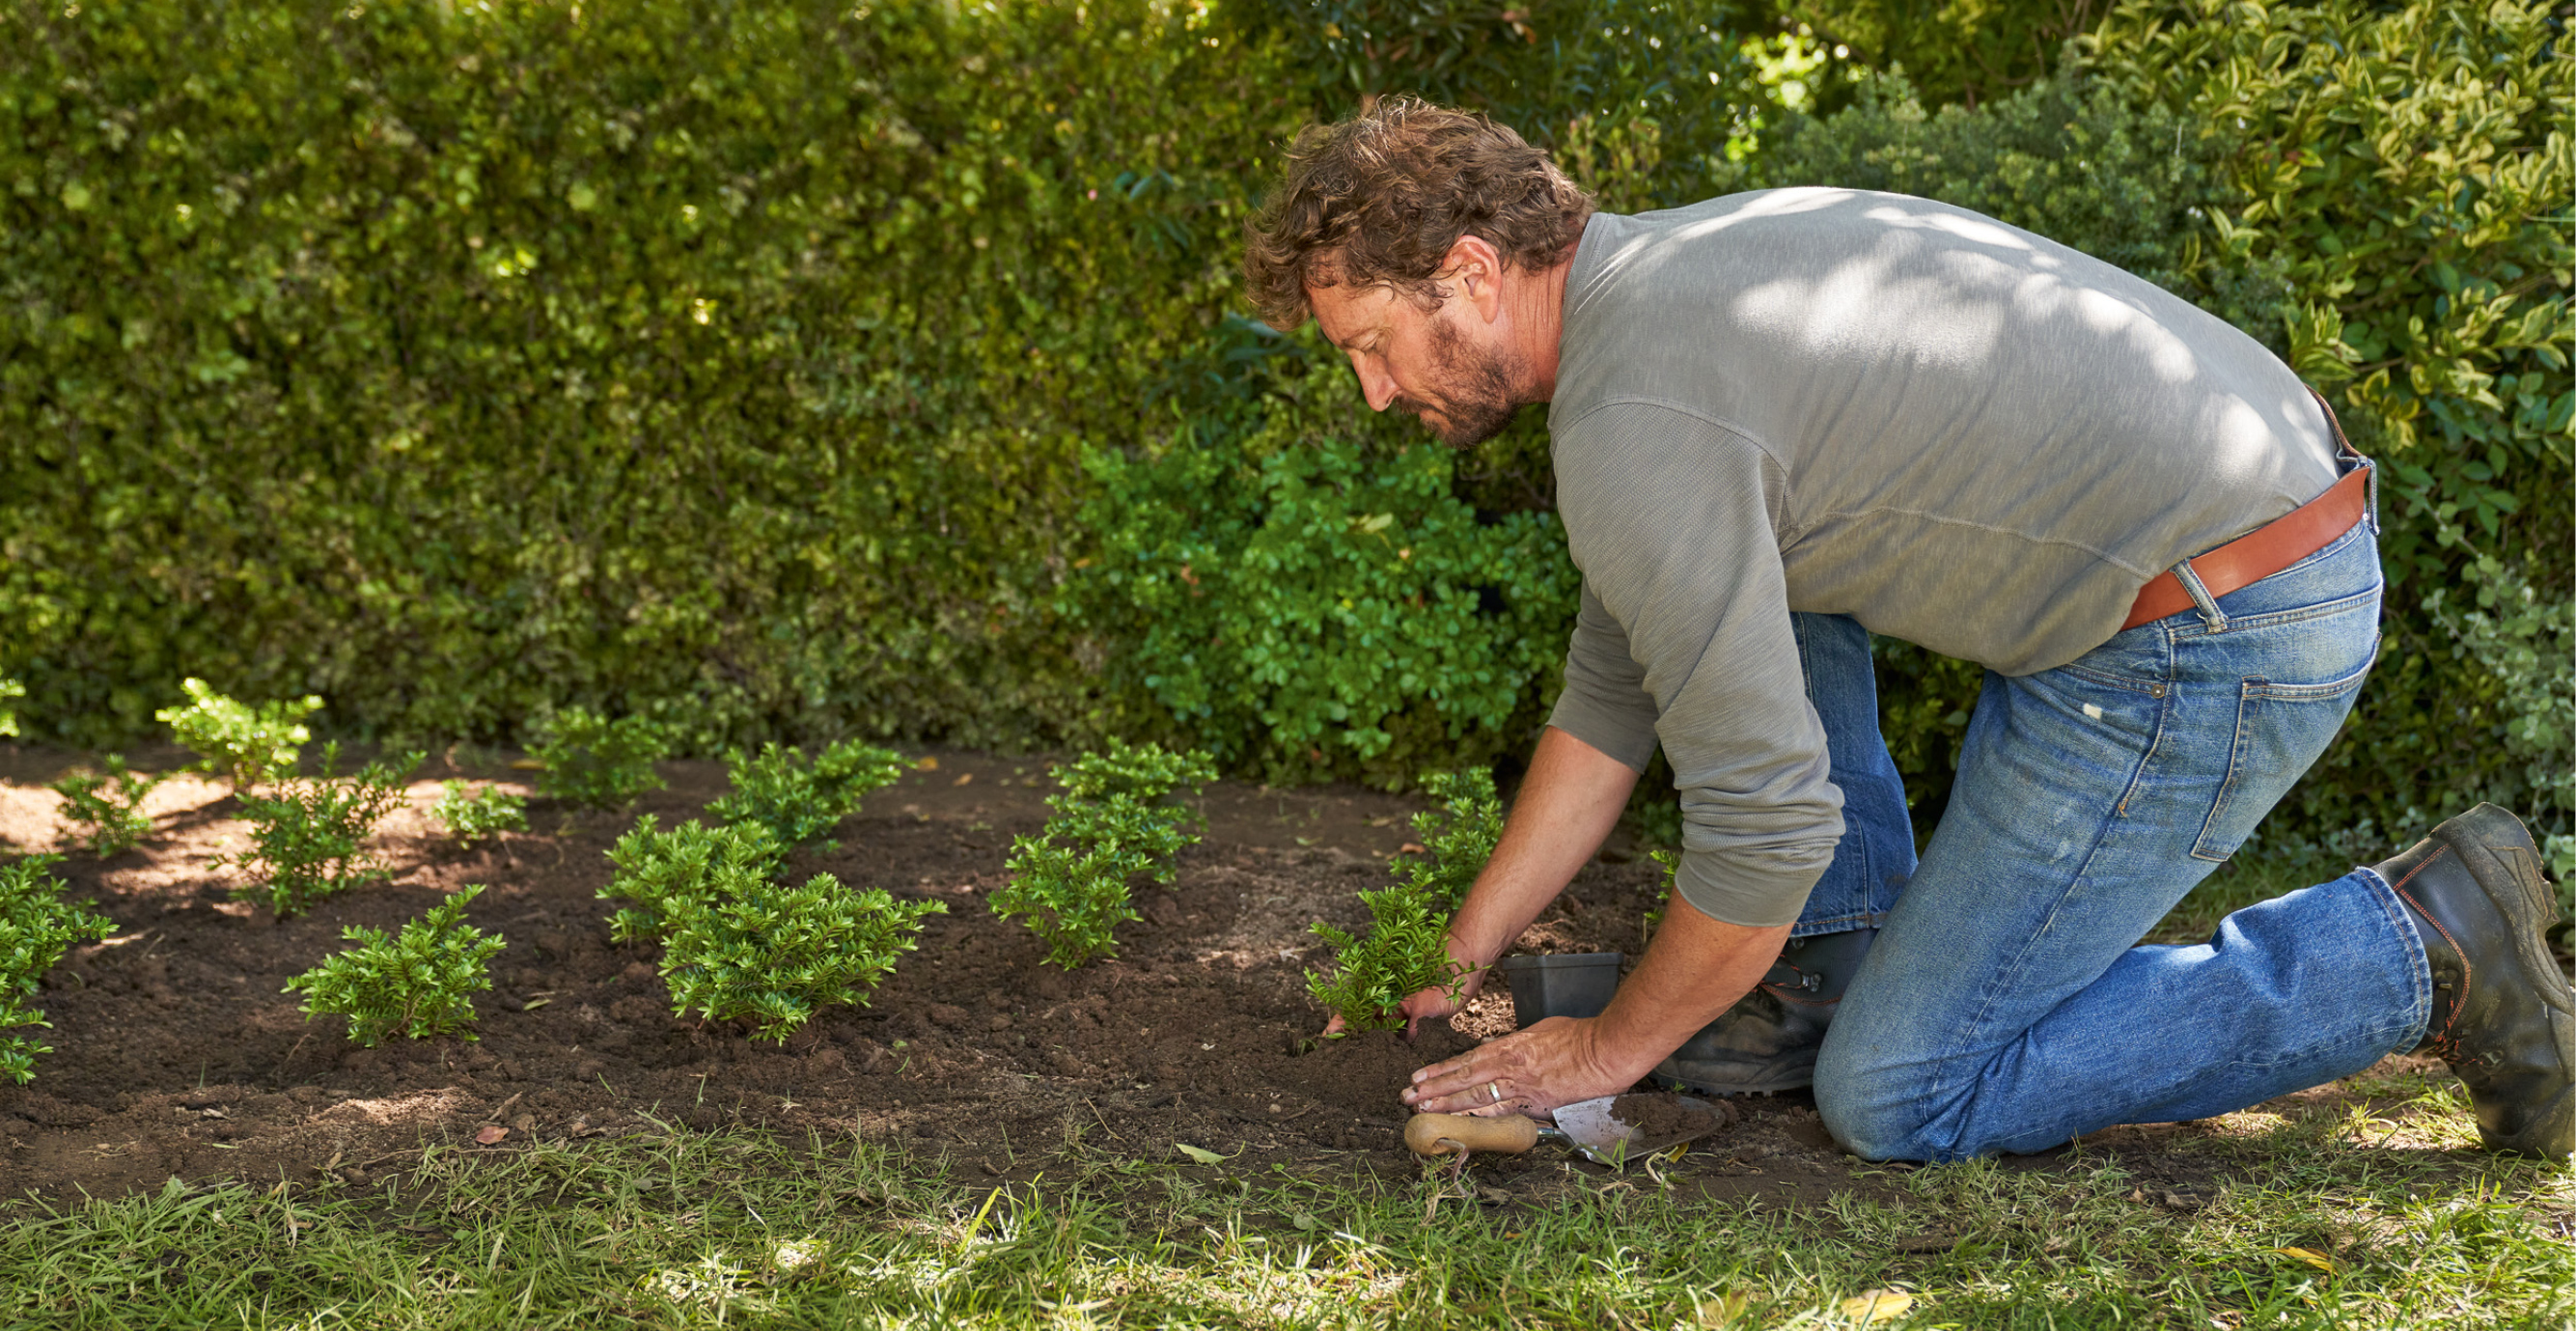
Remove the plants from their pots, create small holes in the soil with a hand shovel before you pop the plants in and press the soil down. The plants should sit in the soil about as deep as they were in the pot before.
Tip: In narrow planting spots under a tree, loosen the root ball of the plant by pressing and kneading it with your hands. This way, the plants will also fit into smaller holes.
give them a trim
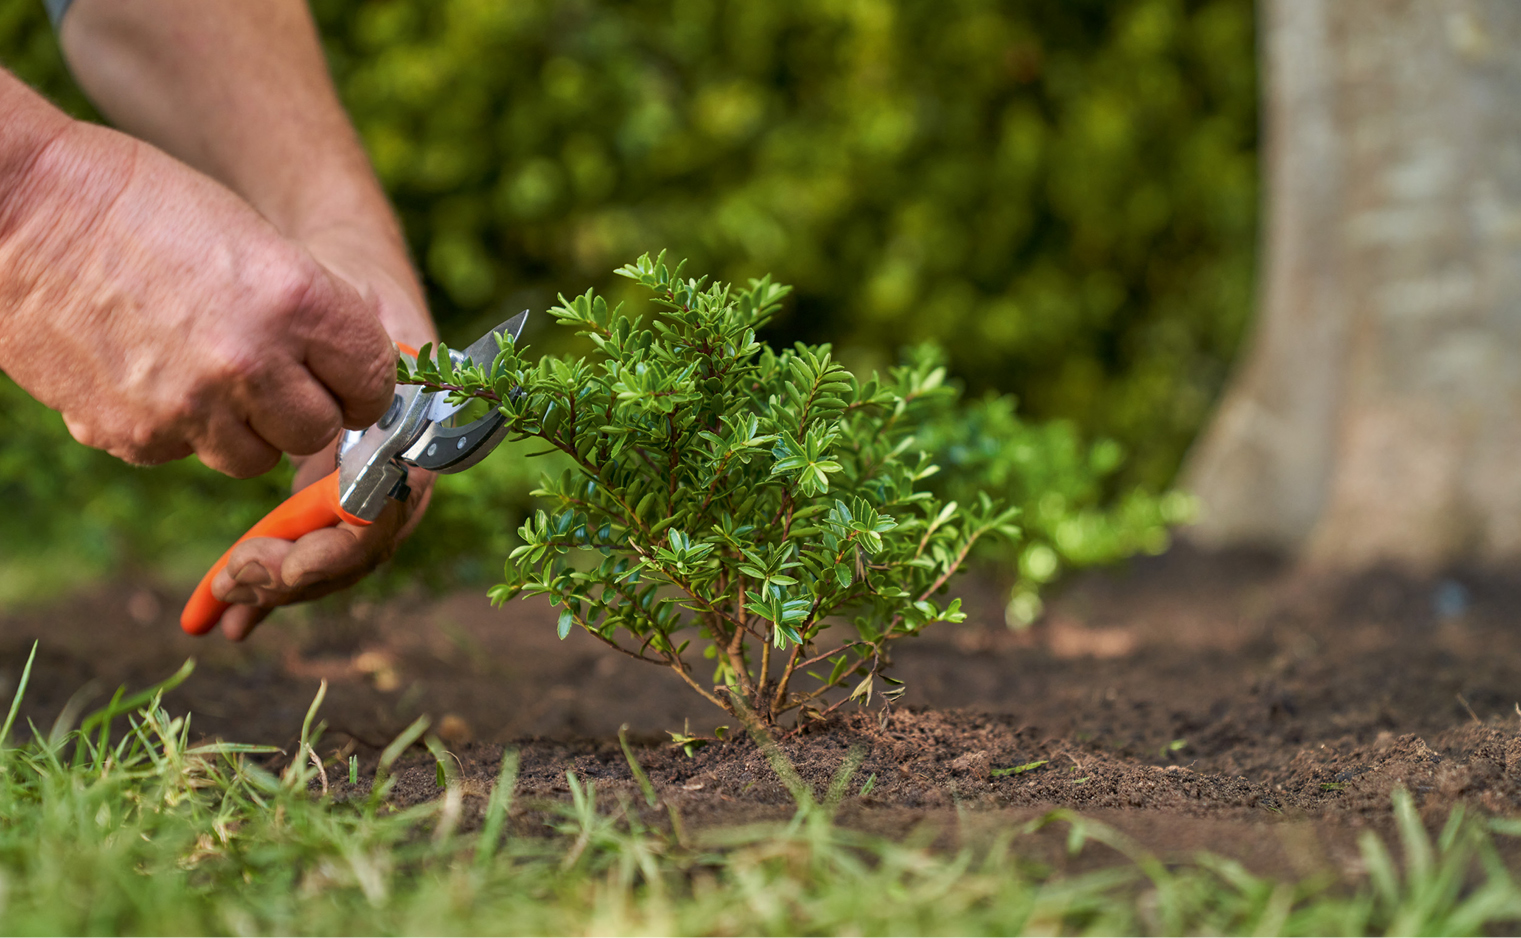
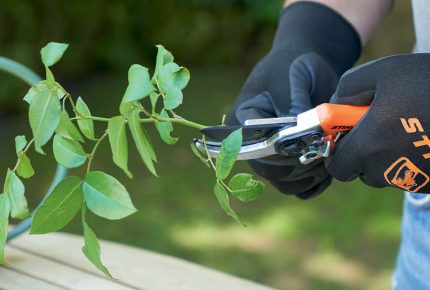
The best way to create dense ground coverage is to give your new plants a trim right away. This is especially important for woody plants that sprout and branch mainly at their shoot tips. Pruning will encourage new growth, so the plants will grow tightly around their base area which is the best way to achieve a consistent ground cover.
finish with a drink!
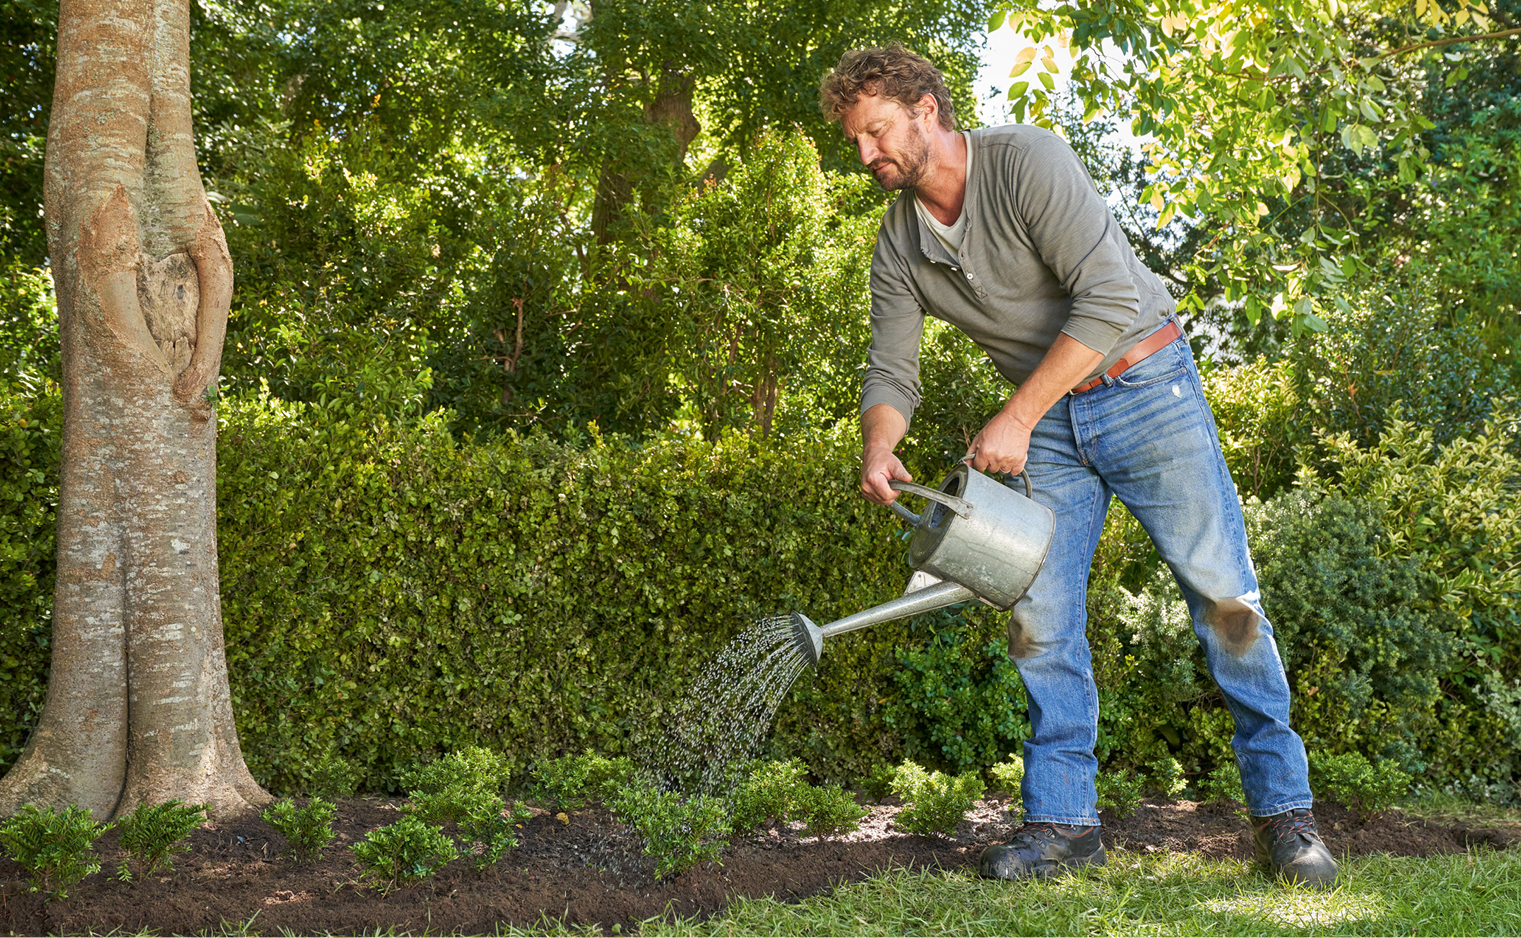
The best way to help your new plants settle into their new homes is by giving them a good drink once they’ve been planted, and cover the soil between the plants with a thin layer of mulch. Bear in mind, it can takes two to three years, depending on the plant species, until the surface is completely covered. To encourage growth, give them a feed twice a year and a regular drink too – especially in the warmer months. Over time they’ll thicken up, leaving you with a lovely looking ground cover under your tree!
Click here for more DIY project guides to enjoy at home.

