#How To
How To Build a Vertical Garden
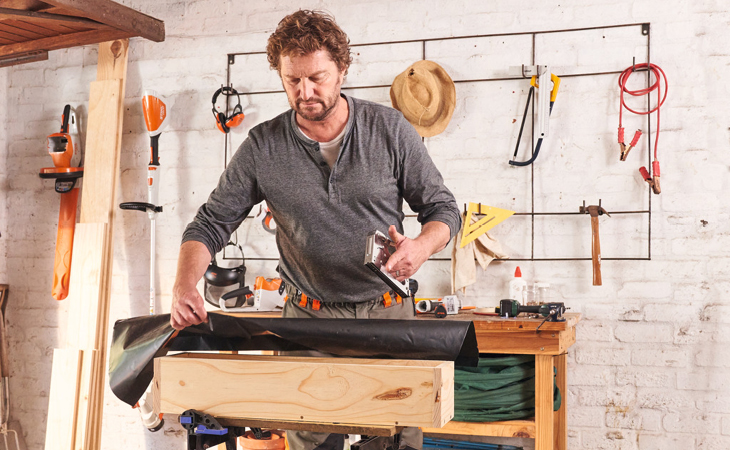
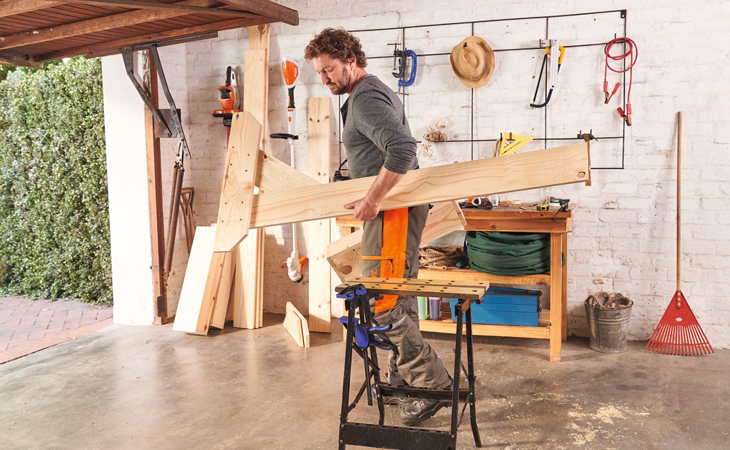
This vertical garden is a great project to tackle over a weekend if you have a small garden at home, or simply want to get creative and maximize the space you do have. A vertical garden can also double as a privacy screen and is a unique way to add a bit of visual interest to your backyard or balcony.
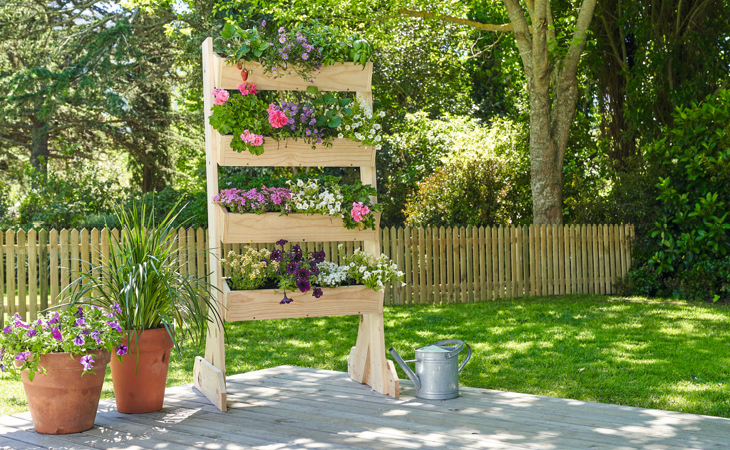
Thanks to the slight inclination of the design, all plants will see plenty of light, even the lower flower boxes thanks to a slight slope of each shelf. This vertical garden also has added drainage holes so that excess water can flow through into each box below, and to ensure that the boxes are also protected from too much rain, these drainage holes are each cased with a piece of hose. To increase overall durability, the boxes are lined with pond liner so that the wood does not have direct contact with the planting soil and watering or rainwater from the inside.
MATERIALS REQUIRED
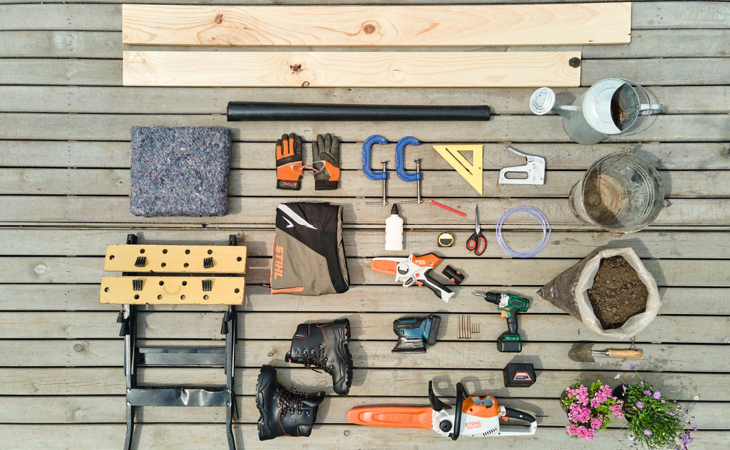
Wood for stands and supports:
- A total of at least 6.50 m of wooden boards, 2.4 cm thick
and 15 cm wide - 2 x 165cm for the two long, side stands
- 2 x 70cm for the two horizontal supports
- 2 x 59cm for the short support boards
Wood for the FIVE boxes:
- A total of approximately 12m of wooden boards 1.8cm thick and
14.5cm wide: Each box is 70cm long and has a width of approximately 18cm (14.5 cm plus 2 x 1.8 cm) with a board gauge of 1.8cm.
In addition:
- Outdoor wood glue for the short support boards
- 106 screws 4.5 x 40mm: 70 for the five boxes, 16 pieces to fix the two horizontal supports, two per side and box to fix the boxes to the stand
- 2 x screws 5 x 70mm for the two short support boards
- 5 x pond liner, each 100 x 46 cm
- 5 x fleece blanket, packing blanket or even old towels, each 70 x 15 cm
- Aquarium hose: 15 pieces (3 per box), approximately 2.8cm long and
1cm thick - Potting soil: Approximately 15 liters of potting soil are needed per box (depending on the size of the plant bales)
- Watering can
- Pencil for marking the interfaces
- Planting shovel
- Protractor / triangle
- Work table or workbench
Tools required
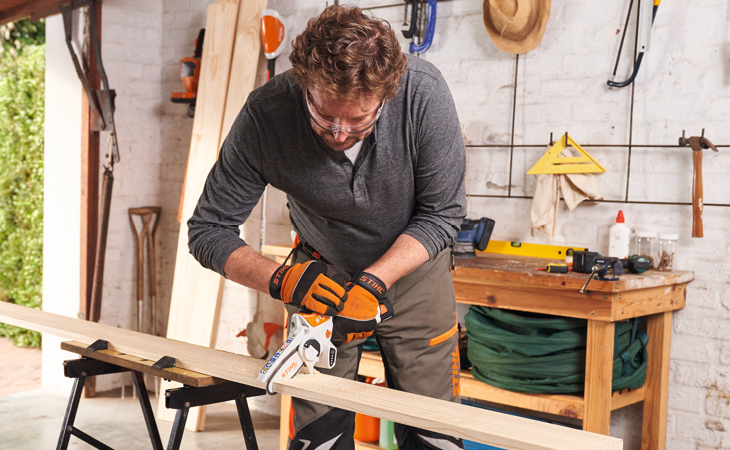
- A chainsaw, a smaller battery chainsaw such as the MSA 140 C-BQ will be effect for cutting the stand and supports to size
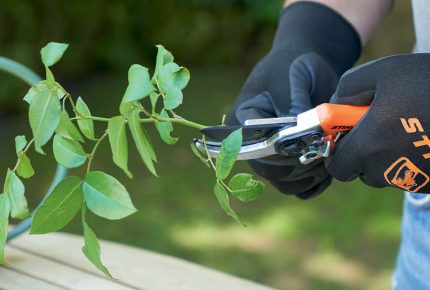
- A garden pruner such as the STIHL GTA 26 for the box boards
- Personal protective equipment: safety goggles, gloves, chainsaw boots as well as cut protection trousers for work with the chainsaw
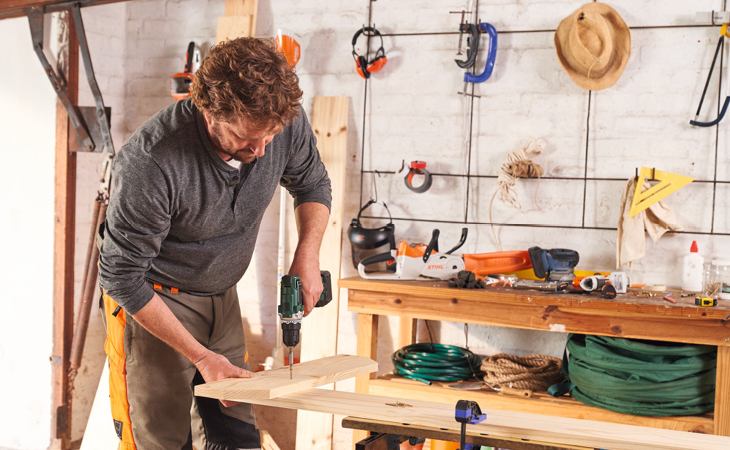
- Drill
- 4mm wood drill bit for pre-drilling the screw holes
- Wood drill bit of tube gauge, e.g. 1 cm
- Manual tacker
- Screw clamps
- Delta grinder
- Sharp scissors or knife for the foil
The dimensions of the material specifications are approximate figures. If you get boards with slightly different dimensions from your local timber store, you can of course use these as well. This does not change the angle and length specifications, but if the gauge of the planting box boards differs, the boxes will be correspondingly wider or narrower. You must then take this into account when cutting the boards for the front sides of the boxes to length.
clamping tightly
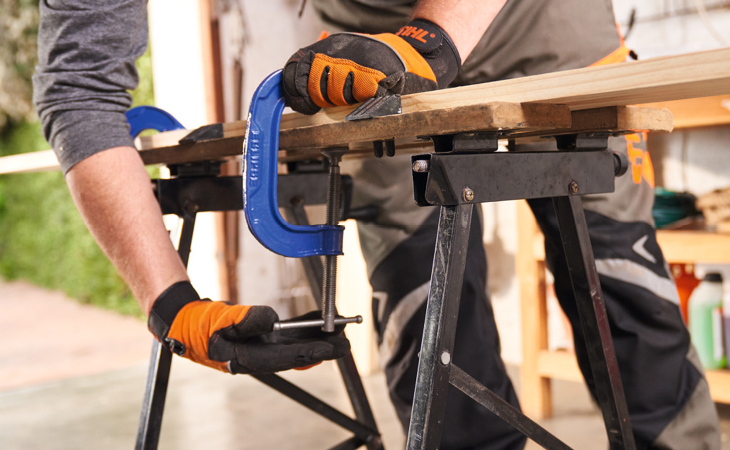
Remember, when cutting woods, all work pieces must be clamped securely and firmly in the workbench. If necessary, fix very long boards additionally with screw clamps.
MAKING THE FLOWER BOXES
Measure and mark the boards for the flower boxes – these are 70 cm long. When measuring, remember the cutting width of approximately 5 mm of the STIHL garden pruner GTA 26 and cut a corresponding piece next to the marked line.
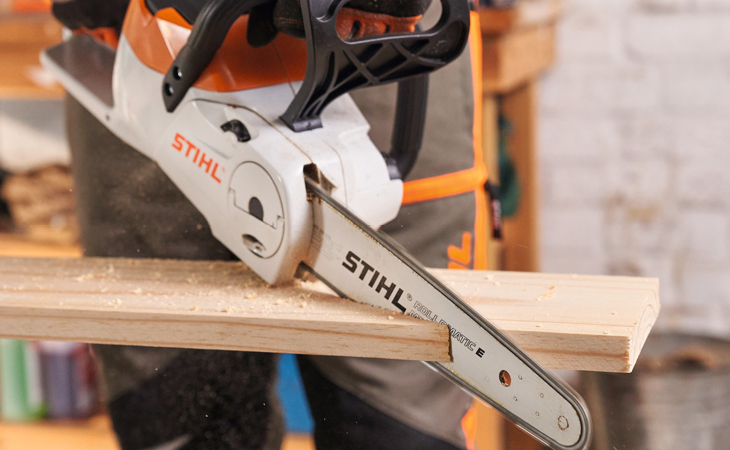
CUT TO LENGTH
Cut off the boards at the previously marked cutting lines and slowly pull the saw chain through the wood.
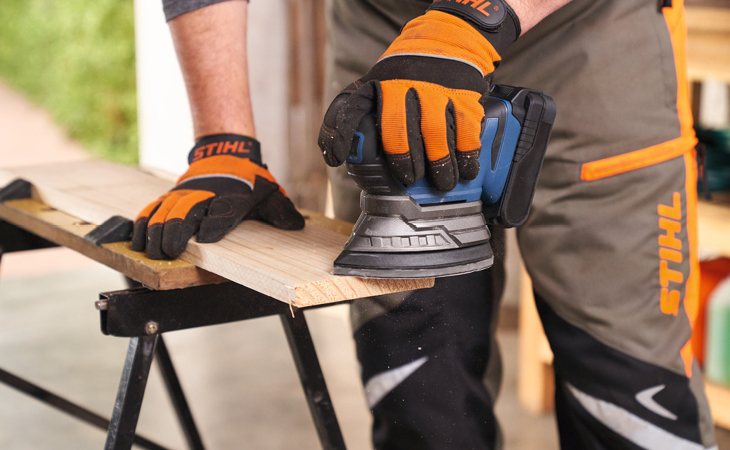
SAND THE EDGES
For a smoother look, sand the cut surfaces back, especially the outer edges of the flower boxes that will be visible one the stand is complete.
assemble the flower boxes
Screw the flower boxes with the 4.5 x 40 mm screws. On the long sides, 3 screws per side are sufficient; on the short sides, you need four screws each – two at the bottom and one on each side.
Tip: It is best to pre-drill the screw holes with a thin drill bit so that the wood does not splinter when you screw close to the edge.
Drill water drainage holes

Drill three water drainage holes of approximately 1 cm of size in the box bottom near the edges.
INSERT THE FOIL
Cut the pond liner so that you have pieces large enough to completely line the inside of each flower box. Then place the suitably cut pond liner pieces in each box.

To avoid unsightly, not quite straight cut edges, it is best to cut the foil a little more generously, fold it inwards at the edge and then staple it to the wood at the sides. However, do not staple it to the ends yet – this will be done after screwing it to the stand so that the screw heads remain invisible.
Pierce the foil crosswise above the holes. For this purpose, a sharp pair of scissors is sufficient, alternatively take a pointed knife. The length of the slits per hole should be just under one centimeter.
insert the hose pieces
Insert the hose pieces into the water drainage holes from the outside. The pieces are slightly longer than the board gauge so that they protrude a little on the inside.
COVERING THE FOIL
Press the liner in the box as tightly as possible against the tube pieces so that as little water as possible can flow between them. This is sometimes a little difficult due to the solid pond liner.
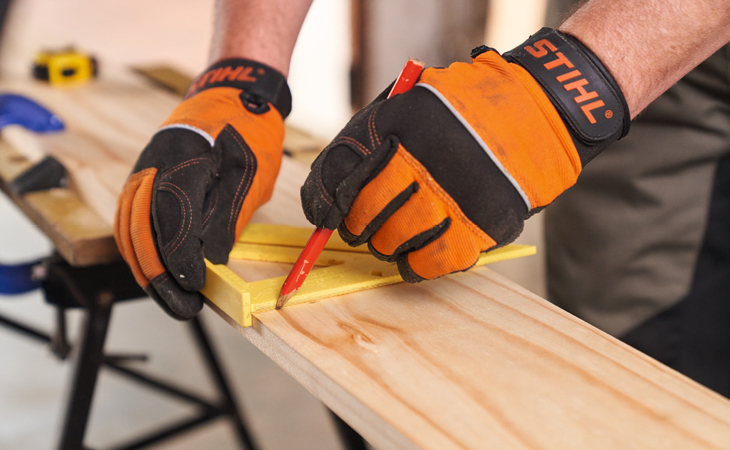
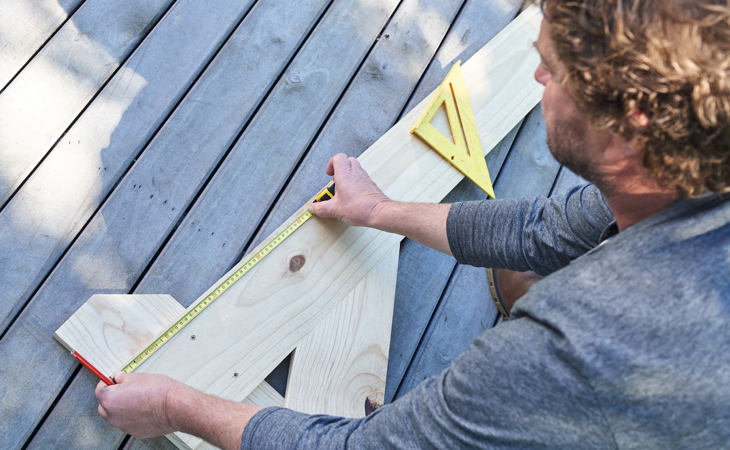
Mark the boards for the stands and the support boards
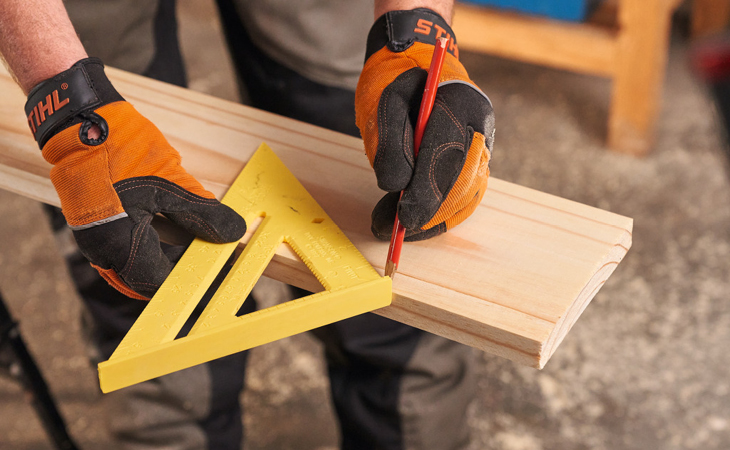
Mark intersections and angles on the thicker boards for the side stands and for the two short support boards using the protractor or the triangle:
- 2 x 165 cm for the two long lateral stands. Angle top and bottom 85°
- 2 x 70 cm for the two horizontal supports, both ends beveled at a 45° angle
- 2 x 59 cm for the short support boards: pointed angle at the top 35 °,
angle at the bottom 60 °
For cutting to length, take the STIHL cordless chainsaw MSA 140 C. Here, too, do not forget the saw’s cutting width of approximately 5mm.
Cutting the thicker boards to length
Cut off the boards at the marks. For a clean cut, run the saw chain at full speed when cutting the wood, and follow by sanding the edges.
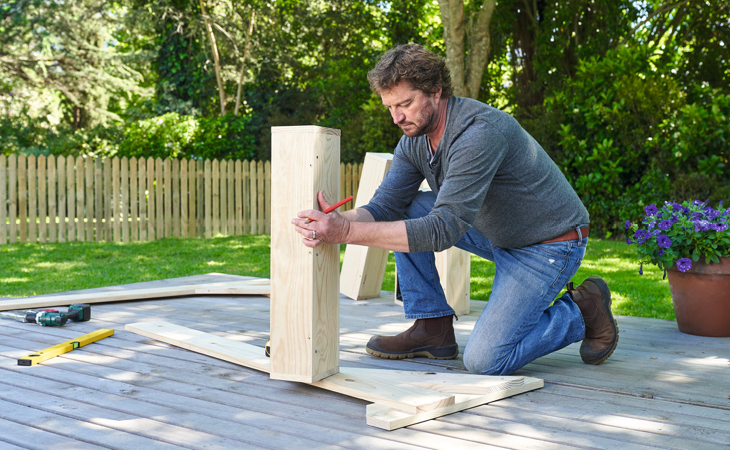
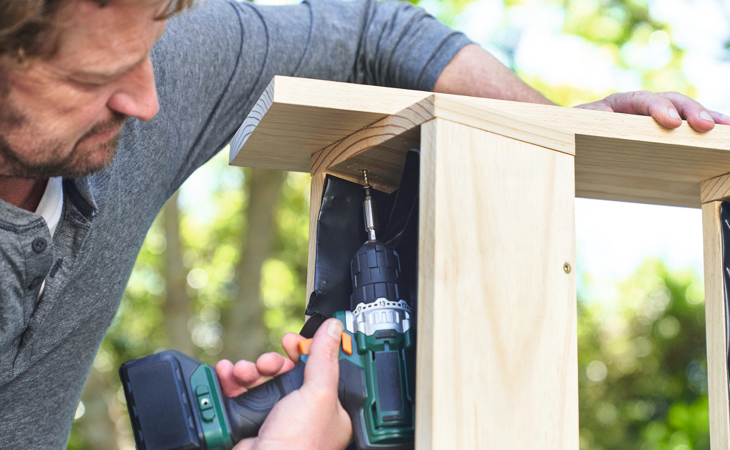
MOUNT THE SUPPORTS
Screw the horizontal supports to the two lateral stands with four screws each. Depending on whether the screws are to be visible or not, screw them to the later outer or inner side.
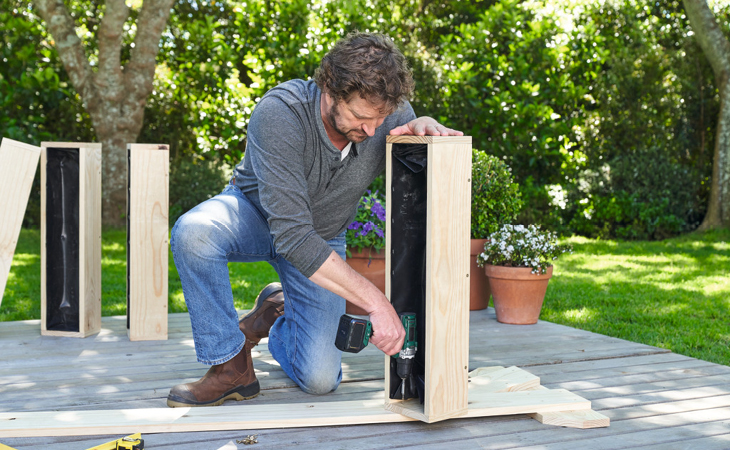
FIX THE SHORT SUPPORT BOARDS
Apply wood glue to the long cut surface of the support boards and then screw the boards to the side stands with one 5 x 70 screw each. Then screw the support boards to the horizontal supports with four screws each.
CHANGE LOCATION FOR FINAL ASSEMBLY
Do not assemble the plant shelf until you reach the final location. This is easier than transporting the complete shelf.
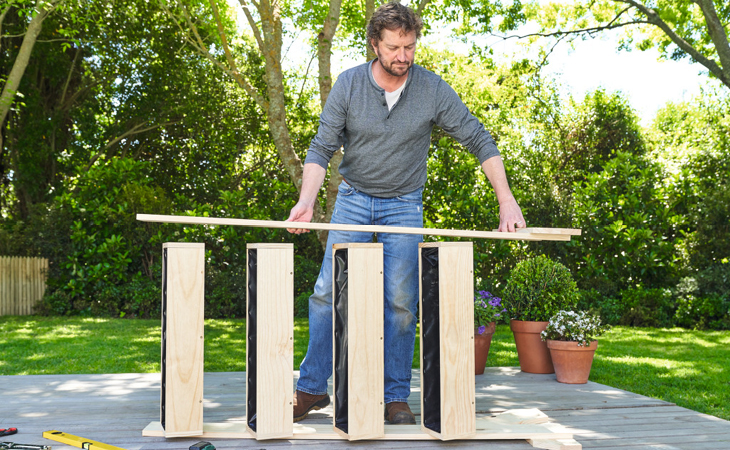
ATTACH THE BOXES
Mark the positions of the boxes on both side stands with a triangle to make sure that nothing slips and that the boxes are really placed straight. The first flower box has a distance of 40 cm to the ground.
The boxes have a distance of 35 cm between each other. The boxes have an inclination of 20°, so that rainwater and irrigation water can drain off well.
Place one of the stands on the floor and screw the boxes to the markings on the stand from the inside – and thus invisibly – using two 4.5 x 40 mm screws each.
Now fold the pond liner over at the ends as well and staple it to the ends of the flower boxes. The side with the water drainage holes faces forward, thus the drainage of rainwater or watering water is supported by the inclination of the boxes.
COMPLETE THE STAND
Now place the other side of the stand and screw it through the front sides of the boxes and from the inside. Then staple the pond liner to this side as well.
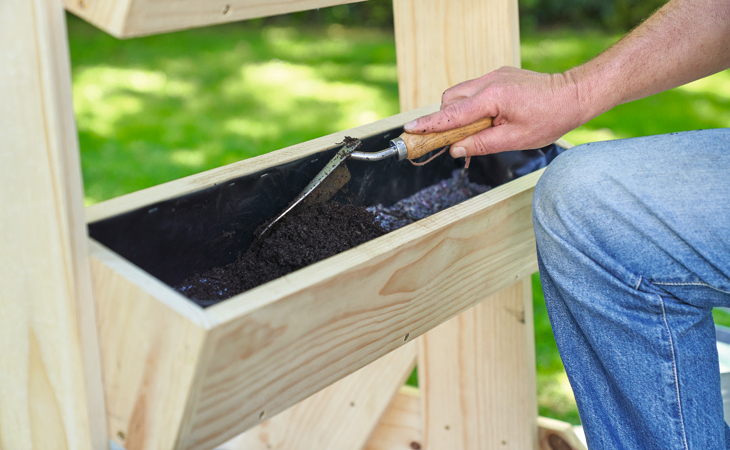
FILL WITH SOIL
Fill the flower boxes about halfway with high-quality potting soil or soil suitable for the planned planting. You will need about 15 liters of potting soil per box, depending on the size of the planting bales.
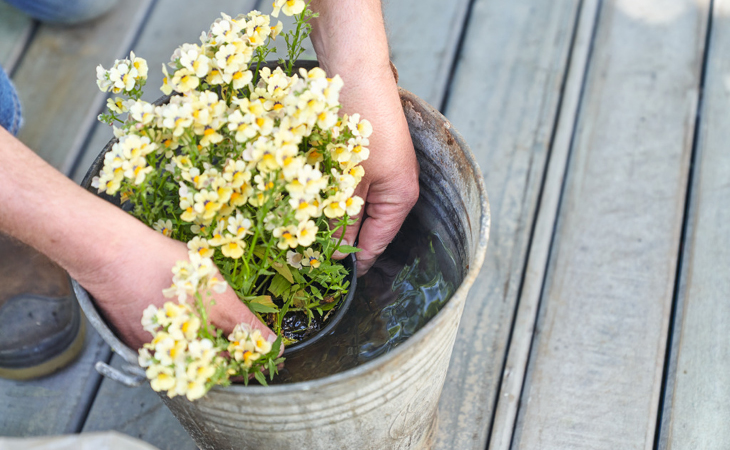
TIP: Before planting, immerse the plants in water until no more air bubbles rise. This will prevent the watering water from rushing through the dry root bale later.
GET PLANTING!
Now place the plants in the boxes, fill the spaces with soil and press the soil down all around with your hands so that the root bales have secure contact with the soil.
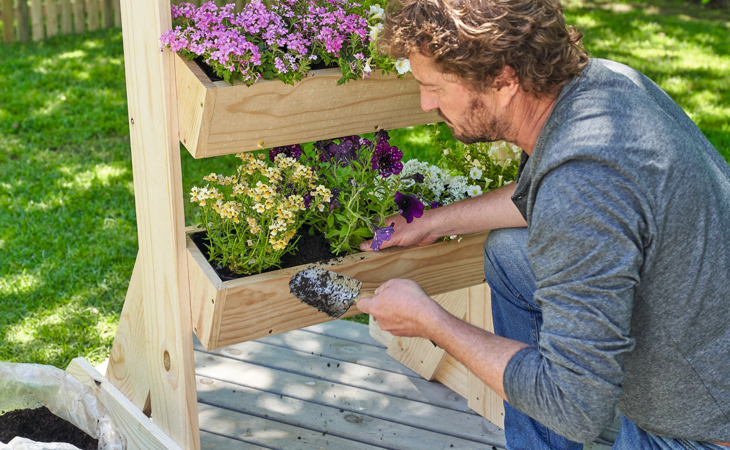
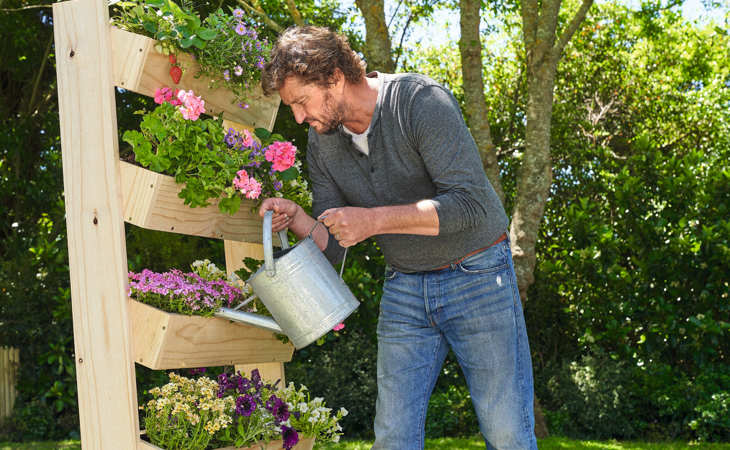
Water the plants, preferably not wetting the flowers and leaves with water, because the water drops can act like a burning glass in strong sunlight and burn tender leaves. The fertilizer supply of the soil is sufficient for 4-6 weeks, depending on the manufacturer. After that, give hungry balcony flowers such as petunias or geraniums some liquid fertilizer in the water every week. The exact quantity and frequency depends on the fertilizer used.
And you’re done! Click here for more DIY projects and garden inspiration.
Related