#How To
How to propagate plants at home
Taking cuttings correctly is easier than you think, and is not just a task for professionals! Creating new plants from existing plants is an environmentally friendly way to grow your garden. It also provides an opportunity for you to make use of old pots which are all you need to establish your cuttings. Let us take you through the different types of cuttings, and how you propagate your own plants at home.
What are cuttings?
Firstly, it’s important to know the different types of ‘cuttings’ there are. Cuttings are essentially just live materials from a parent plant. They vary in nature.
Cuttings are sections of growing material from a parent plant, but there are different types of cutting a detailed below.
TIP CUTTINGS
For a tip cutting, simply cut off a growing tip that includes an internode piece and bud, for example from a fuchsia, pelargonium or hydrangea.
An internode is the stem piece between two nodes. Tip cuttings take root relatively easily, making them a good choice if you’re new to propagation and still learning the ropes.
STEM CUTTINGS
Stem cuttings are leafless pieces of stem with multiple buds. Some plants are not suitable for stem cuttings because their stems are too short or too branched, for example geraniums.
However, more stem cuttings can usually be removed from a parent plant than tip cuttings. Dracaena and roses, for example, are very well suited for this type of cutting, as are garden roses.
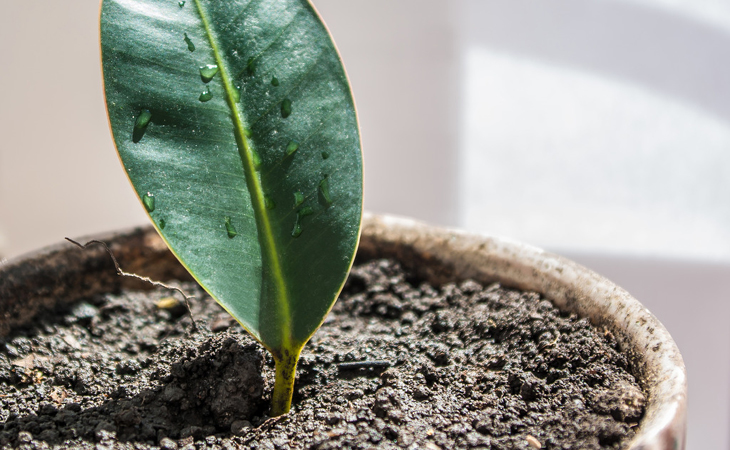
LEAF CUTTINGS
Leaf cuttings consist of a leaf with or without a stem and can only be used to propagate certain plant species, so it’s important to do your research when deciding which plant you are looking to take cuttings from as to which method of most appropriate. In most cases a special cutting technique is required, in which the leaf nerves are cut into at branch points.
It should also be noted that leaf cuttings are rather soft and prone to rot. The advantage is that you can usually obtain a large number of leaf cuttings from one parent plant as leaf cuttings consist of a single leaf.
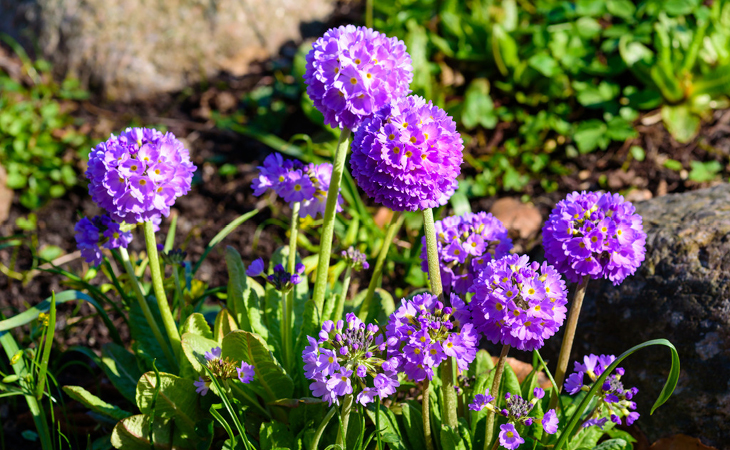
ROOT CUTTINGS
Root cuttings consist of a root piece without stems, leaves or shoot tips. Similar to stem cuttings, root cuttings can only be used for propagation of a few plant species, for example the drumstick primrose.
The difference between cuttings, layering and sowing seeds
Taking cuttings is not the only way to propagate plants. Garden flowers can also be multiplied through layering and sowing. So, what is this difference?
Tip layering is when a stem cutting is bent to the ground and the end is completely covered with soil, while in simple layering, the stem tip pokes out of the ground. At this point, both remain connected to the parent plant, so the key difference here is that cuttings take root independently of the parent plant.
Although seed propagation outshines cuttings in terms of the possibility of an enormous range of varieties, with cuttings you can benefit from comparatively large plants after just a few weeks. In addition, cuttings grow as 1:1 clones of the parent plant, meaning you will get the exact same colour and shape as the parent plant. Because of this, make sure you take a cutting from a healthy, well-flowering parent plant that is the size and colour you are after.
How to take your own cuttings
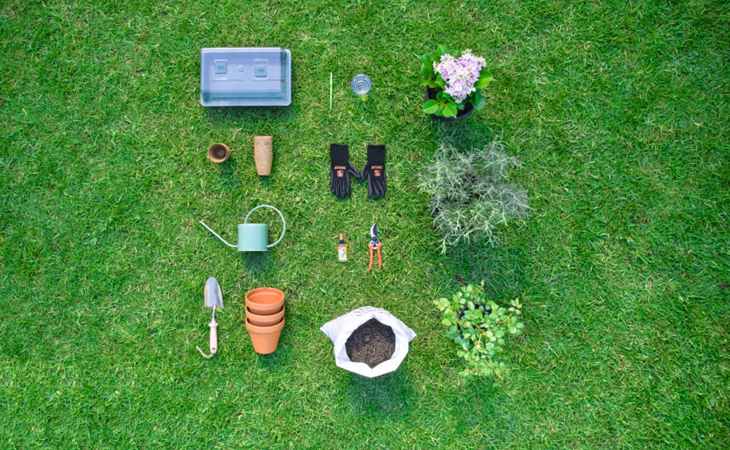
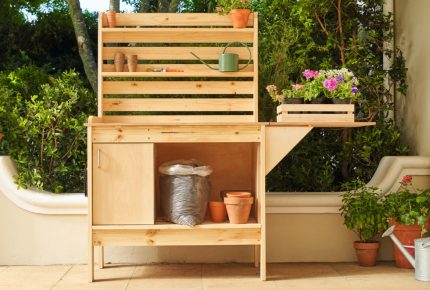
You don’t need much to get started on this project, so it’s a great one to do over a long weekend! Here’s what you’ll need:
- The parent plant, or plants!
- Small pots, roughly 5-10cm in diameter
- Seed compost
- For thin cuttings, a widger (a pencil-thick round piece of wood or an old ballpoint pen)
- Small watering can
- A tall propagator
- Water glass to store your cuttings – it’s important that they go straight into water once cut!
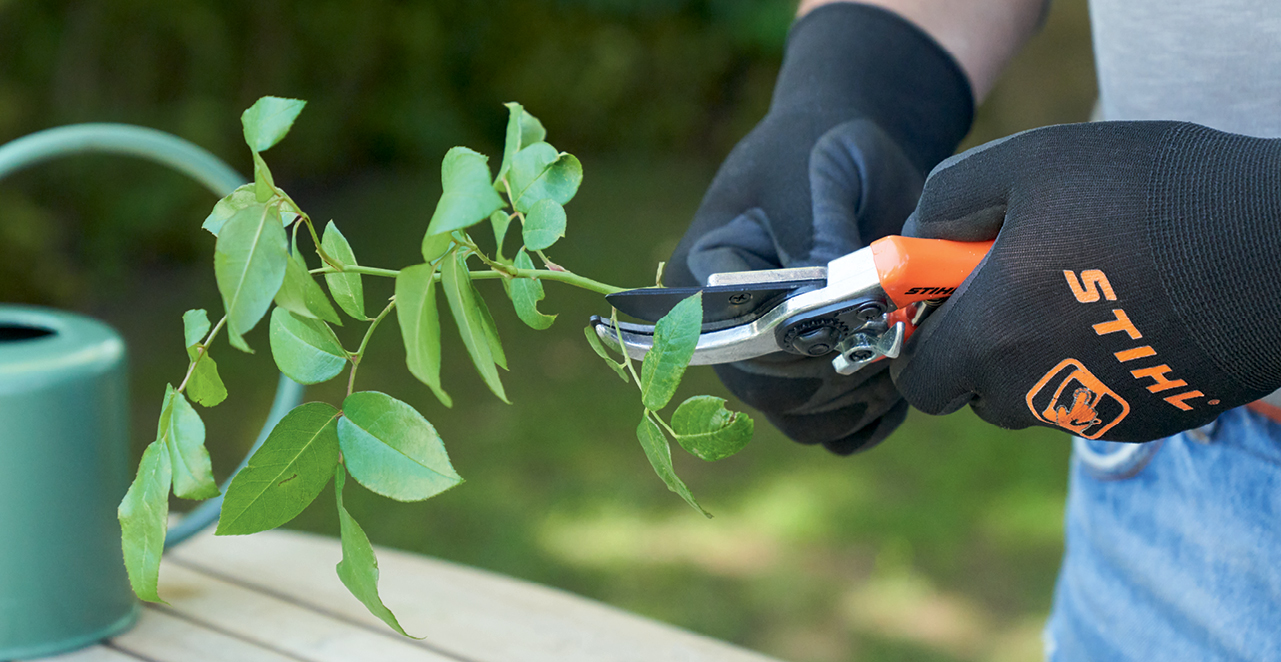
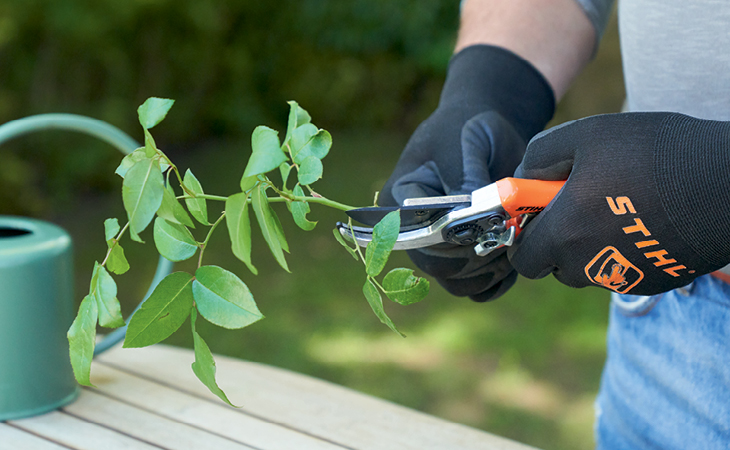
- Secateurs, such as the STIHL PG 20 bypass secateurs
- If you’re working with roses, we recommend wearing gloves
TAKING HYDRANGEA CUTTINGS
First choose a healthy parent plant which has the properties you would like your cuttings to have. A special flower or leaf colour, for example, counts as a property. Select an appropriate stem from which to take cuttings.
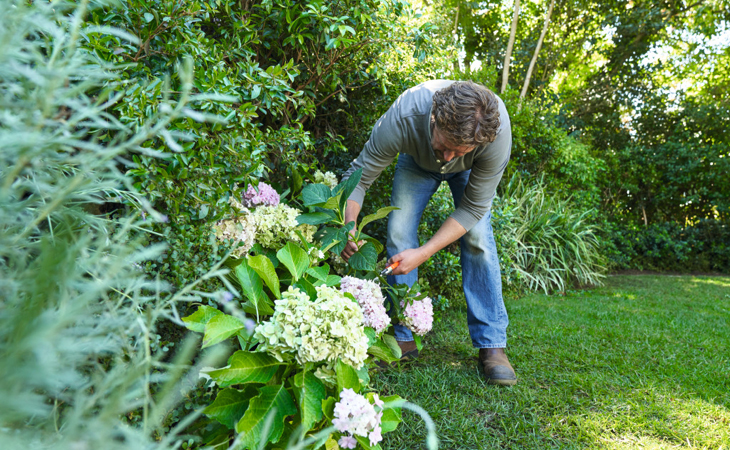
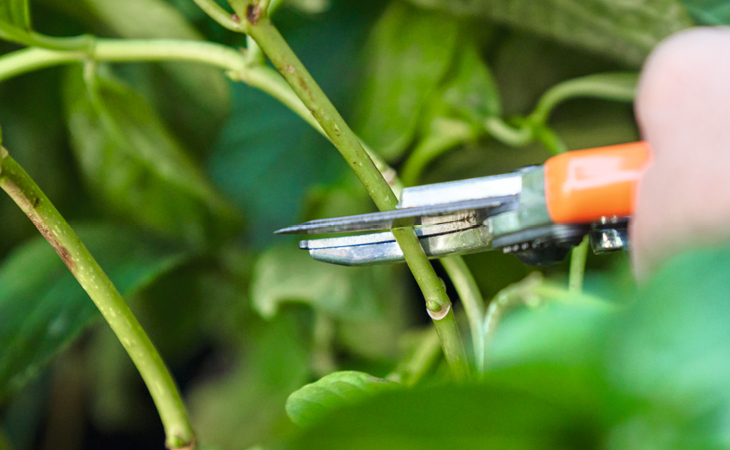
For hydrangeas, cut the stem or stem sections under a leaf node. This usually results in one tip cutting and several stem cuttings per stalk.
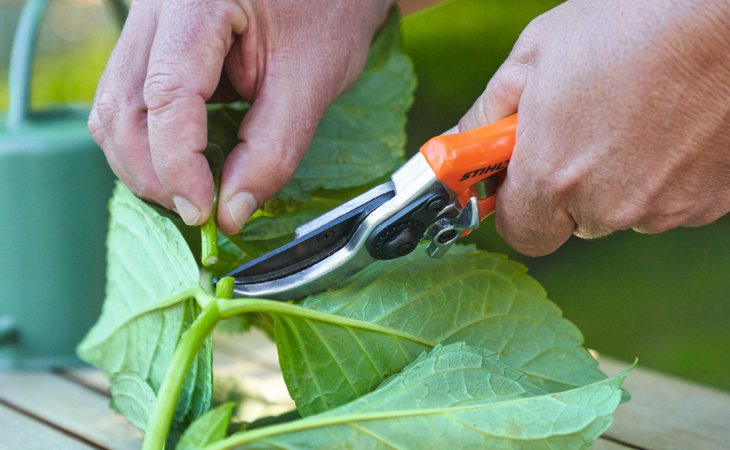
Remove all leaves from the tip cutting, except for the top two leaf pairs. If the cutting has a soft tip, cut it away until only the top two leaves remain. You should apply the same method for longer shoots. Simply cut above a leaf pair and below the next leaf node. In addition to the tip cutting, this also results in some shoot cuttings.
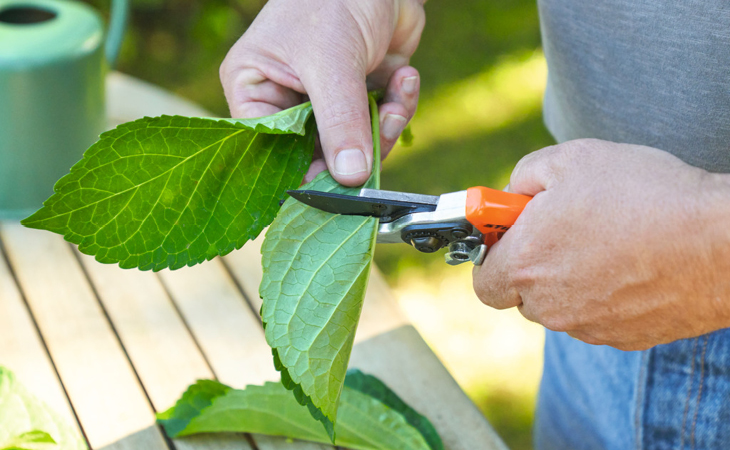
Reduce the remaining leaf surface area by two thirds to make the evaporative area smaller – this will help prevent your cuttings from drying out. Simply fold the leaves inwards along the long axis and cut them with sharp secateurs.
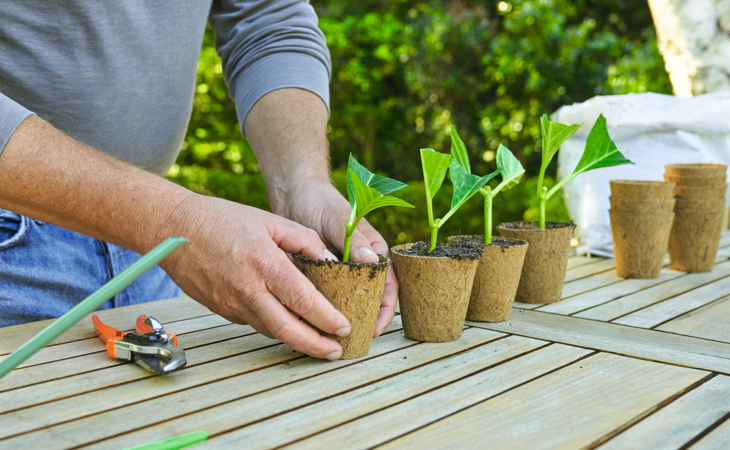
Fill the pots with seed compost and lightly firm the soil.
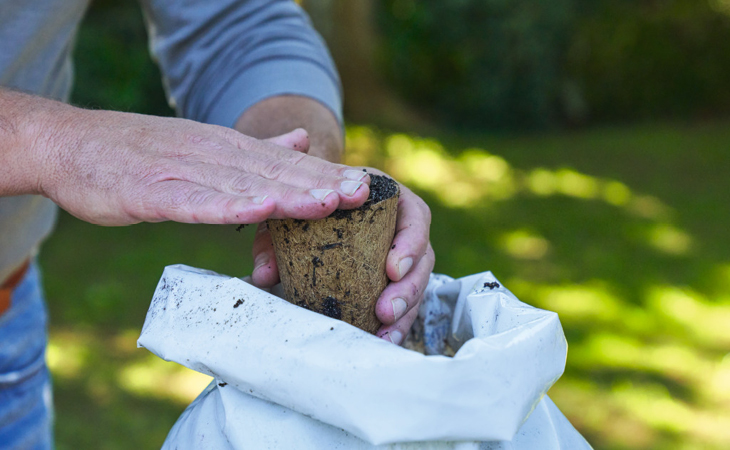
Insert the plant cuttings. press the soil firmly around them, and give them a good drink so that they have good soil contact and enough moisture.
The cuttings now go into a propagator to maximise the humidity which will encourage the cuttings to take root. Vents on your the propagator should stay closed to keep any warmth and moisture in. Alternatively, if you don’t have a propagator, set up a glass dome, a large jar, or a cover made from cling wrap held up over the cuttings with skewers.
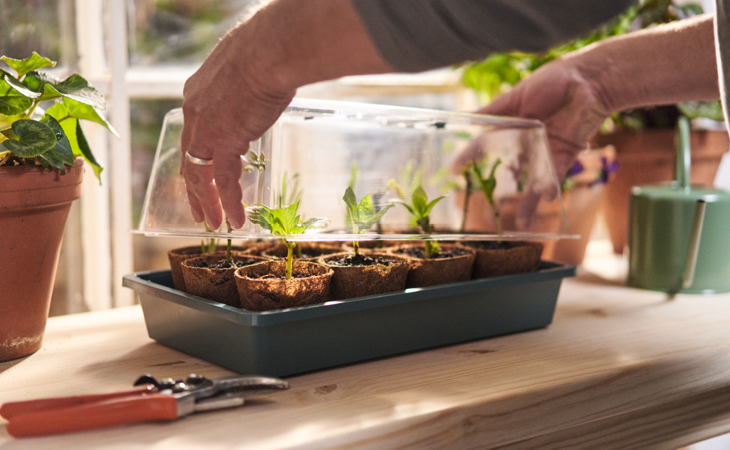
As soon as new leaves start to form, you can remove the hood. You may already be able to detect the first roots through the water drainage hole, however once there are new leaves, there’s no need for the cover and your cuttings are ready for planting!
HOW TO PROPEGATE LAVENDER
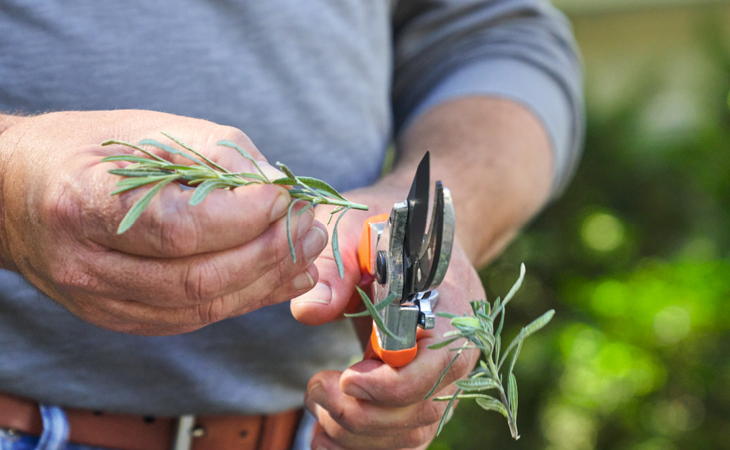
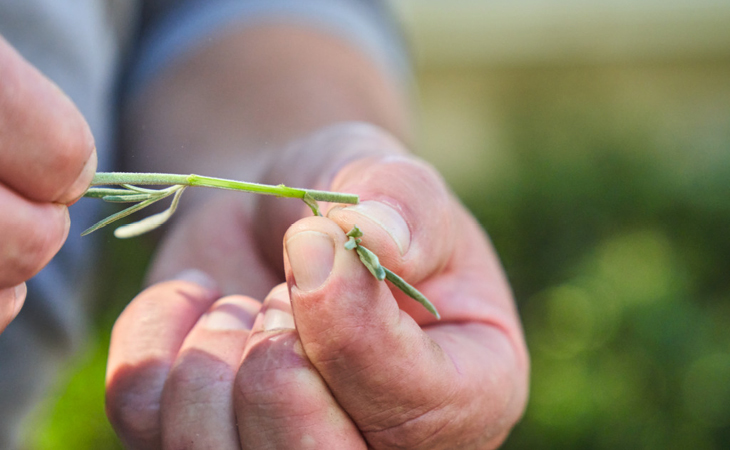
To take lavender cuttings from the parent plant, cut 8 to 10 centimeter pieces from the tips of stems. Strip all the leaves off to a length of about 7 centimeters and pinch off the soft tip with your fingers.
Now place the plant cuttings in pots with seed sowing compost. This is easier if you have already made a hole with an old pen beforehand.
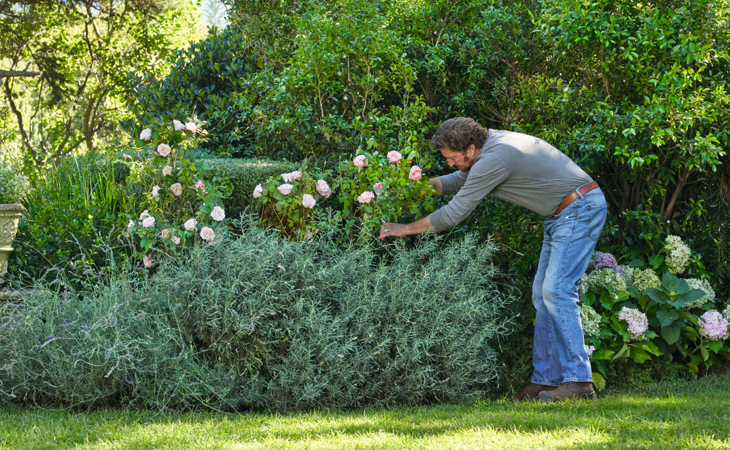
HOW TO PROPERGATE ROSES
Cut a good 30-centimetre-long rose stem from the parent plant. Remove all of the leaves, but leave small stalks so you can still see where the leaves were. Cut the stem 0.5 centimetres above a leaf point.
If the leaves are close together, cut the stem above every other one. You can remove the shoot tip. Place the cuttings in small pots with soil and firm the soil around them. The pot is now ready for the propagator!
Tips for taking cuttings
To enjoy healthy plants for a long time, there are a few things to consider when taking cuttings. The best time to take cuttings from the parent plant is from the end of December to March, when the fresh shoots are long enough and have matured.
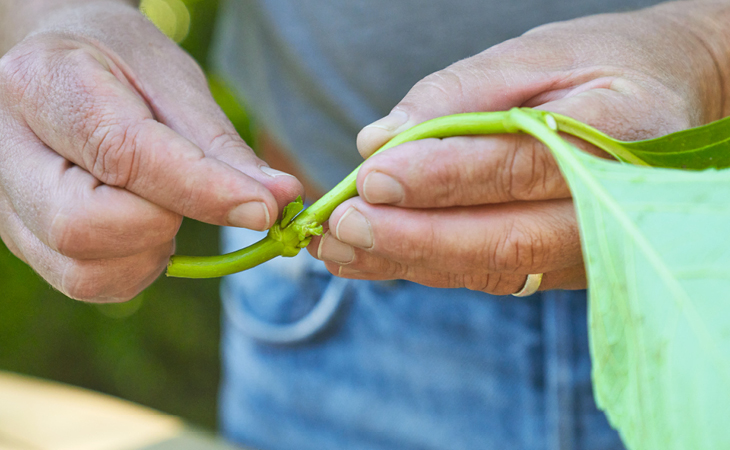
The time you take the cuttings will determine their success, as the cuttings should have firm but flexible stems. If the shoots are still too soft, they’ll be at risk of rotting. If they start getting woody, the cuttings will struggle to root. As a general rule, if a cutting bends downwards when you hold it up between your thumb and index finger, it is not suitable.
The length of the cuttings varies depending on the size and growth of the plant to be propagated. Always cut the cutting as close as possible below a bud or pair of buds, as the plant has a lot of meristem in this area and also has the most growth material. Both are of central importance for root formation.
In addition to hydrangeas, lavender and roses, indoor and container plants such as fuchsia, oleander, geranium and plumbago are great options to grow your indoor plant collection.
Click here for more DIY projects to enjoy at home.
Related