#How To
HOW TO BUILD A RAISED GARDEN BED
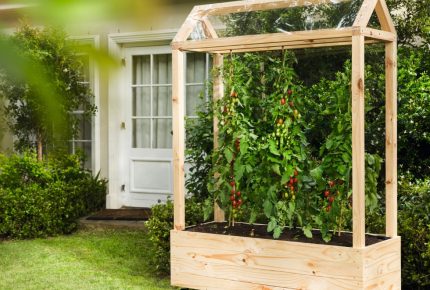
Home-grown veg is an unbeatable pleasure, and a raised bed is an efficient growing space that makes growing your own veggies easier. Building a raised garden bed is a satisfying project to tackle, and you’ll appreciate the results for many seasons to come. Spring is the time to get planting, so this is a great project to tackle during the cooler months so you’re ready to go once the weather warms up.
HOW TO Build a raised garden bed
planning your raised garden bed
Garden, terrace, or balcony: consider the location of your raised bed before you start to build it. To use the bed effectively, you should be able to easily access all sides of it. We recommend a maximum width of 140 to 160 cm for a free-standing bed and 70 to 80 cm if you build your bed against a wall. The recommended working height is around 70 to 100 cm depending on the user’s height. Remember to check that there are no tall plants nearby, as these will cast shade on your raised bed, which is not great for growing. Once you have found the right location, you can start to build your raised bed.
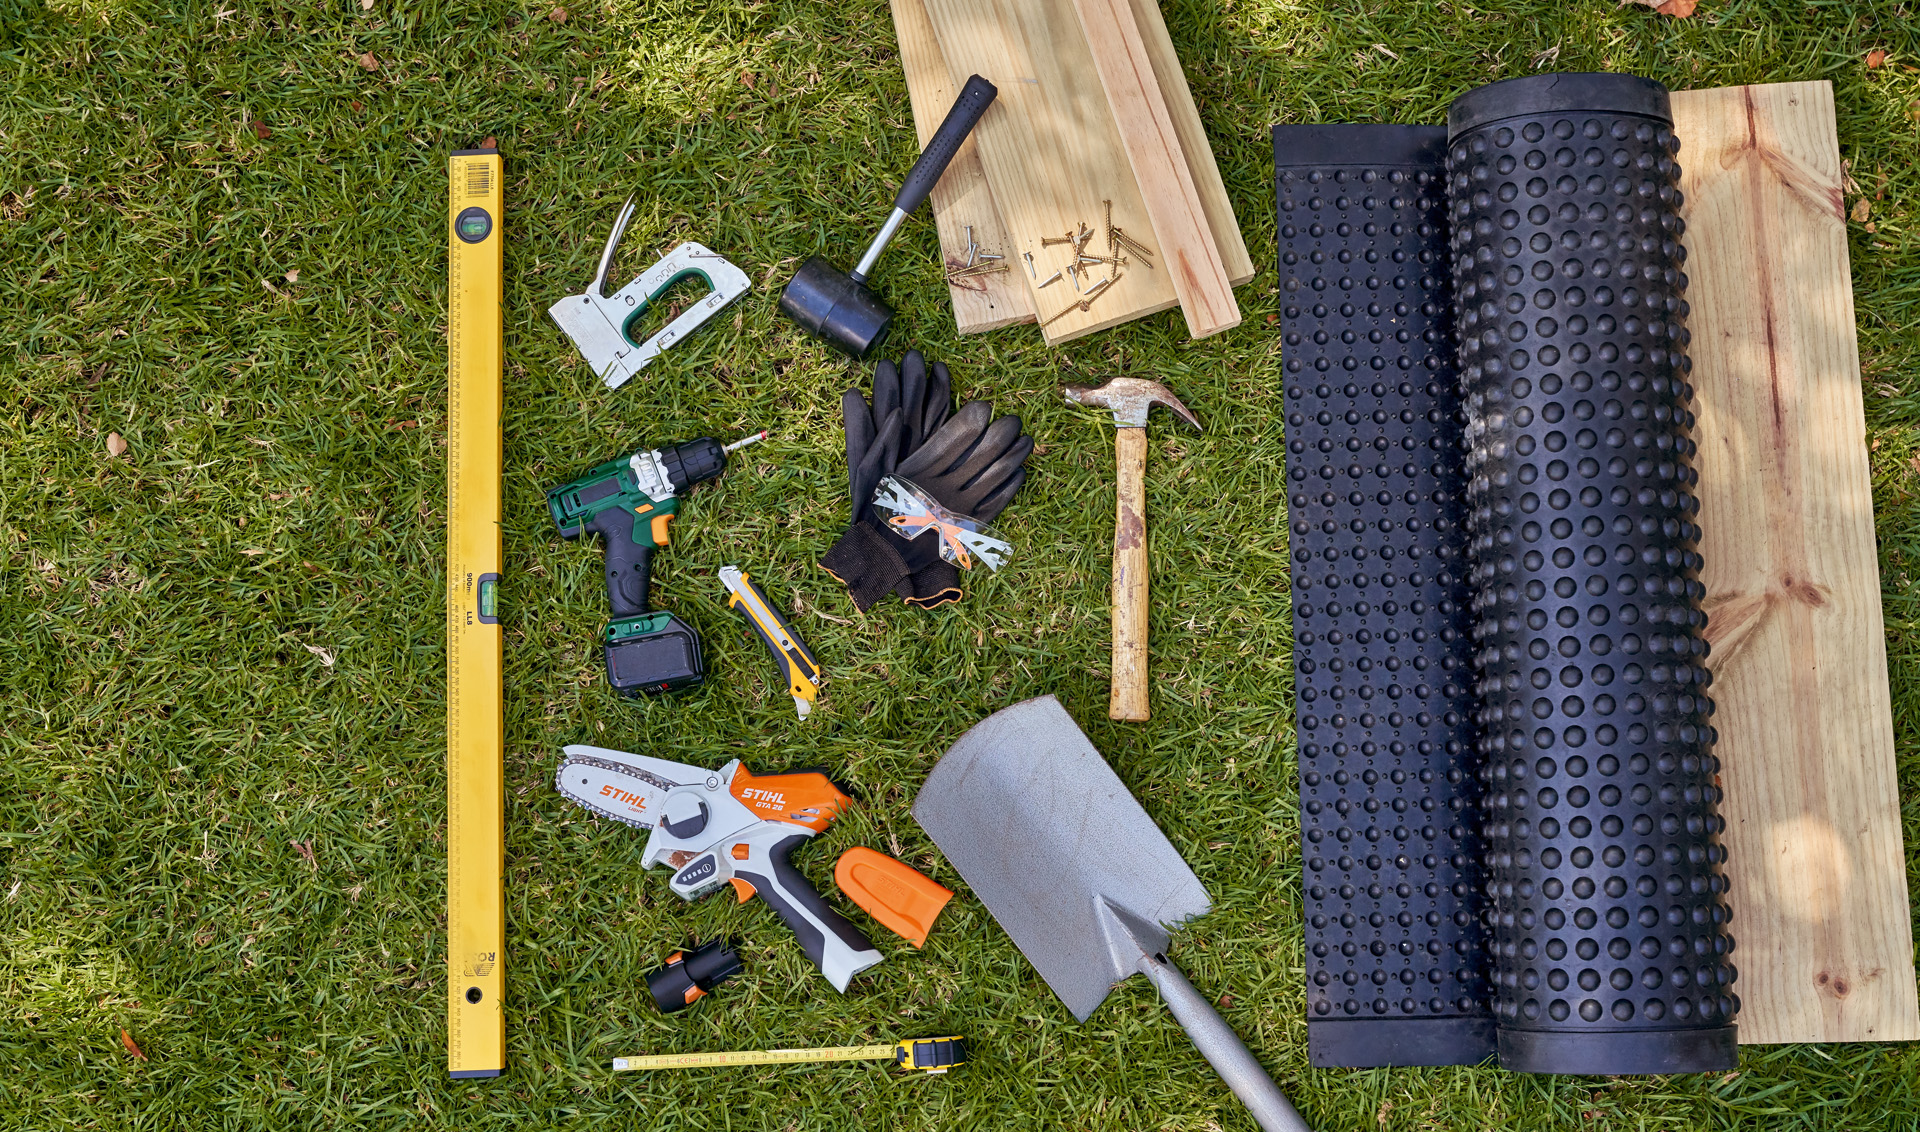
tools and materials
- Boards and posts
- Edging stones
- Garden pruner, e.g. STIHL GTA 26
- Spade
- Staple gun
- Utility knife
- Cordless screwdriver
- Tape measure or meter rule
- Spirit level
- Screws
- Wire mesh
- Pond liner or waterproof membrane
- Aluminum angle
Step 1: dig out footings
First mark out the area where you want to build your raised bed, using stakes and string – make sure your corners are square. Then use a spade to dig out the top 10 cm of the lawn.
STIHL professional tip: Don’t throw away the turf you lift, but put it to one side. It will come in handy when it’s time to fill your raised bed so that it supplies plants with the necessary nutrients and structure.

Step 2: fit edging stones
Line the walls of the trough you have made with edging stones. These will protect the raised bed you build from ground moisture, as well as ensuring it is not damaged if you use a lawn trimmer. Check the stones are flat with a spirit level.

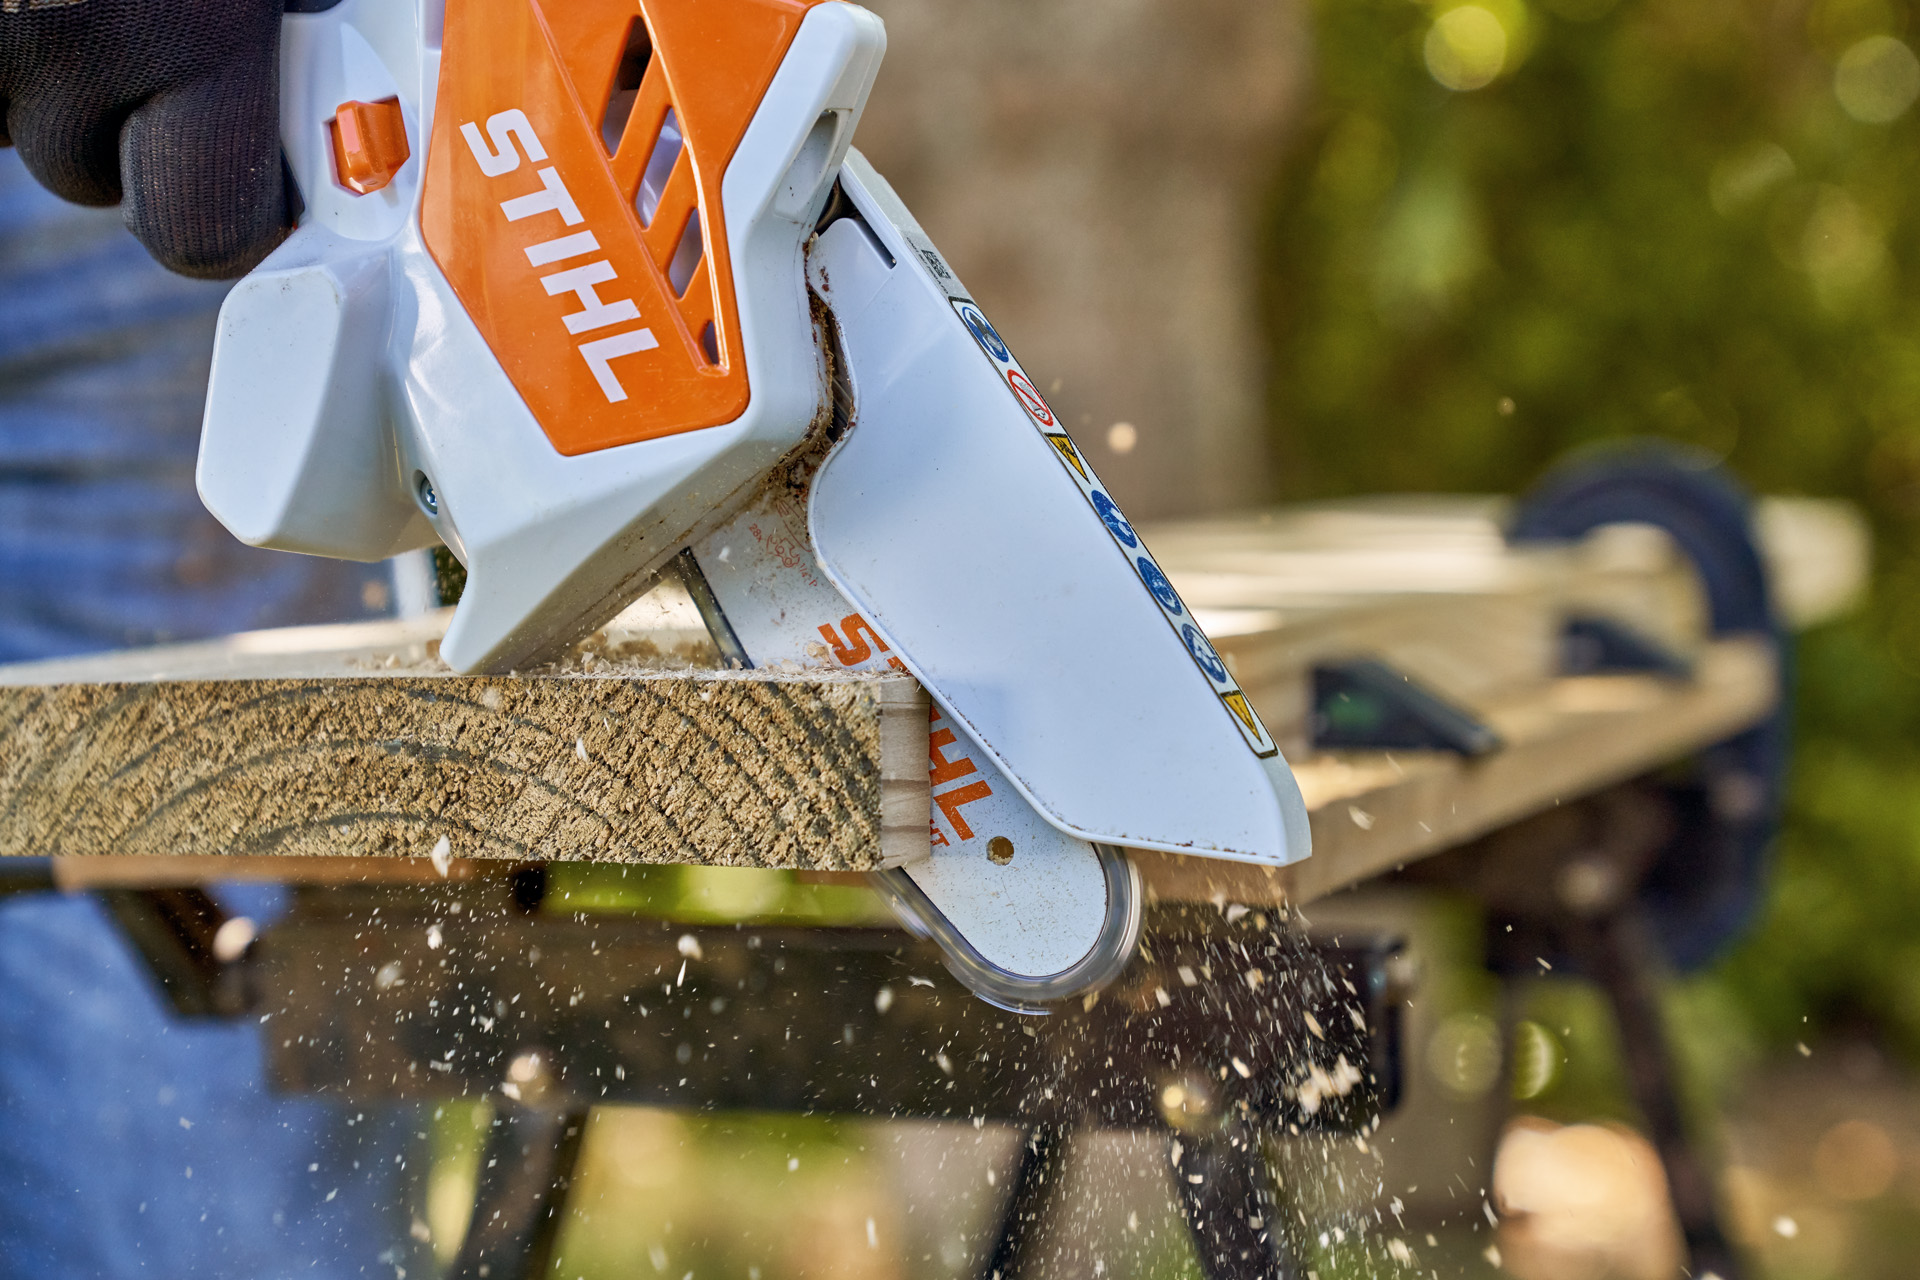
Step 3: fit the uprights
Use a STIHL GTA 26 garden pruner to cut the wooden posts to the required length: if you want to build a raised bed that is 1 meter tall, saw the post to a length of 1.1 meters to account for the 10 cm of footings that you have dug out. Then stand 4-6 posts inside the edging stones, with one post in each corner and an additional one per meter.

Step 4: cut wood and fit base boards
Use a garden pruner to cut wooden boards to the right length for the side panels of the raised bed. Fix the bottom row of boards in place by screwing them to the upright posts.
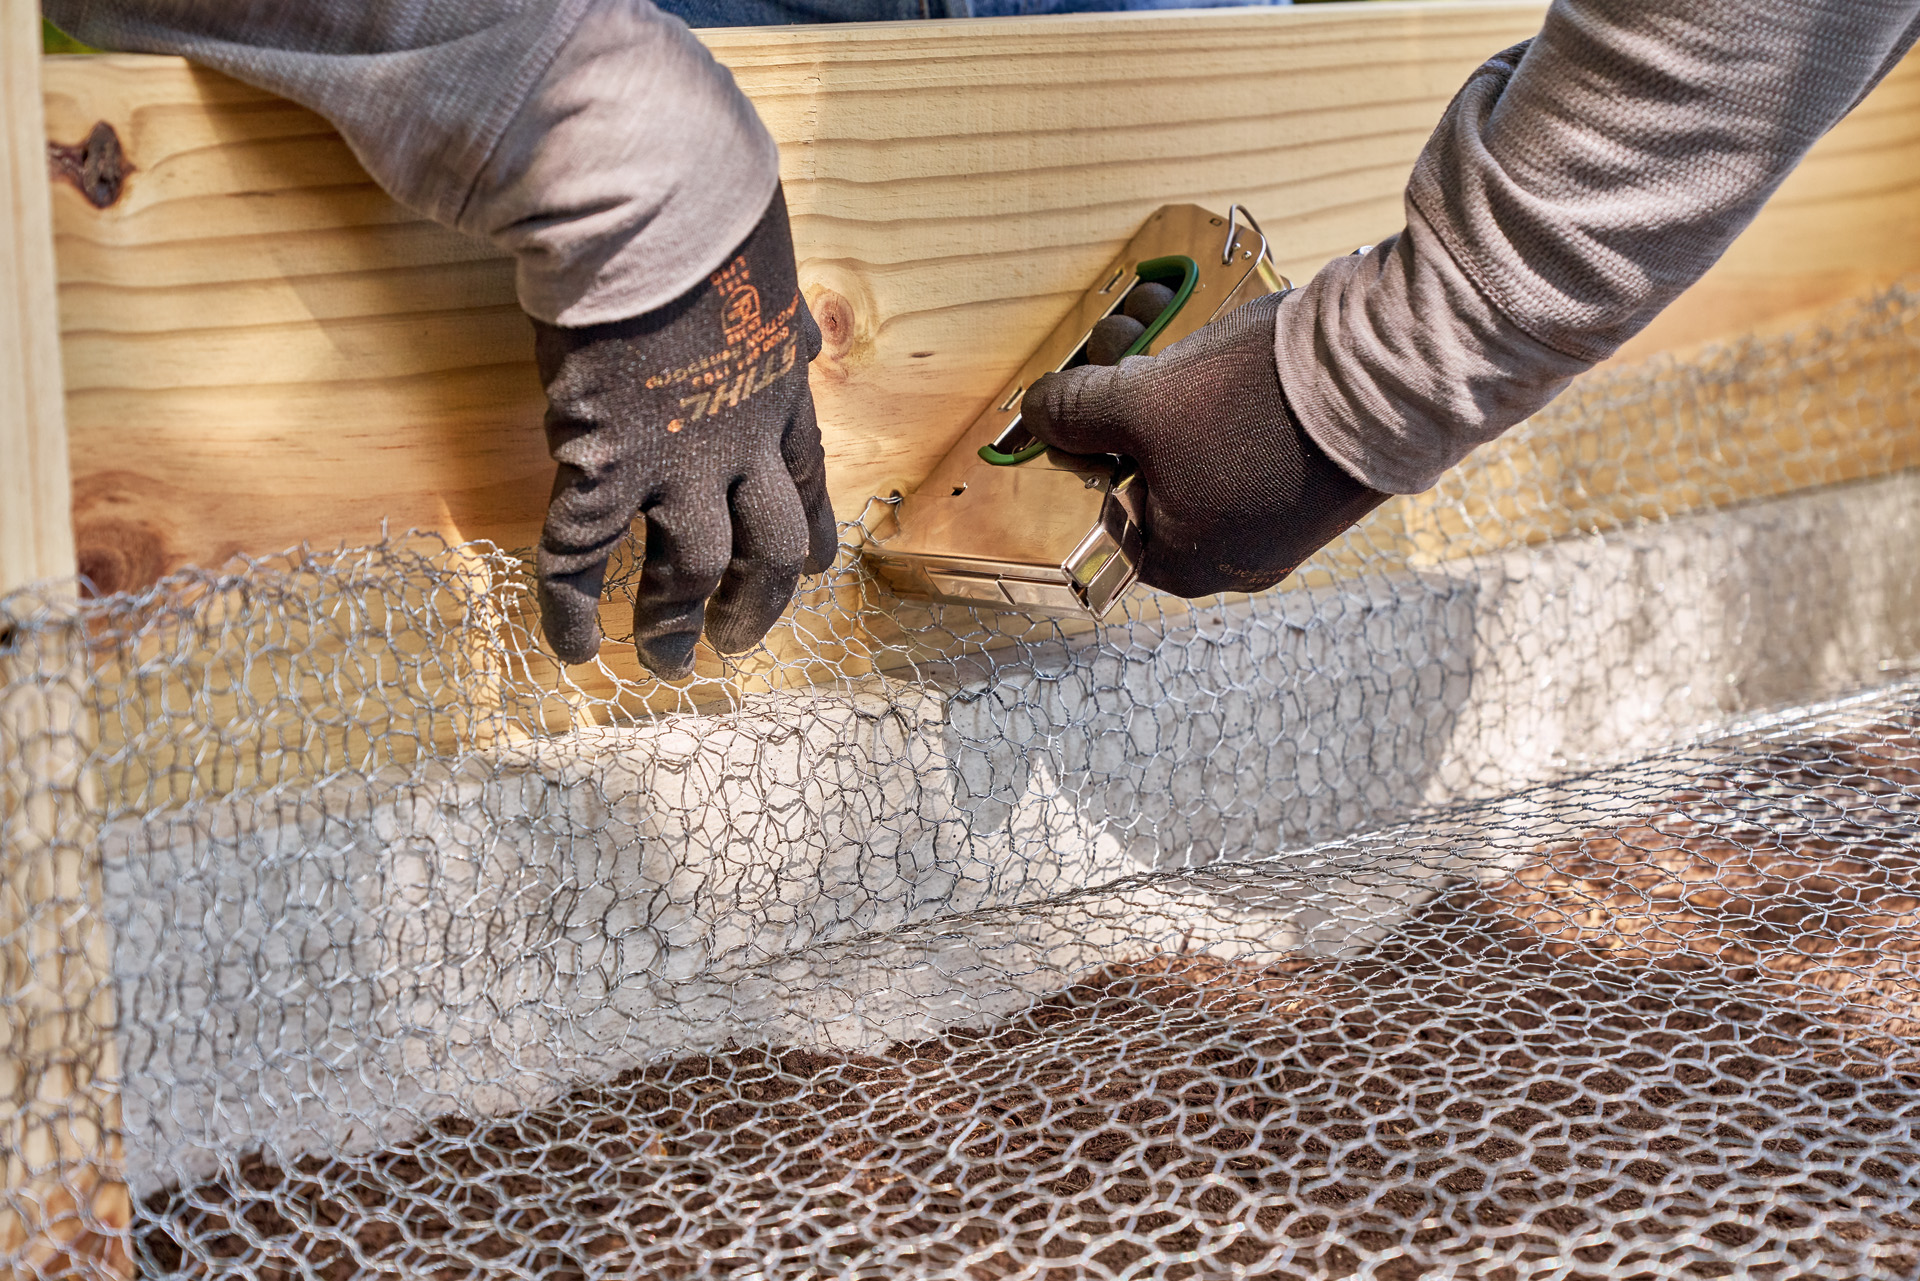
Step 5: attach wire mesh and build up sides
Lay wire mesh at the bottom of the raised bed so that it extends above the edging stones. If there is too much wire, just cut it off or fold it over. Staple the wire securely to the wooden boards. Then build up the sides by screwing boards in place all the way to the top of the upright posts.
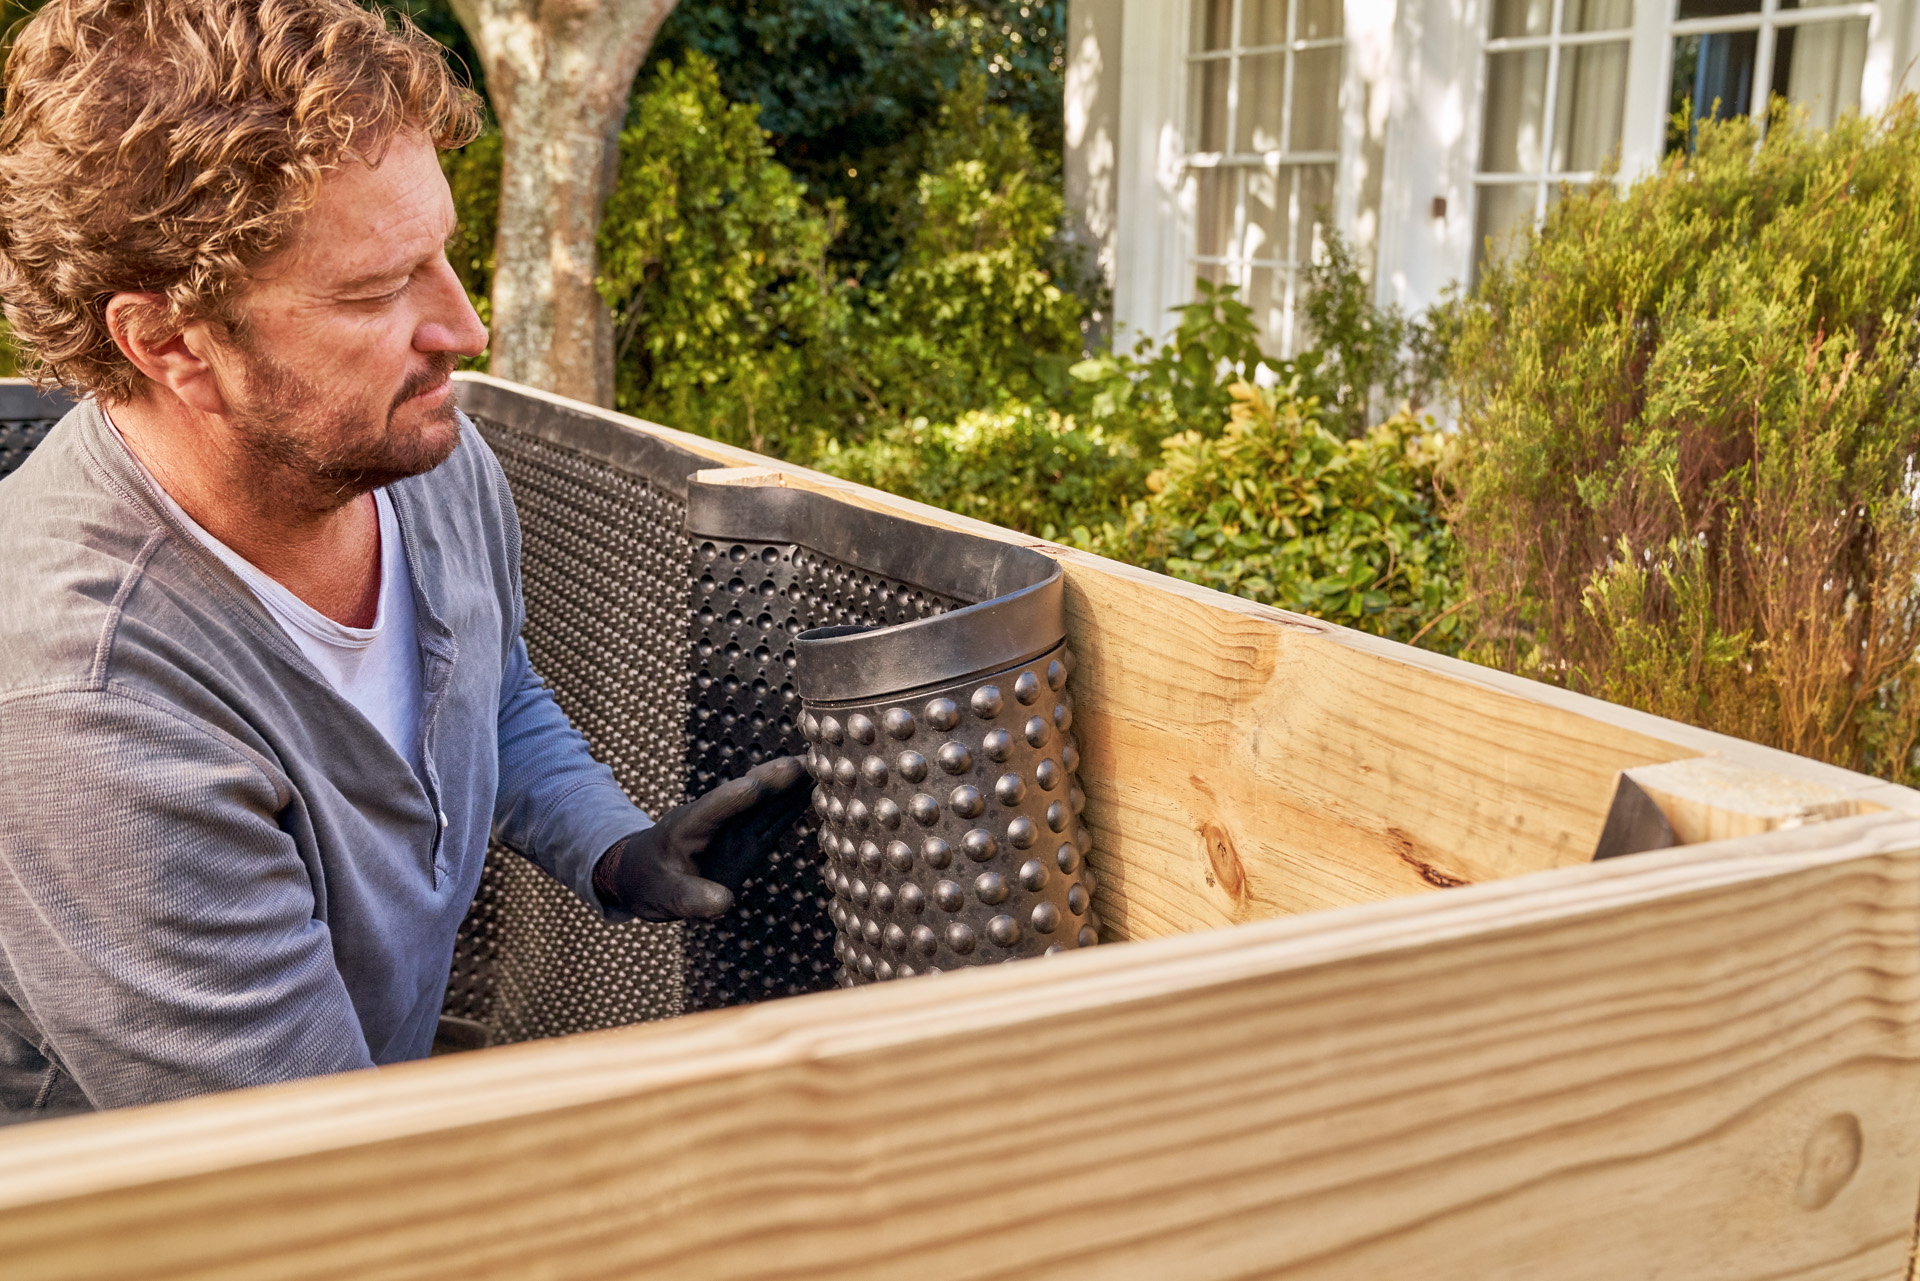
Step 6: attach liner
Now line the inner wall of the raised bed with pond liner or waterproof membrane and secure it with nails.
Step 7: finishing touches
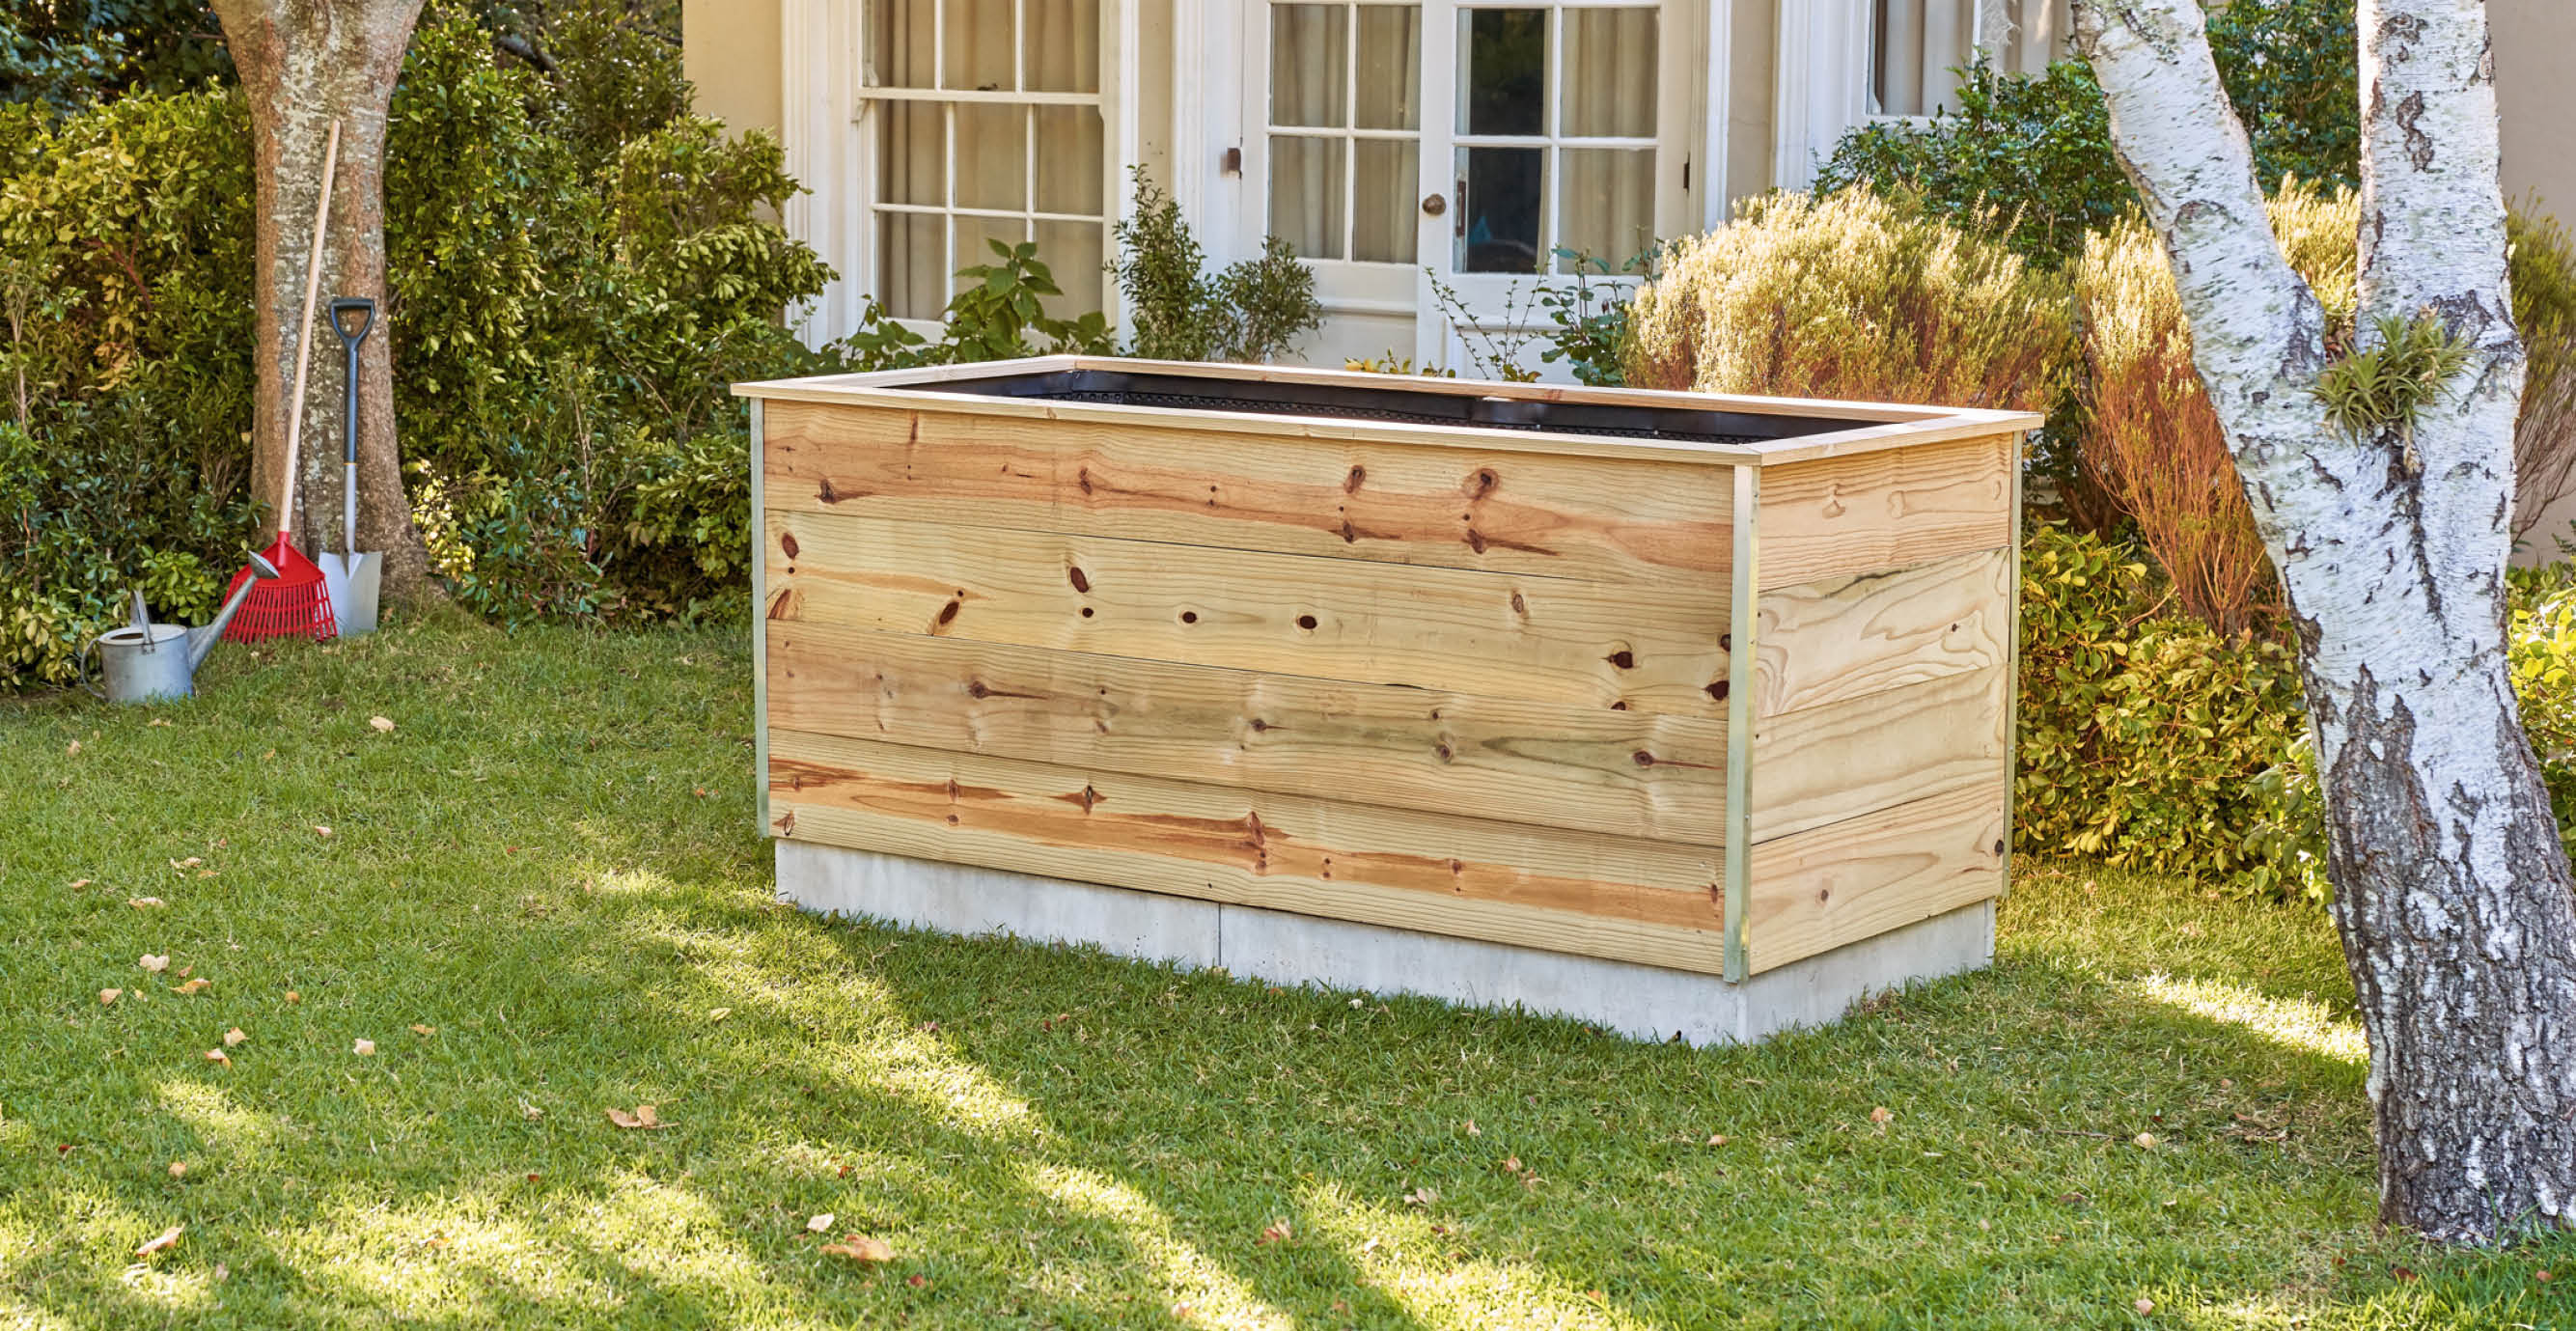
For a smart finish, use extra boards to create a border that covers the top of the posts and the board edges. If you find you have protruding boards at the corners, just trim them flush. Last but not least, fit some aluminum angle to finish the vertical corners of your raised bed.
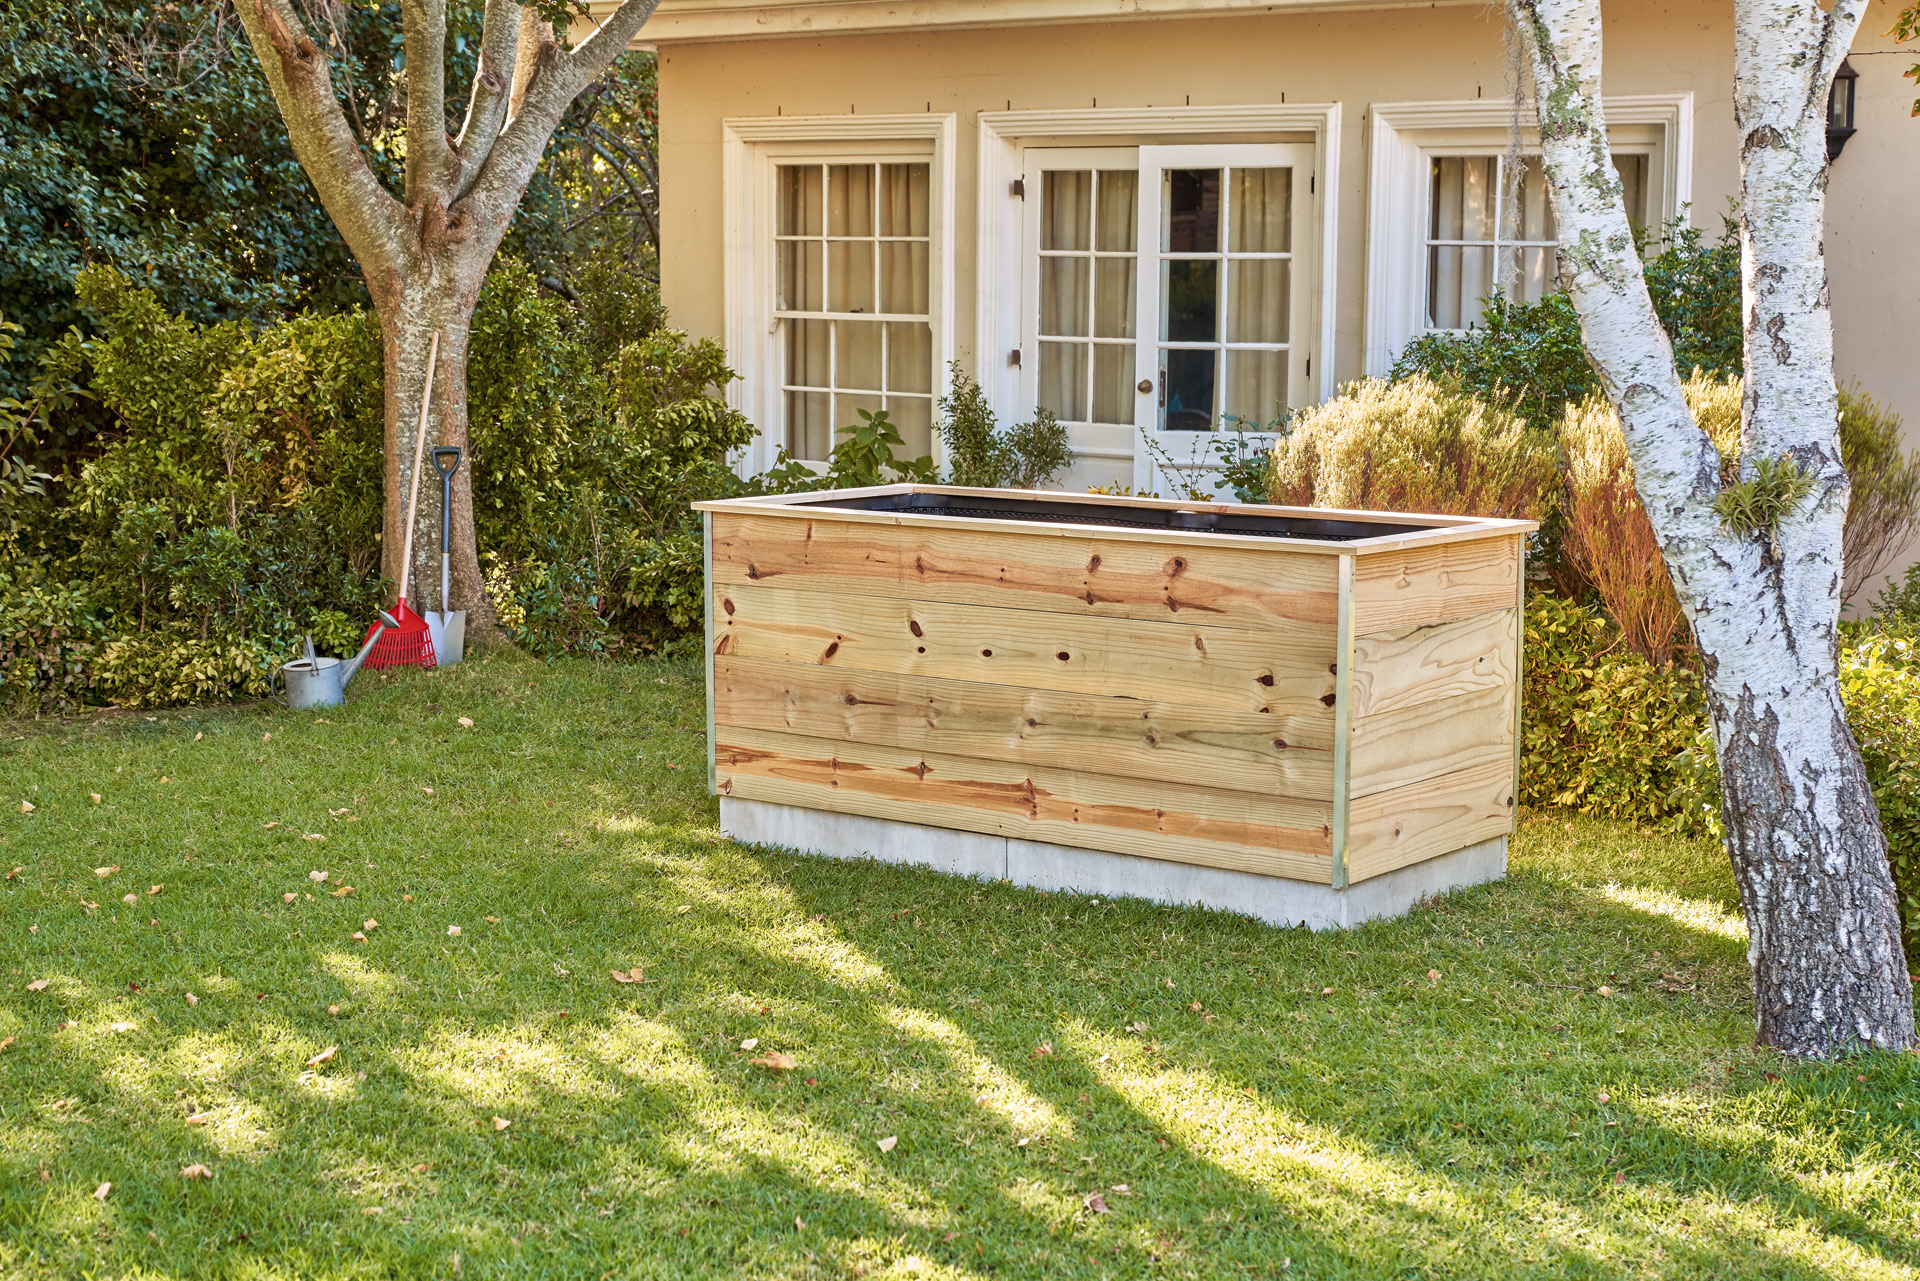
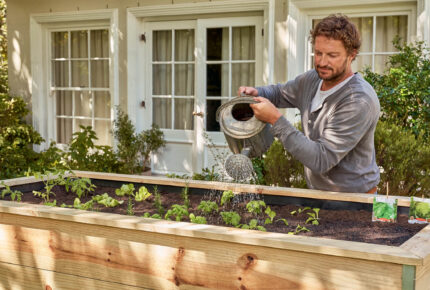
Your raised bed is now finished and ready for planting as soon as the weather warms up.
Your local STIHL dealer will be happy to advise the best tools and protective equipment for all of your DIY projects.
Click here for more DIY project guides to enjoy at home.
Related