#How To
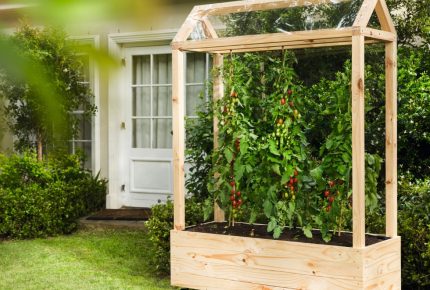
HOW TO PLANT A RAISED GARDEN BED
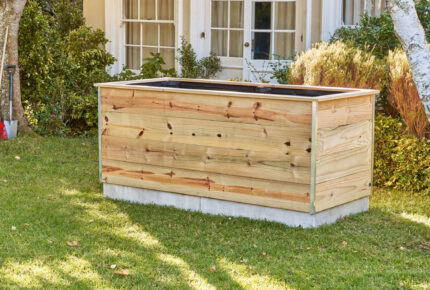
Before you can get on with planting your raised bed, it needs to be filled with different layers that enable good growing conditions.
How to fill a raised bed
Before you can plant your raised bed you will need to fill it, with different materials laid in layers on top of the wire base. The layers we recommend facilitate planting at a comfortable working height, and will also offer great conditions for healthy plants.
Ideally, you should fill a raised bed with five layers, beginning with coarse layers at the bottom, which then get finer as you move up to planting level.
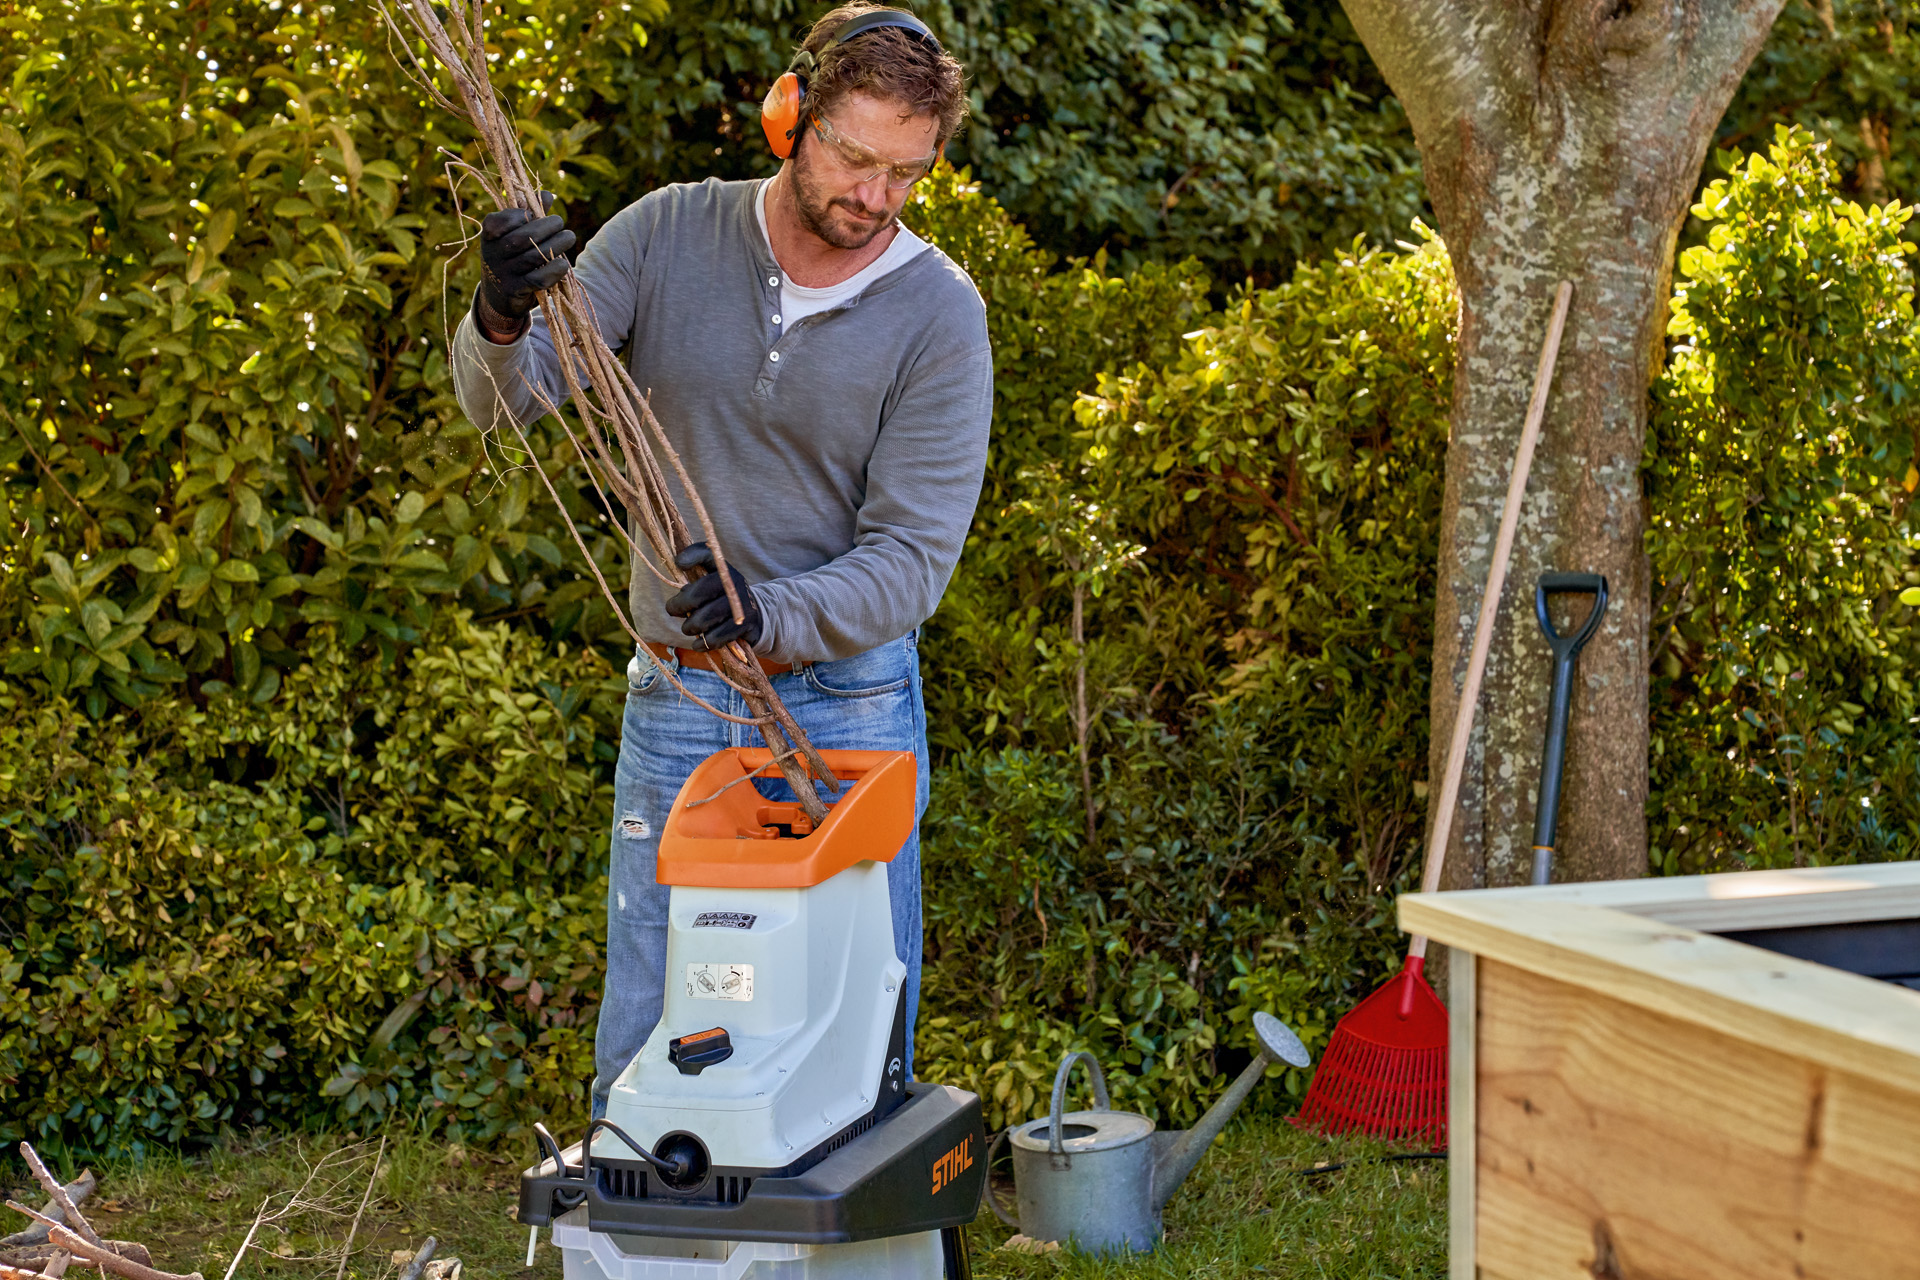
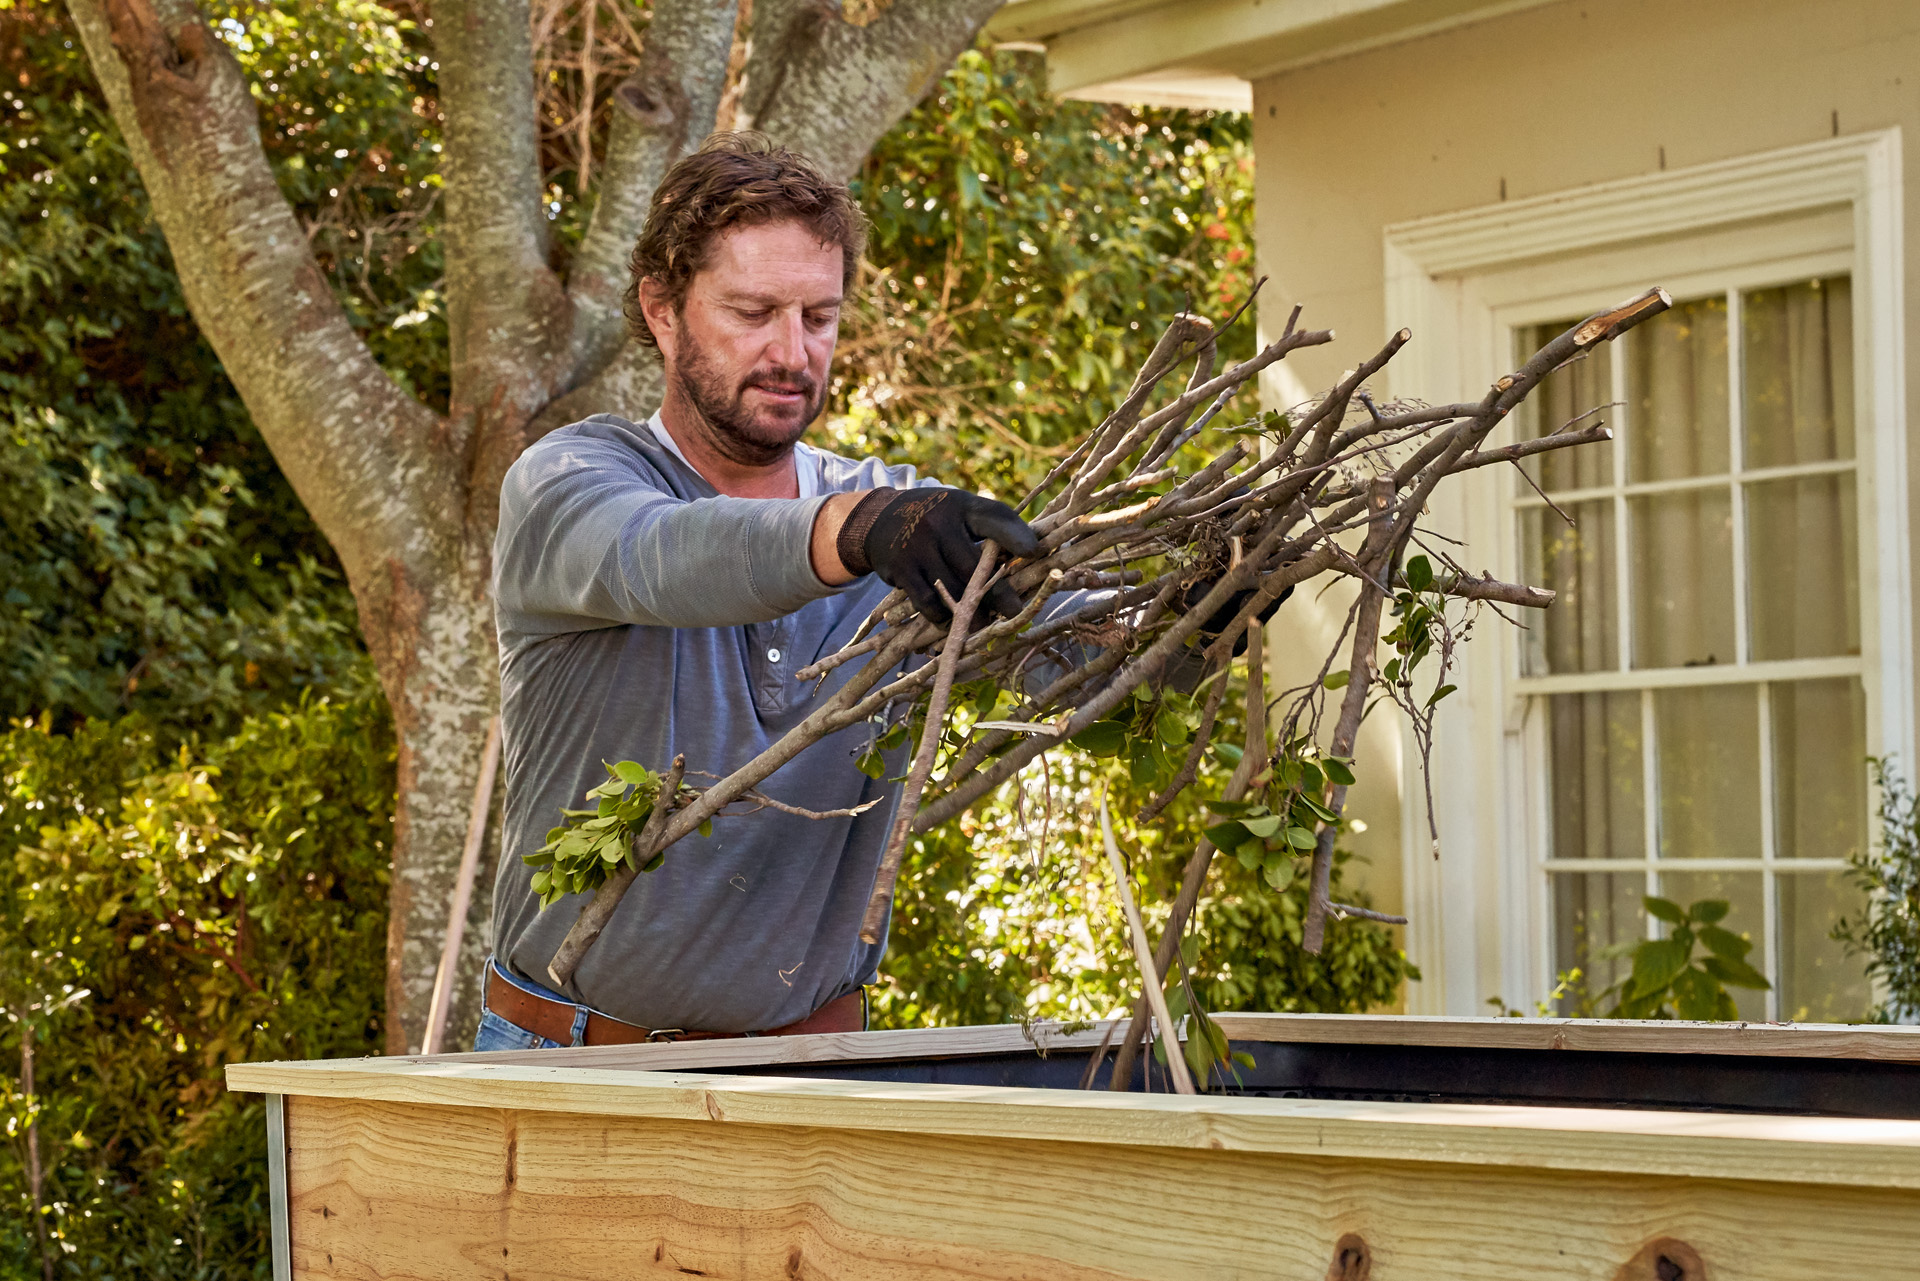
1st layer: cuttings from shrubs and trees
Coarse cuttings from shrubs and trees are the ideal foundation for your raised bed. Cut long pieces to the right size so that they fit into the bed. To fill gaps, shred some of the shrub and tree cuttings and scatter the shredded material between the large branches. We make this first layer around 30 centimeters deep, but this can vary.
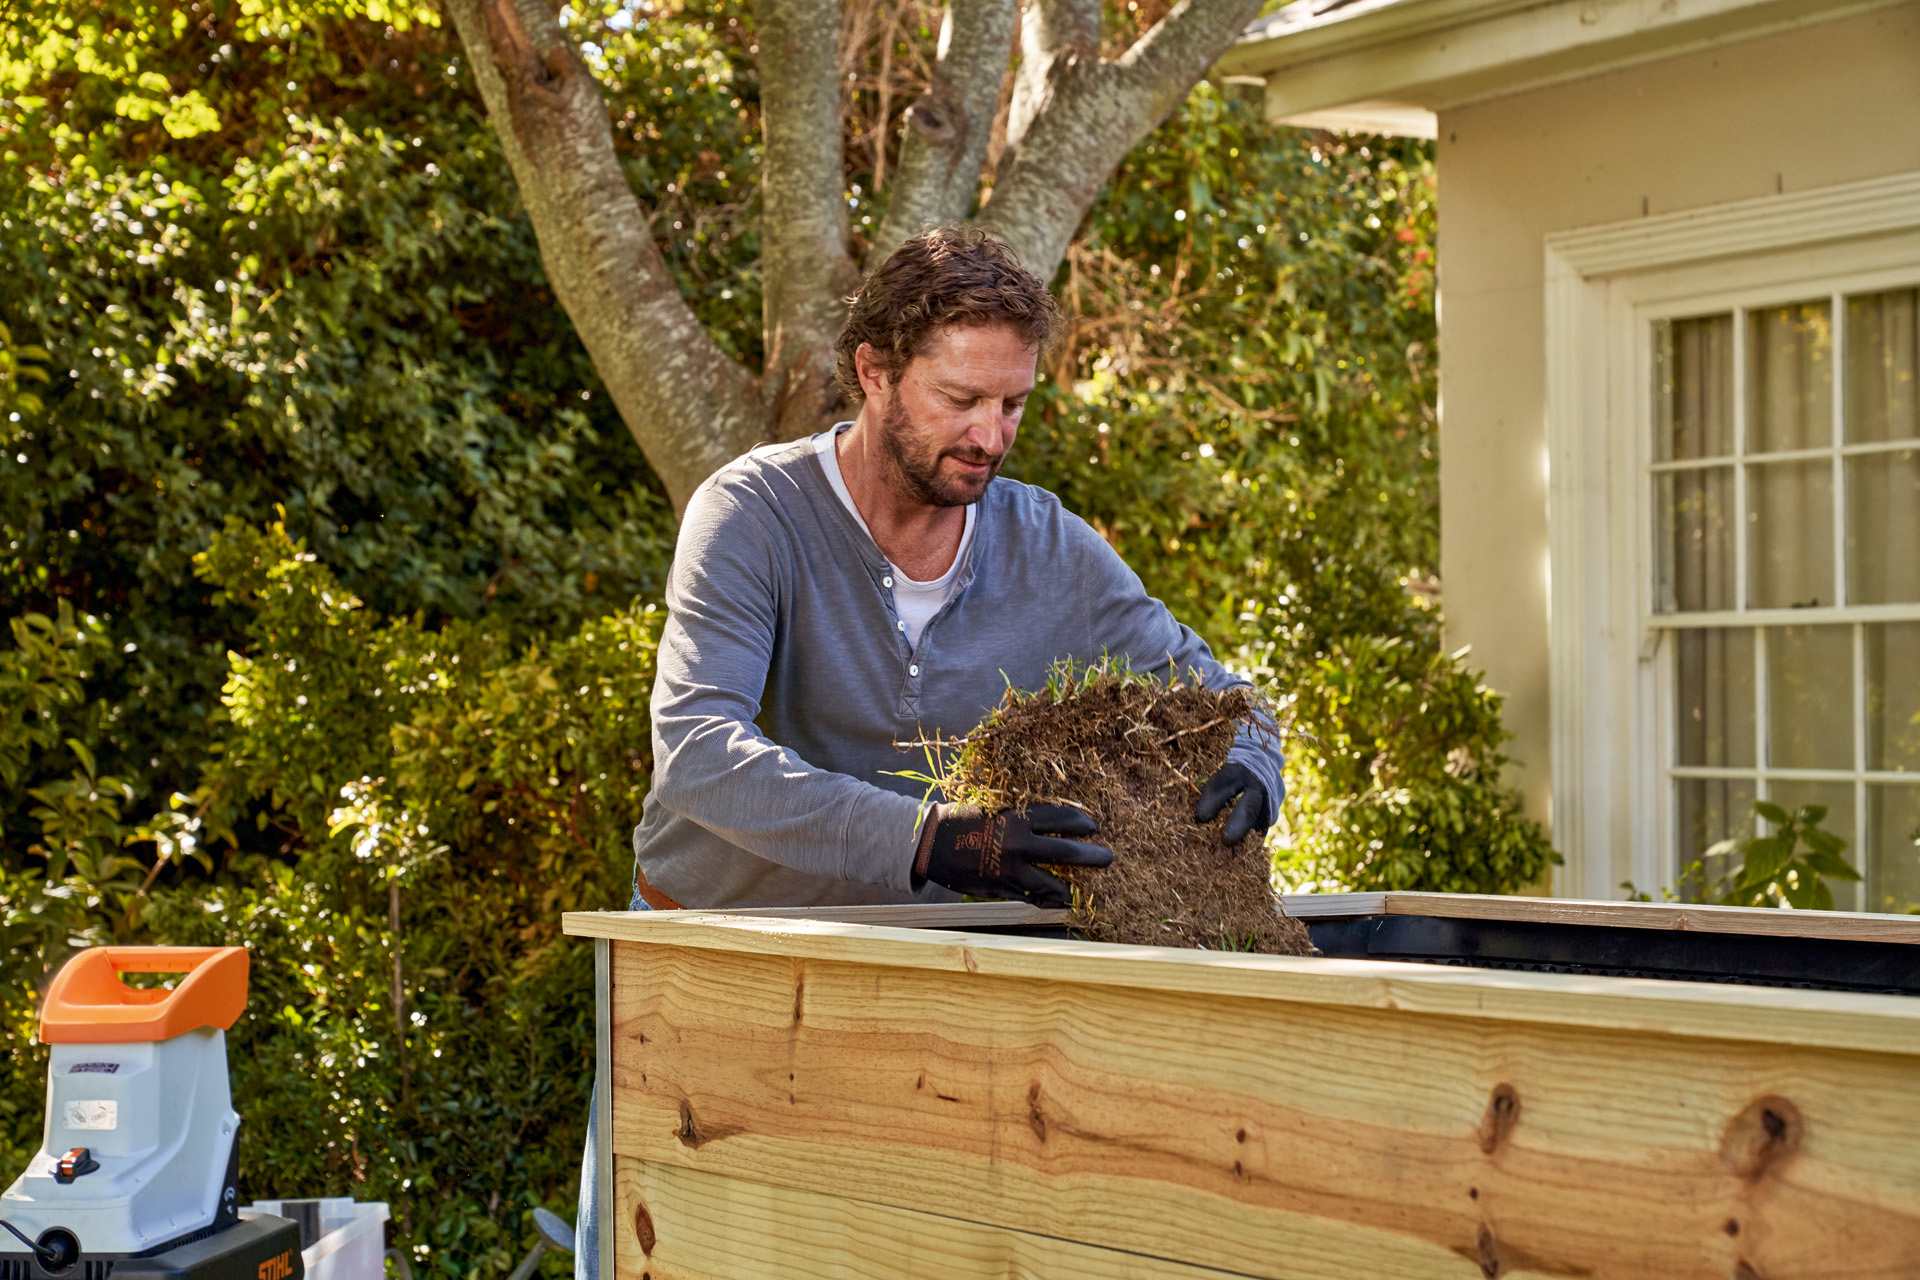
2nd layer: turf or a blanket
If you have some available from digging the footings for your raised bed, a layer of turf should be added on top of the coarse bottom layer along with some soil. If you haven’t got any turf, an old blanket will also do a great job here – just make sure it is permeable to water.
3rd layer: plant cuttings, foliage and twigs
Much of your garden waste can be used in this layer. Foliage, twigs and trimmings from perennial plants and grasses can all go in. However, there is some material that you should avoid using in your raised bed: coniferous tree cuttings, such as from thuja and yew, can impair growing conditions by making soil acidic; oak and walnut leaves are high in tannins that may hinder plant growth; while cuttings from roses, willows and goutweed may spring back to life as unwelcome additions to your planting scheme.
4th layer: half-finished compost
Next, add a 10 to 15 cm layer of unsieved, half-finished compost – this means compost that has been resting for 6 to 9 months, and is coarser than mature compost.
5th layer: finished compost and soil
The top layer, which you will be planting into, should consist of finished fine compost or potting soil mixed with garden soil.
For a slightly simplified approach to preparing your raised bed for planting, you can instead use three layers: one of larger branches and twigs; the next of less-coarse plant material; and potting soil to top it off.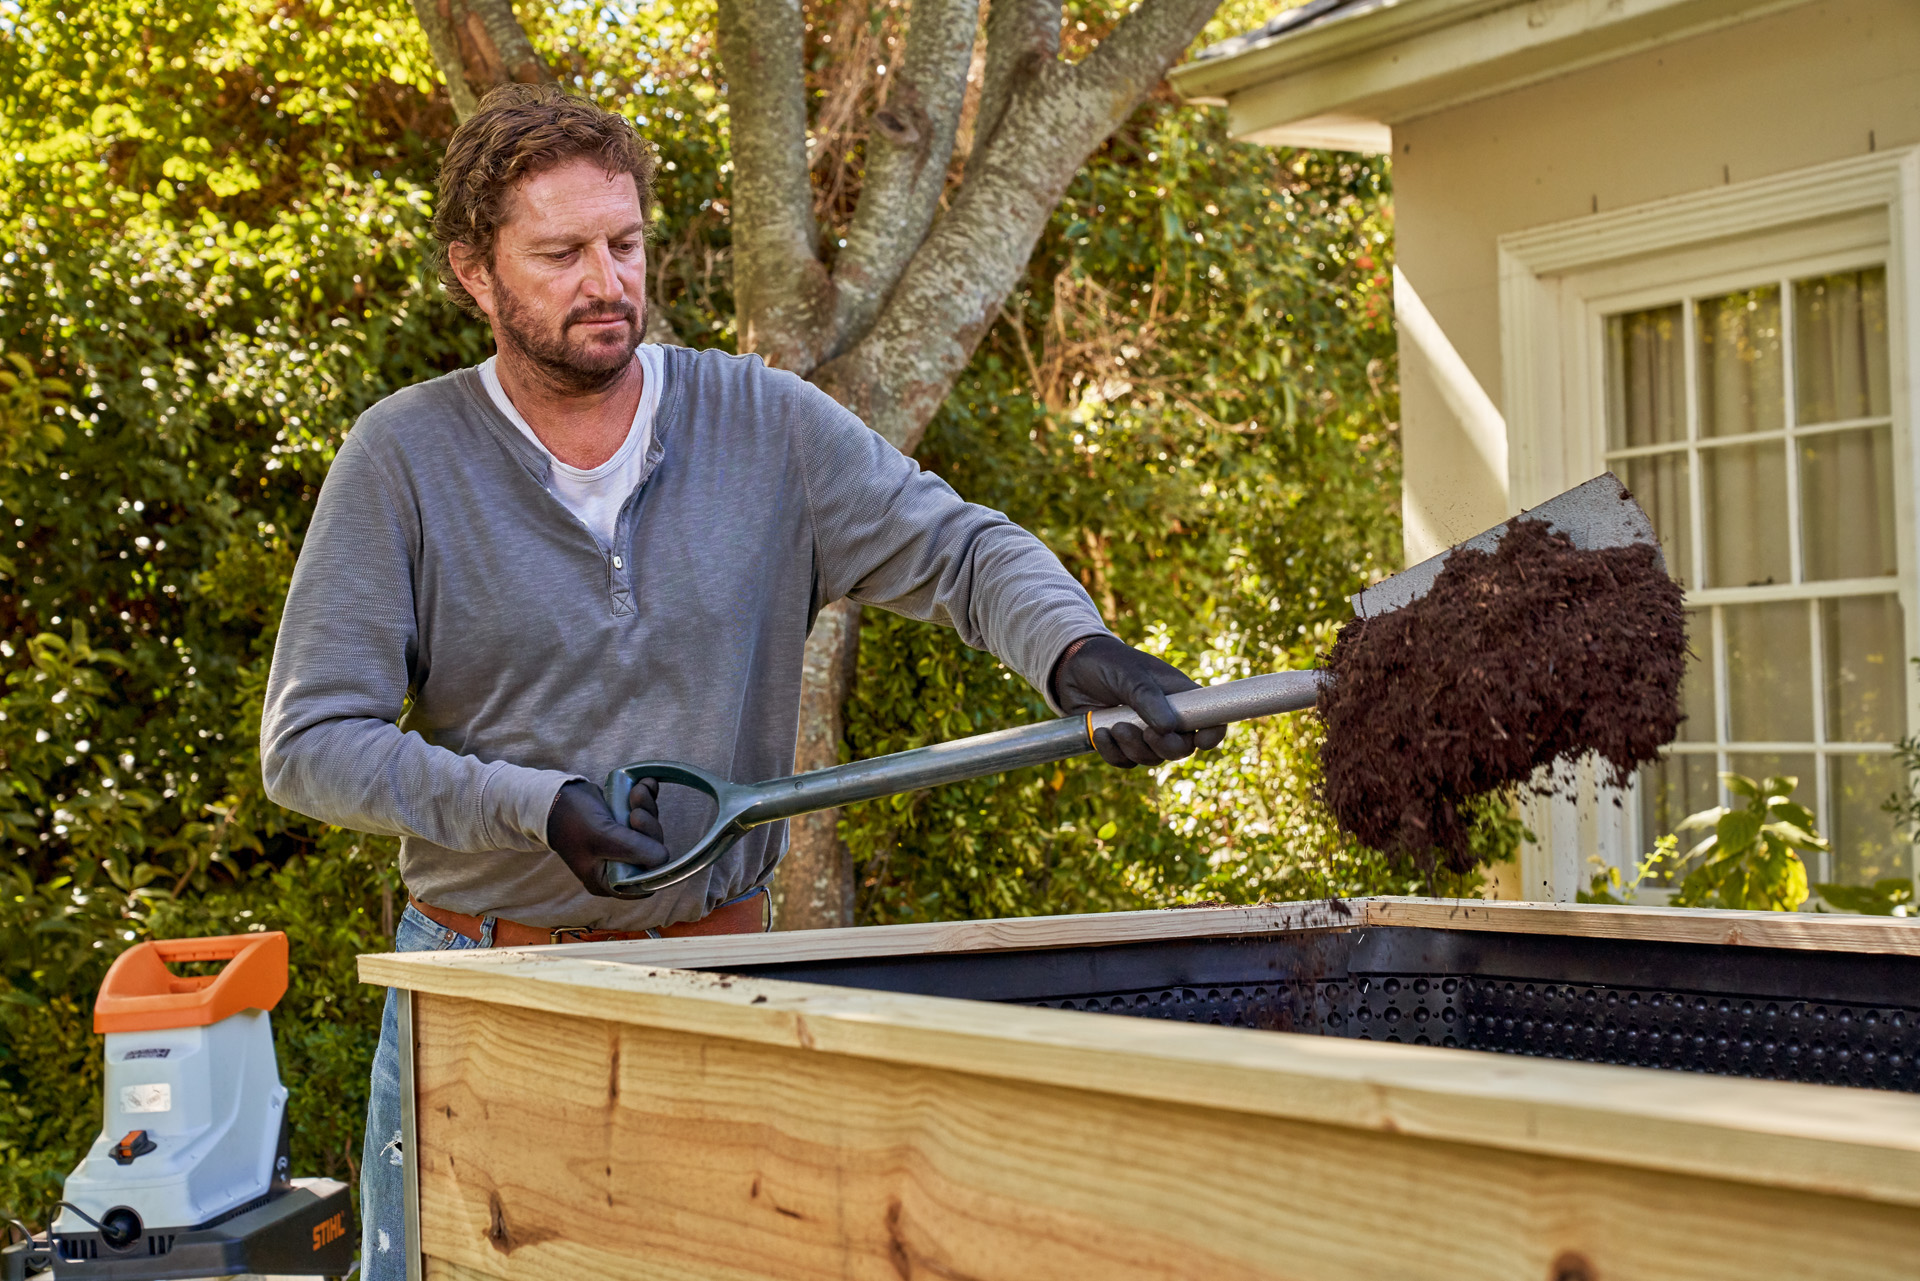
how the layers work
This layered structure for filling a raised bed helps to ensure successful planting and rewarding growth. The bottom layer provides good drainage, as the coarse tree and shrub cuttings mean excess water can quickly drain off, as well as ensuring some air pockets to prevent waterlogging and promote root growth. The turf or blanket layer functions as a barrier to prevent soil from falling into the bottom layer and also assists with drainage. The other layers are what can make the raised bed such a rewarding planting system: as the garden waste in the layers breaks down it produces heat, which helps plants to grow and protects them at colder temperatures. This means you can start planting your raised bed when the last frost has passed, as early as March. The garden waste also breaks down to become valuable nutrients for plants, and the compost in particular will support healthy growth for many years, as a rich and water-retentive medium.
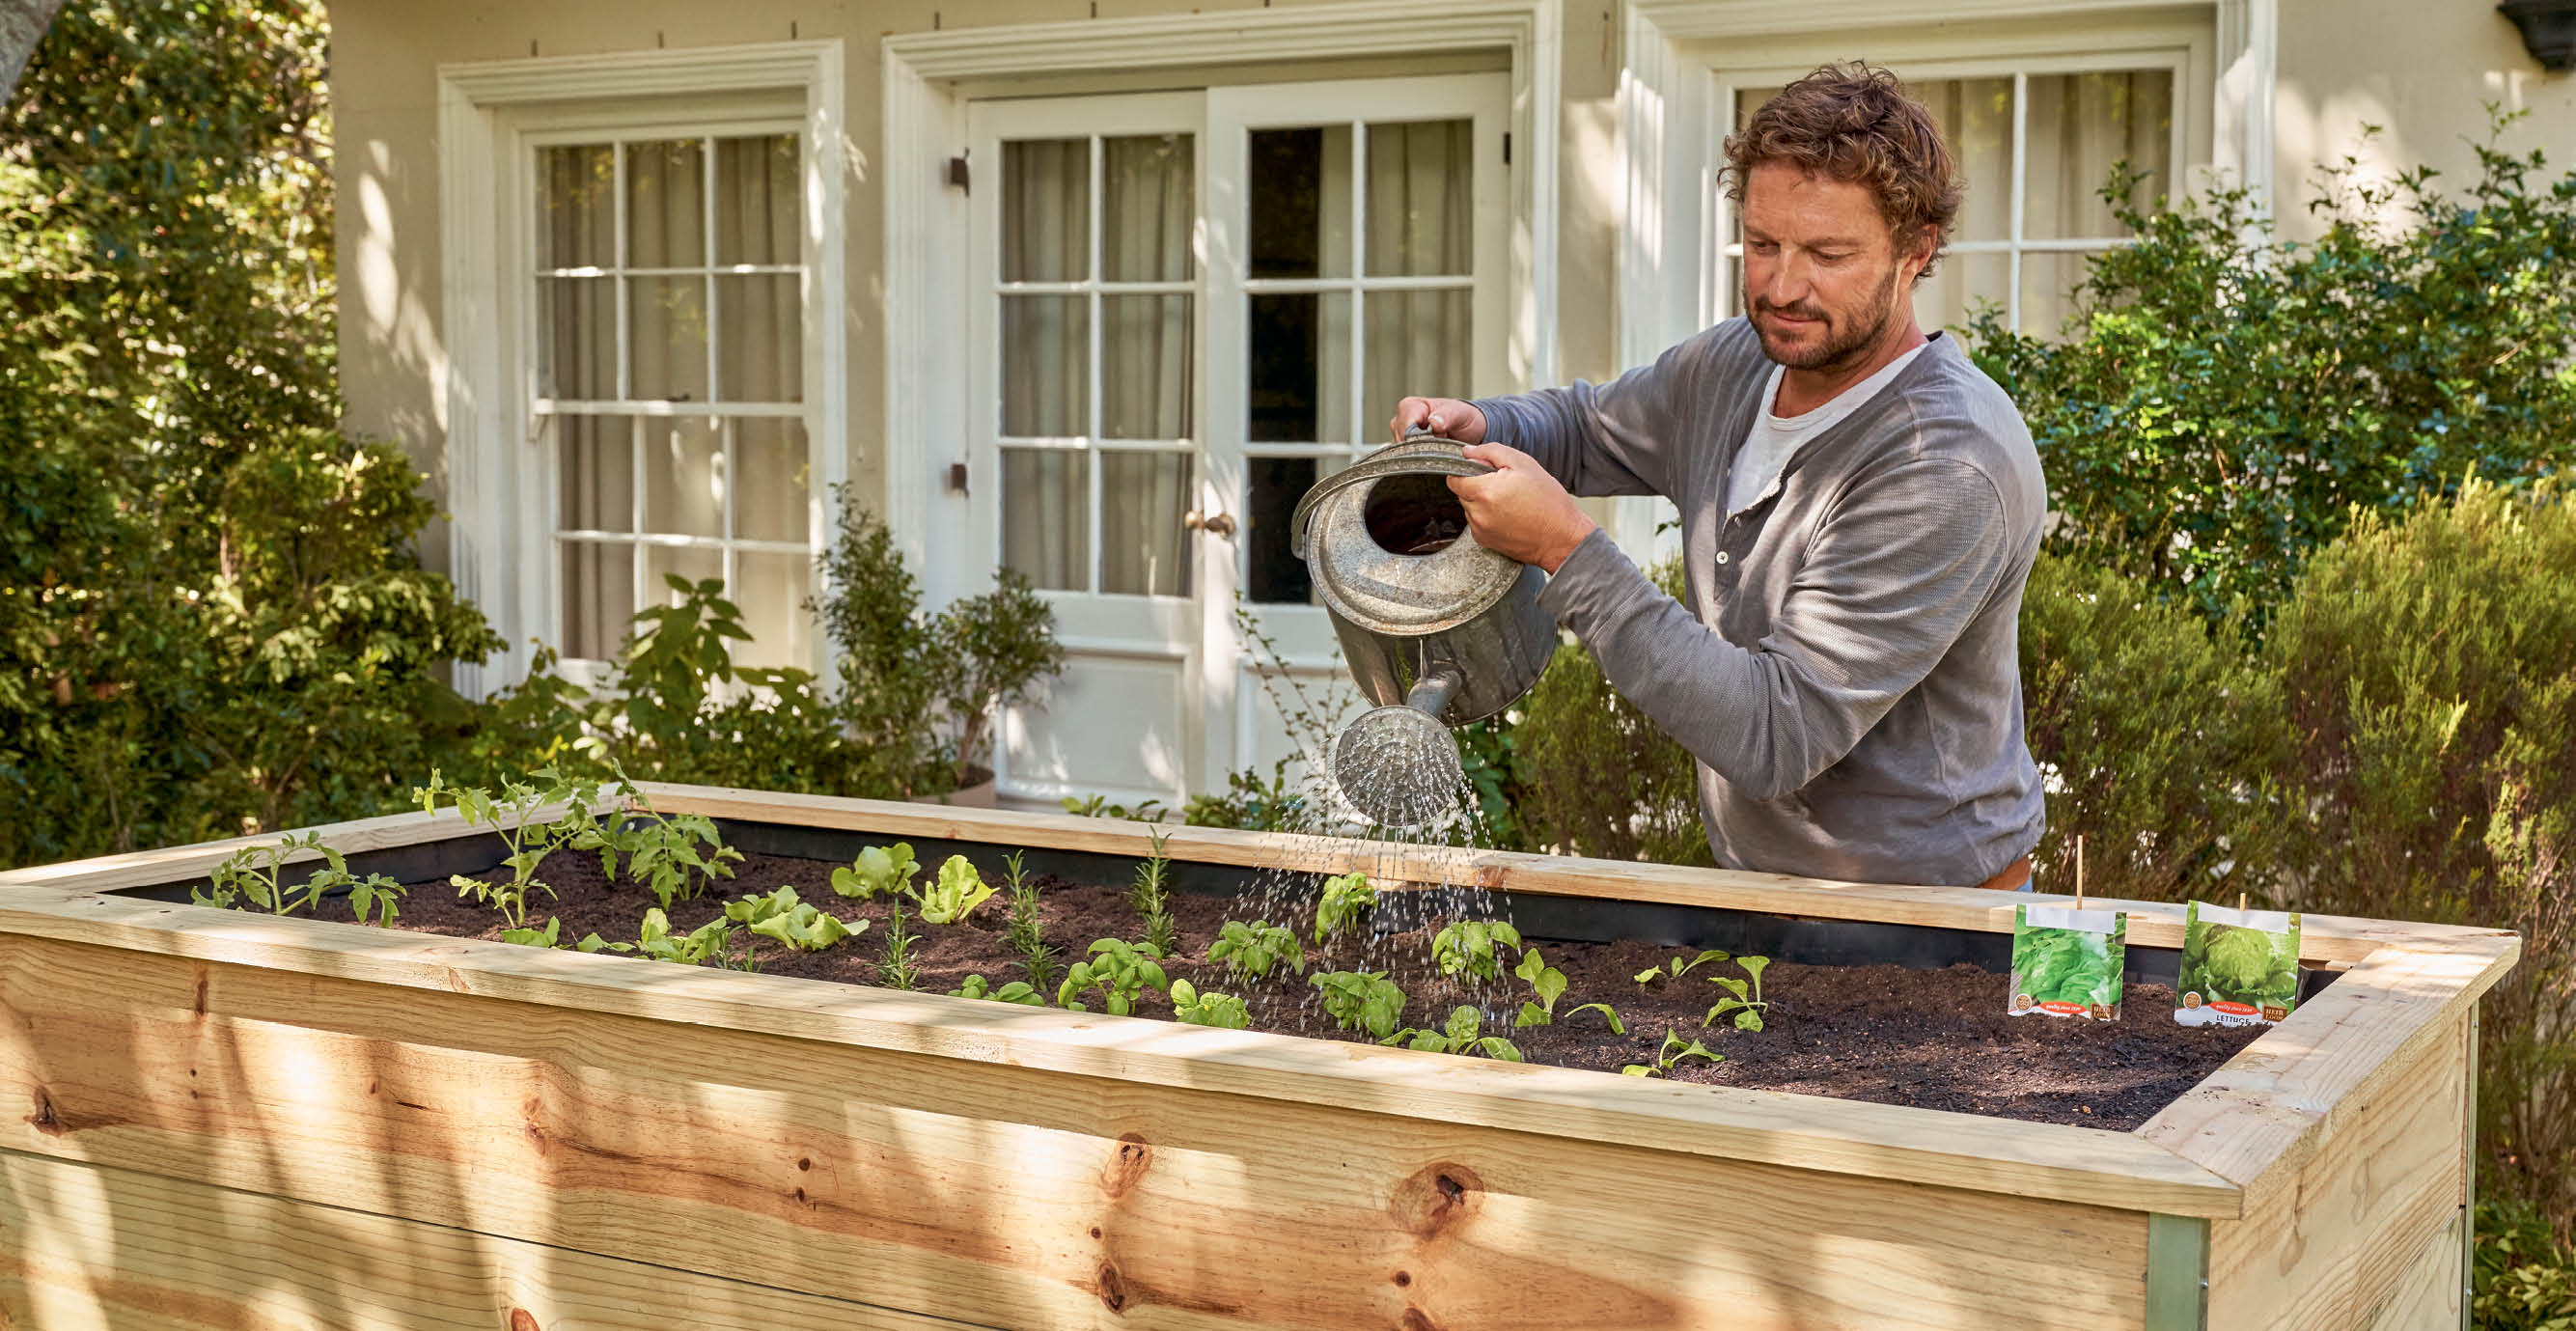
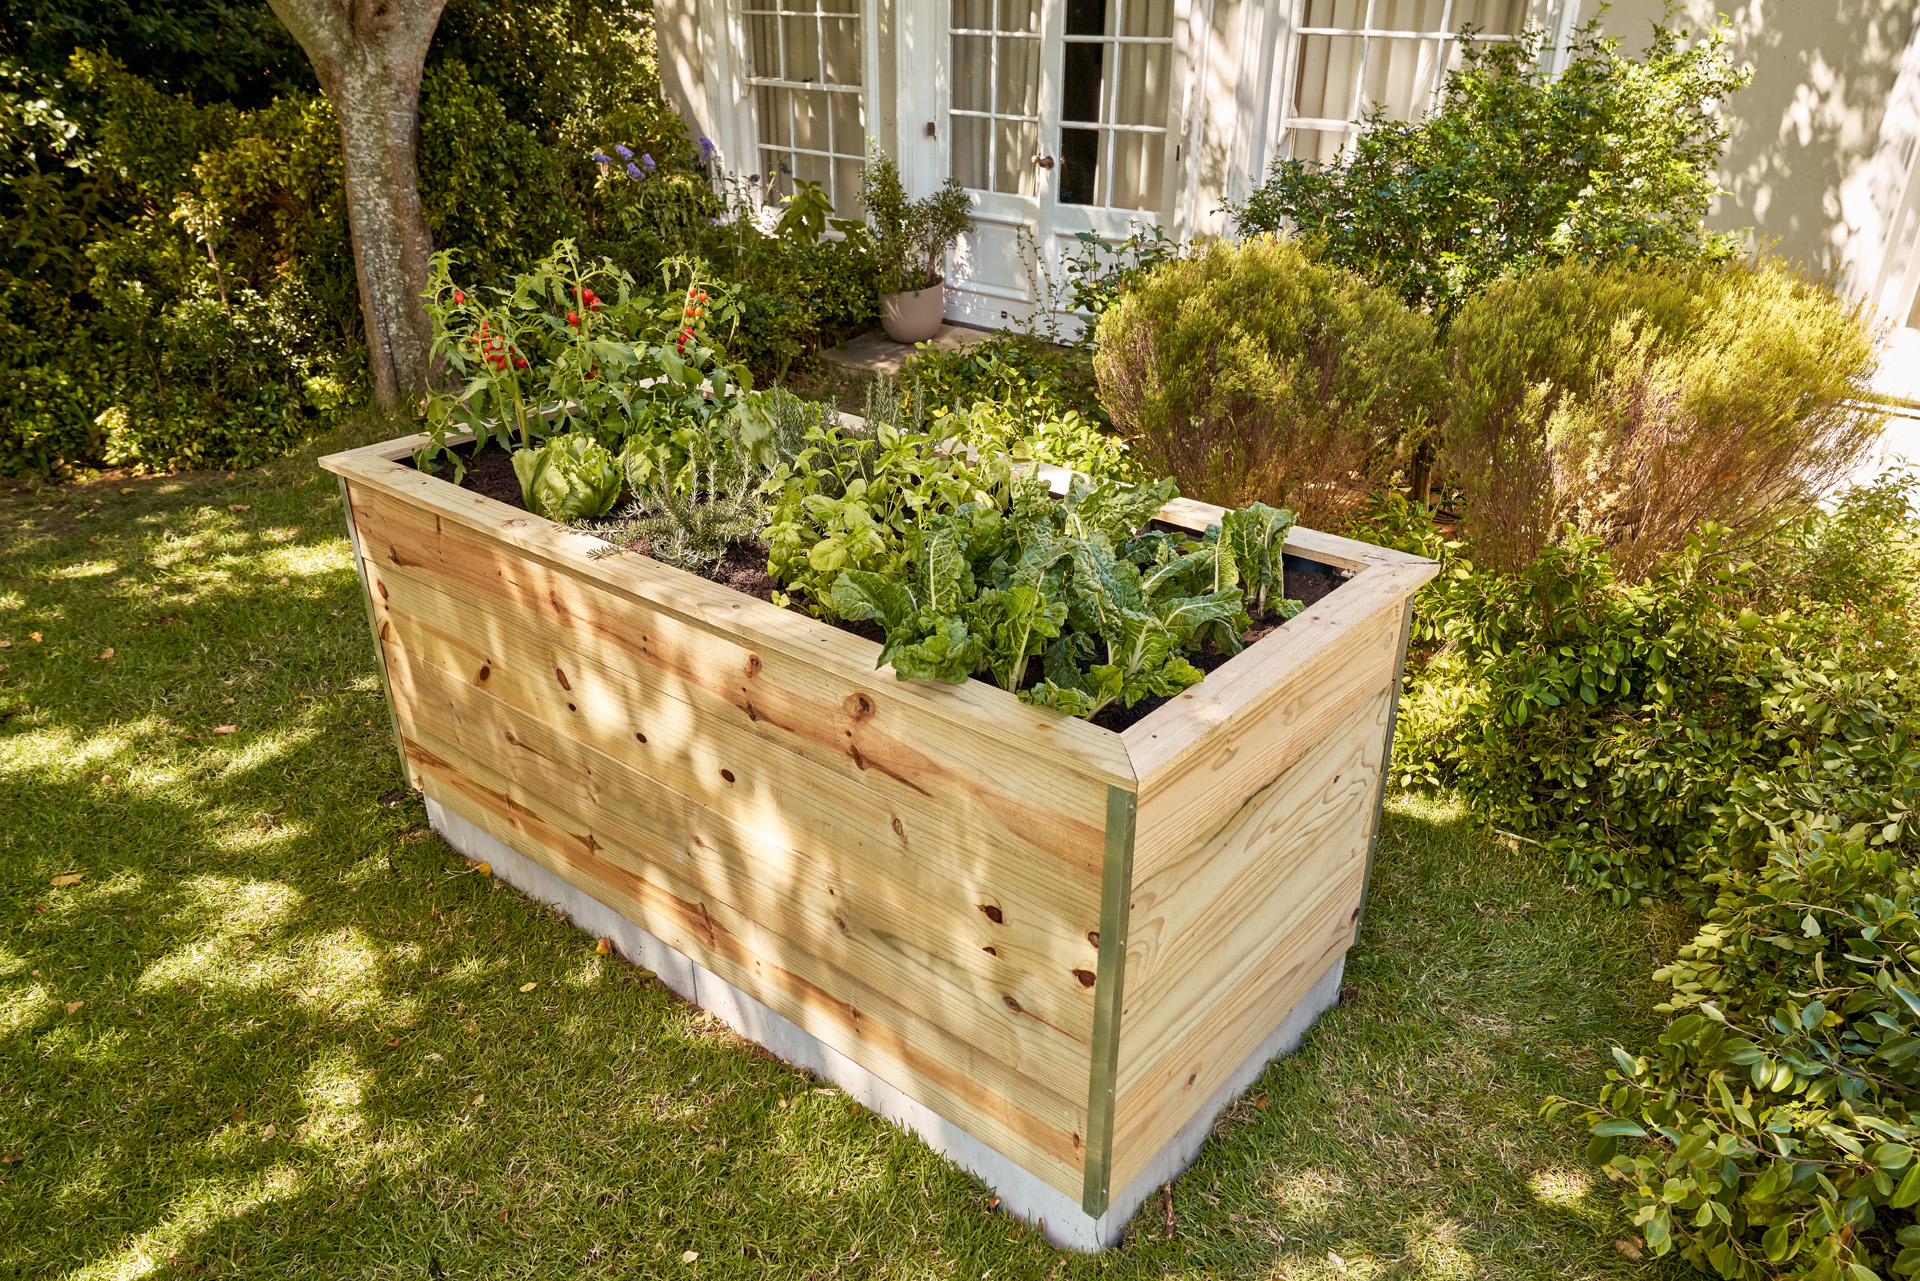
Planting a raised bed
A raised bed is suitable for ornamental plants, but we recommend making the most of the optimised growing conditions by planting food crops. The generated heat and nutrients from the filling layers mean you can expect a bountiful and delicious yield of vegetables and herbs.
it pays to plan
Before you start planting, draw up a planting plan to help you use your raised bed as efficiently as possible. If you spend a bit of time at this stage, it’s easy to coordinate multiple occupancy of your raised bed: if you know that your radishes can be harvested in about 8 to 10 weeks, for example, you can plan to prepare bean seedlings for planting after you harvest your radishes.
STIHL pro tip: Peppers, tomatoes, chard, lettuce, herbs and cabbage are all great planting candidates for a raised bed, but resist the temptation to plant too much all at once. Overcrowding leads to stunted plants and a reduced harvest.
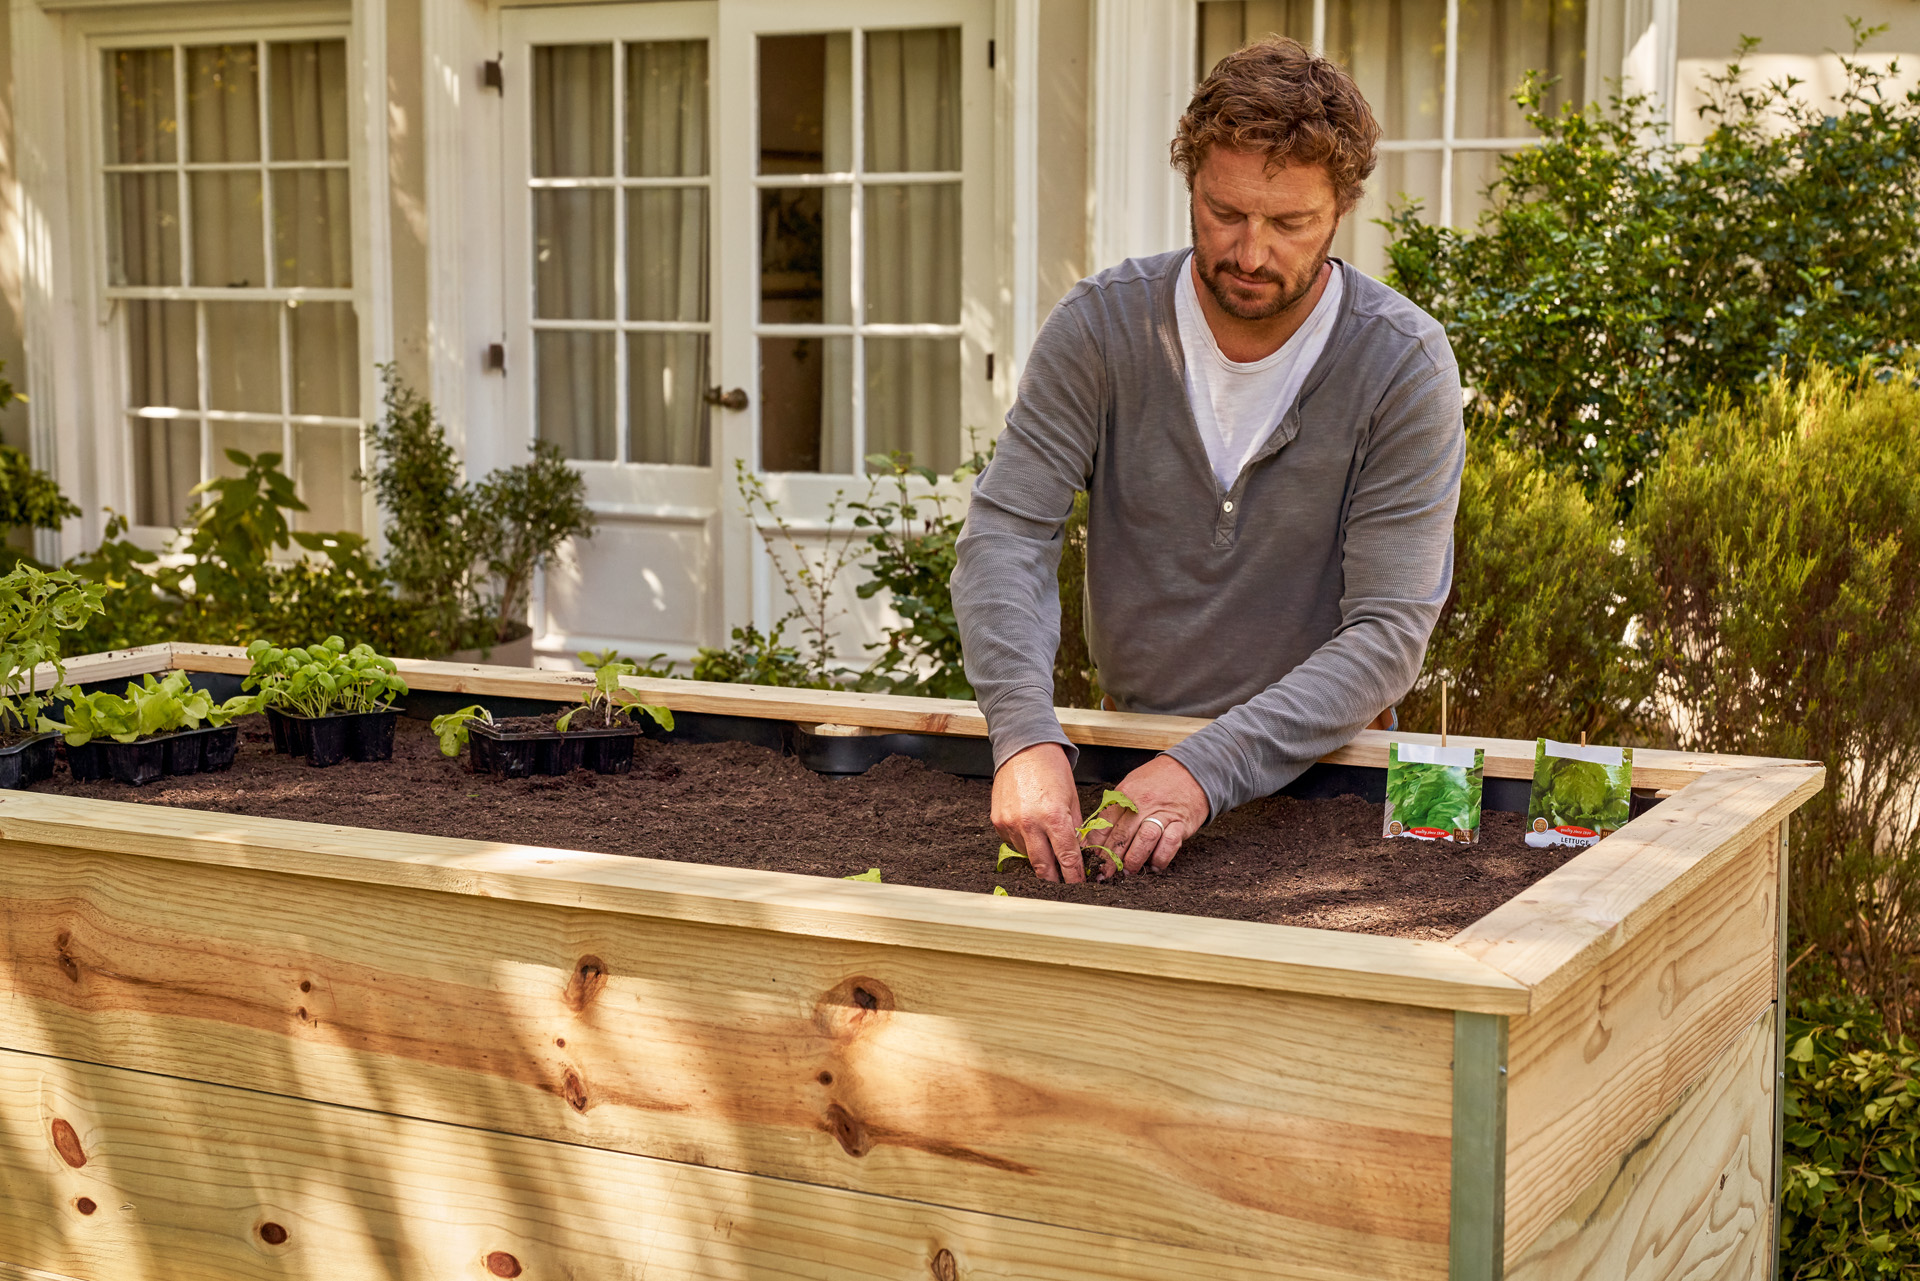
Should I use seeds or plug plants for planting my raised bed?
The good news is that you can arrange your planting from seeds or from small plants that you can buy, often known as plug plants. There are advantages and disadvantages to each approach:
| Advantage | Disadvantage |
| Seeds | Seeds |
|
|
| Plug plants | Plug plants |
|
|
Using a mix of seeds and plug plants is a good way to ensure plenty of variety when planting your raised bed. Several types of tomato, cabbage and lettuce are easy to source as plants, while carrots and interesting heritage varieties are often only available as seeds. If you’ve done a detailed planting plan, shopping for seeds and plants should not be too complicated.
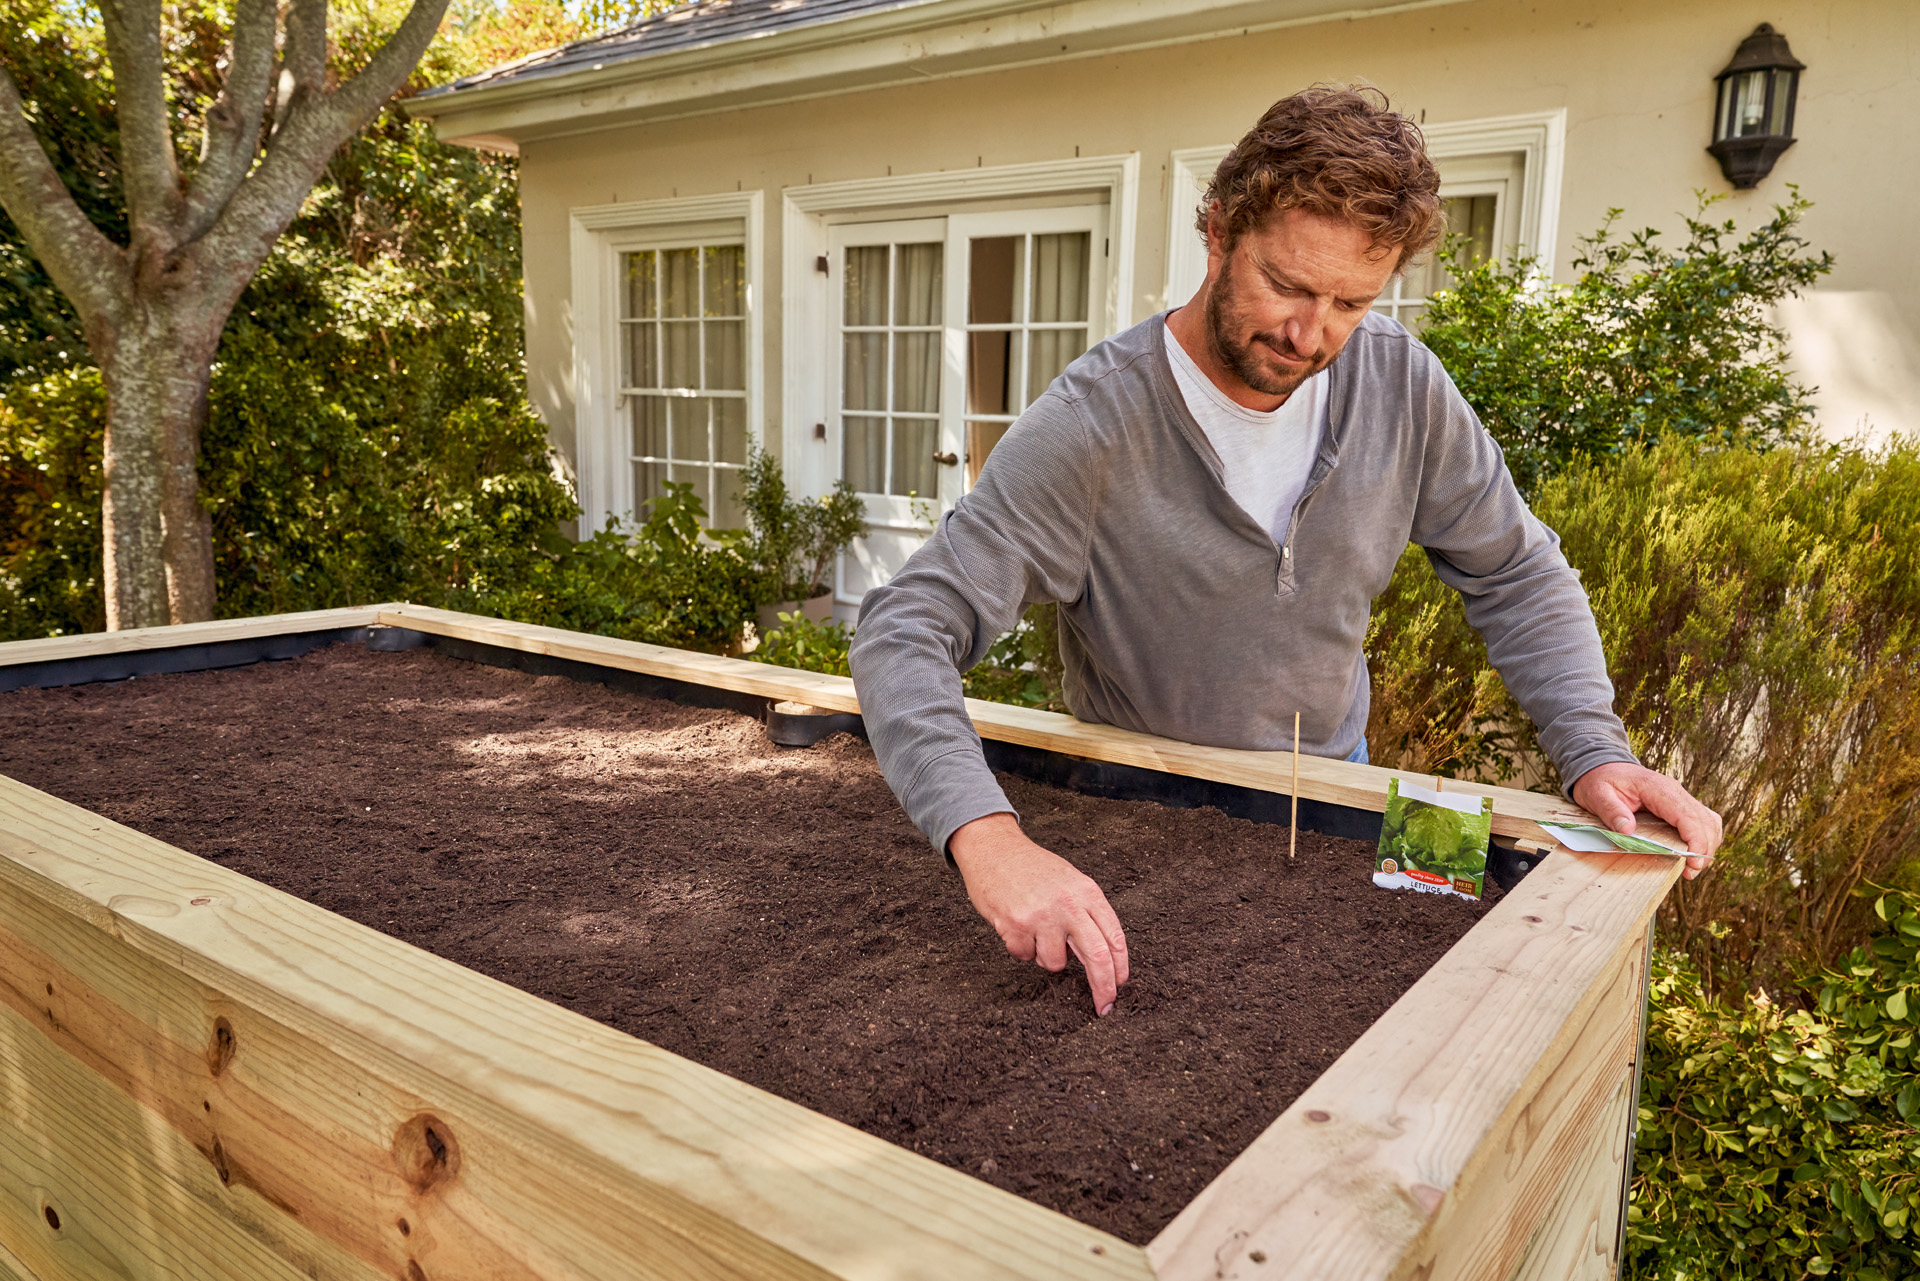
Proper spacing is key
When planting your raised bed, the required distance between rows can vary depending on the plants you use, but is usually be around 20 to 30 centimetres. Check the packaging of your seeds or plants though, as some plants only need spacing of 10 cm, while others need the full 30 cm to thrive. Take note of the correct spacing needed between the individual plants too; this is usually at least 3 to 4 cm.
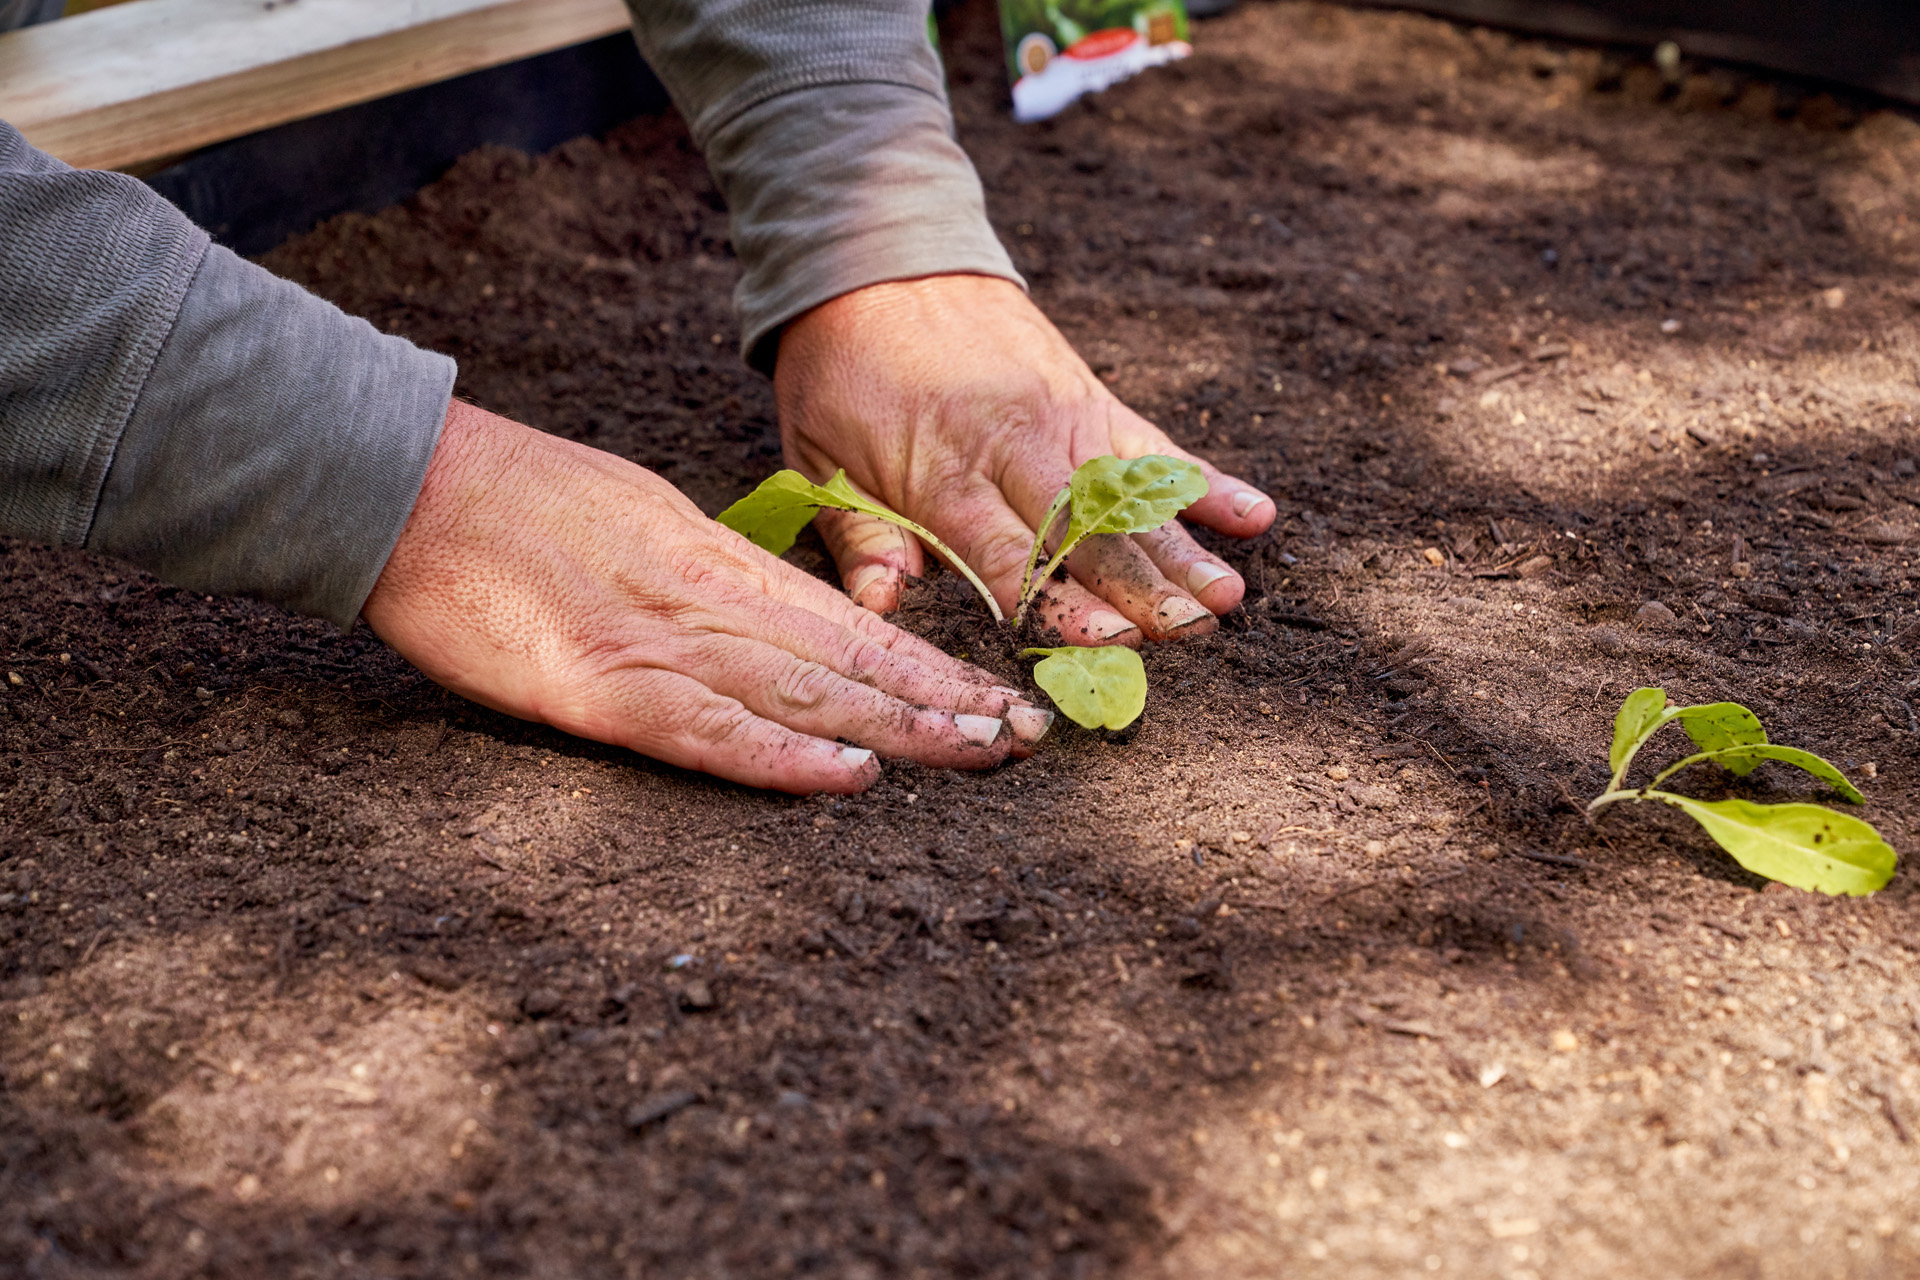
When planting plug plants, make sure the root ball is completely covered by soil.
STIHL pro tip: Herbs and many types of vegetable have very small seeds, meaning it’s easy to sow them too closely together. Simply wait until the first leaves appear and remove a few seedlings to give your final plants the space they need. Gardeners call this “thinning out”.
Planting considerations
Most plants will grow happily in a raised bed, but for a productive system some are more suitable than others. Tall plants such as runner beans and cordon-type tomatoes may be best planted elsewhere: you’re liable to need a ladder when harvest time comes!
Faster-growing varieties of crop will not take up space in the bed for too long and can be harvested quickly. With that in mind, broccoli, for example, may not be a great choice for your raised bed because it takes a long time to grow.
Planting crops that have a wide-spreading growth habit is another way of limiting the productivity of your raised bed: if you put in cucumber, courgette or pumpkins, you’ll find your raised bed is already full with just a few plants. We suggest you opt for more space-efficient varieties: herbs, radishes, carrots and bush tomatoes will all be ready to harvest in a short time and leave sufficient space for many other food plants.
Combinations to avoid
Planting different crops from the same family together is generally not a good idea, so plants from the nightshade family, such as potatoes, tomatoes, peppers and aubergines, should not be grown next to each other. Other combinations that are likely to lead to inhibited growth include potatoes with peas, lettuce with celery, peppers with peas, and cabbage with onions. In many cases the reason for this incompatibility is simply competition for the same nutrients, but some plants also facilitate diseases and pests that harm the other. If planting multiple varieties from the same family in your raised bed is unavoidable, position them far apart and with two to three other crops between them. This should give them the space they need and help to ensure they do not affect each other negatively.
There are also some beneficial planting companions that help each other grow and protect one another from pests. Onions thrive wonderfully between dill, carrots and parsley: dill boosts seeds in carrots and its scent keeps pests at bay, while the smell of onions irritates approaching carrot flies. Gherkins and other cucumber varieties also get along well with onions.
Although related vegetable varieties don’t make good planting neighbours, the same rule is not true for herbs: annual herbs are happiest when planted with other annual herbs and perennials are happier with perennials. So you should plant the annuals basil, savory, dill and coriander together, and the perennials parsley, lovage and oregano next to each other.
An annual plan for a bumper harvest
We’ve put together a really useful annual plan to suggest not only how you can effectively plant your raised bed through the year, but also how to adjust your planting as the years pass. Because the layers you have used to fill your raised bed will decompose over time, the nutrient content in the soil will decrease and the plants it can support will change. If you know exactly which plants are suitable for which planting year and draft your plan on that basis, you will make the best possible use of your raised bed and its properties.
A five-year scheme
In the first year, your raised bed planting should be based around “strong uptakers”. These plants are heavy feeders that love the rich compost layer, which has the highest concentration of nutrients during the first year. Strong uptakers include:
Vegetables
- Cauliflower
- Cherry Tomato
- Cabbage
- Leek
- Pepper
- Celery
Herbs:
- Basil
Flowers:
- Chrysanthemum
- Geranium
- Sunflower
- Tulip
In the second year, choose a mix of strong and moderate uptakers for planting your raised bed. In the third year, you should only plant moderate uptakers, which require fewer nutrients than strong uptakers. Moderate uptakers include:
Vegetables:
- Beans
- Garlic
- Kohlrabi
- Carrots
- Radish
- Lettuce
- Onion
Herbs:
- Dill
- Lovage
- Parsley
- Chives
Flowers:
- Dahlia
- Snapdragon
In the fourth year, include both moderate and weak uptakers in your planting. In the fifth year you should focus on weak uptakers, which are best able to cope with the low nutrient level in the raised bed. Weak uptakers can actually suffer if they are planted in a bed with too many nutrients, as the excess causes quick growth that can make them vulnerable to pests. So if you intend to include some weak uptakers in your raised bed in the first year, you should reduce the nutrient levels in one area of the bed by using some depleted potting soil. Weak uptakers include:
Vegetables:
- Peas
- Lamb’s lettuce
- Chard
- Spinach
Herbs:
- Marjoram
- Lavender
- Thyme
- Most Mediterranean herbs that prefer dry conditions
Flowers:
- Begonias
- Primrose
- Pansies
seasonal planting
Certain plants are happier in some seasons than in others, and in some cases sowing at the right time means you can avoid pest attack: if you sow certain carrot varieties as early as possible they will be ready by the start of June, meaning you can harvest them before pests lay their eggs on the plants. There are a few useful tricks of timing that the home gardener can use when planning their planting.
Raised beds in spring
Popular crisp spring vegetables and herbs can be planted in your bed from March: rocket, leaf lettuce and radishes are all suitable for planting in spring and will be ready to harvest by summer. Spinach can also be planted now. A little later, around the end of April, you can plant spring onions, other onions and leeks. Be sure to leave a little extra space, though – once May rolls around, you can also plant potatoes, peppers and chilies in your raised bed. If you want to grow tomatoes, compact bush varieties are ideal for a raised bed.
Raised beds in summer
Is your raised bed planned for growing summer vegetables? June to July is when potatoes, kohlrabi and carrots can all be planted. Fast-growing bush beans or radishes are also ideal for sowing in summer. By August, you can put in tasty autumn salad crops such as radicchio and endive.
Raised beds in autumn
Your raised bed can continue to be productive into autumn. If you like rocket, now is the time to replenish your crop; use September and October for a second sowing.
Raised beds in winter
Did you know your raised bed can still supply your kitchen in winter? Varieties such as spinach and cabbage are able to withstand cold temperatures – in fact, frost makes cabbage even tastier! Chard is also very resistant to cold. These vegetables are planted in summer and harvested in winter. Alternatively, you can top up the raised bed with potting soil and let it rest over the winter. You can protect it by covering it with a tarpaulin – we have summarised some tips on winterproofing your other beds in our handy guide.
How to keep it productive
Planting isn’t the only thing to consider; keep your raised bed in good health for many years, with a few maintenance steps.
Top the bed up in spring
Top up the raised bed with potting soil every spring, as the layers will sink by around 10 centimeters by the next gardening season.
Refill
You should refill the raised bed from scratch every 6 to 7 years, as all of the layers will have decomposed and no longer provide the conditions for successful planting. Without a functioning drainage layer of branches, your raised bed will be prone to waterlogging and poor root growth, while the nutrients in the other layers will also be used up.
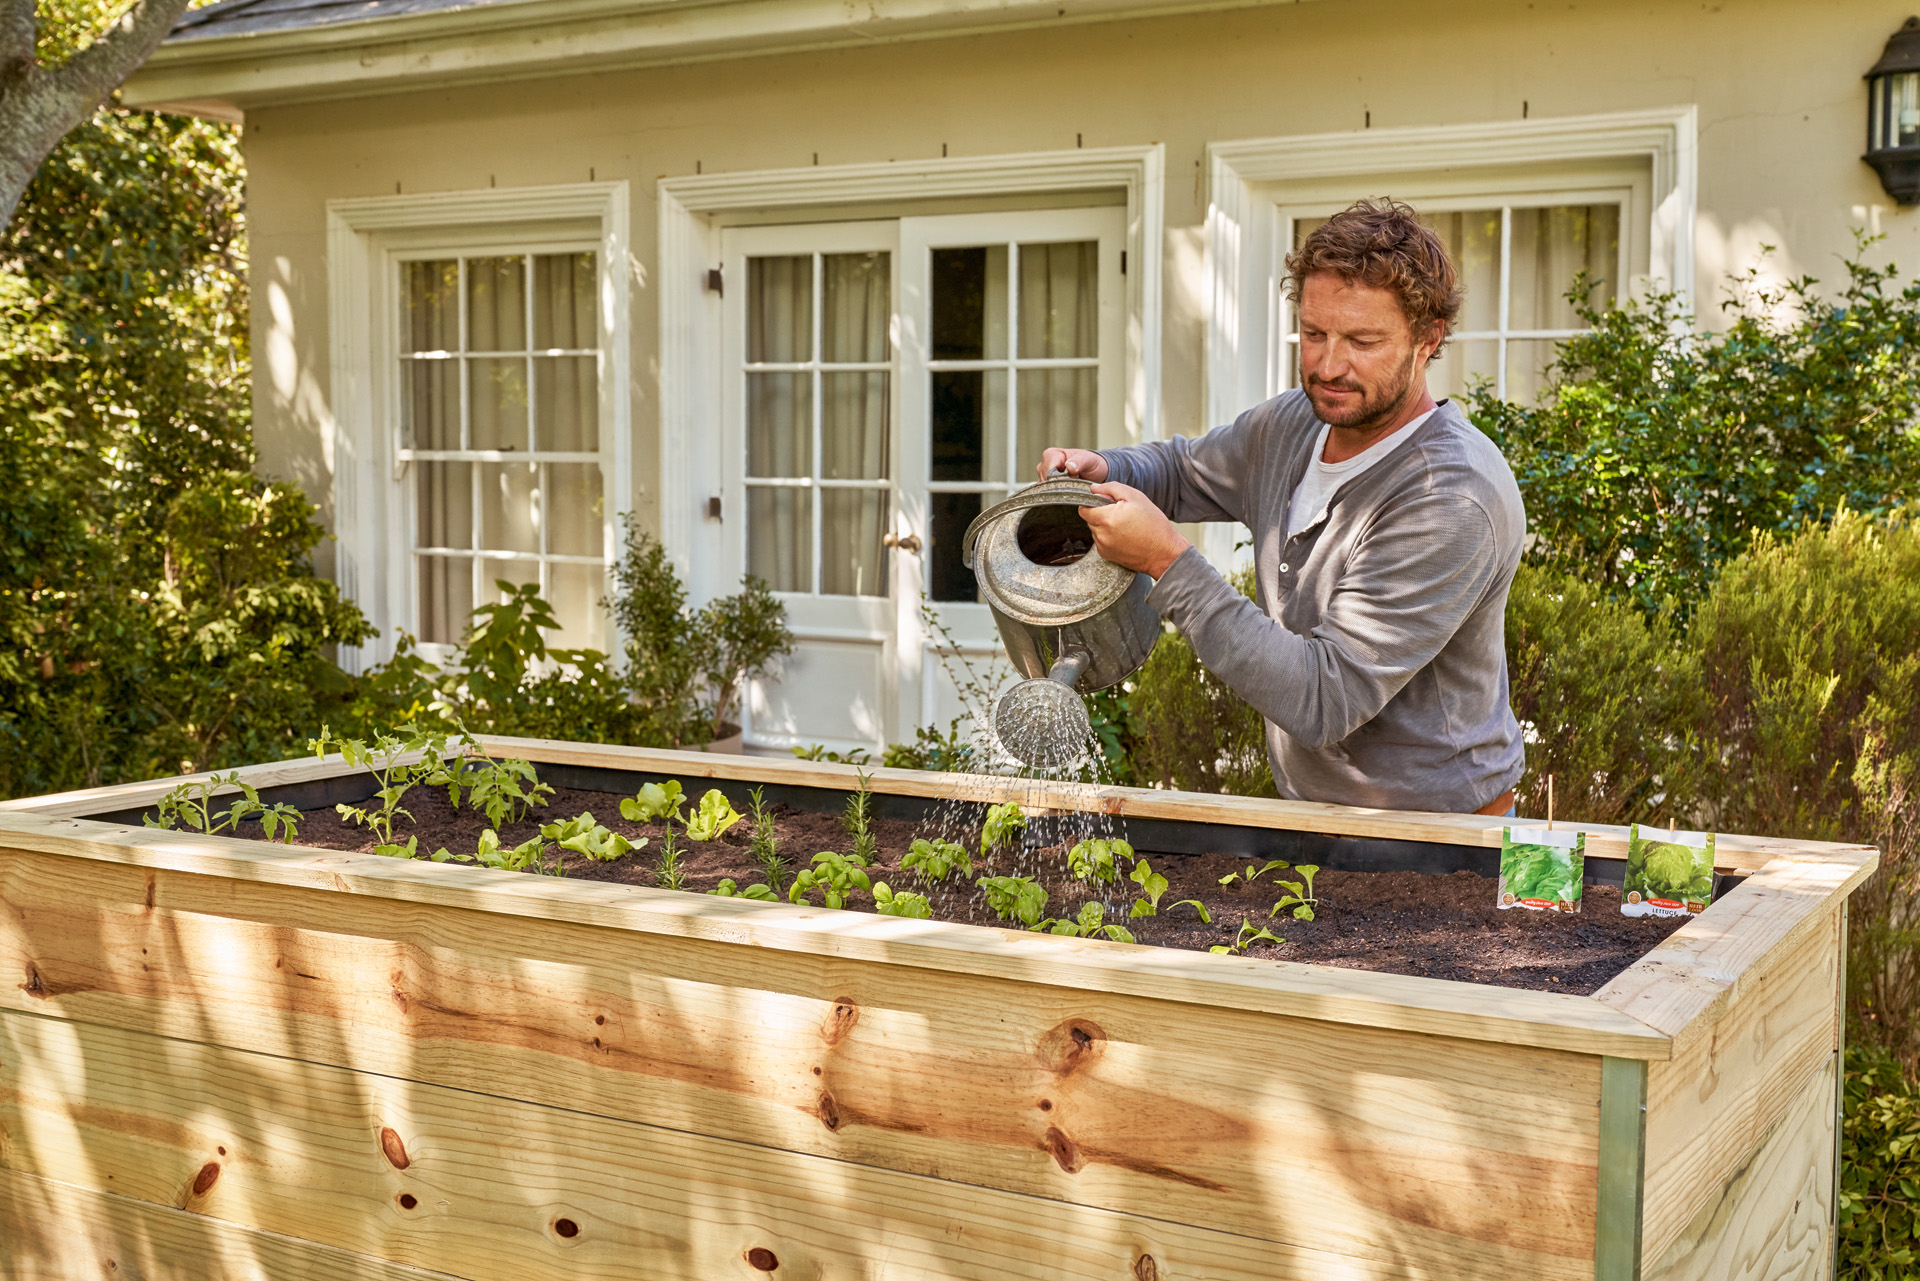
Water frequently
While plants love the heat generated by the decomposing matter, and the drainage layer helps them thrive, both features also mean your raised bed is prone to drying out quickly. A raised bed needs to be watered more frequently than a ground-level bed.
Avoid perennials
Although perennials such as rosemary or strawberries in your raised bed is possible in principle, we don’t recommend it. You’ll find that when you top up the soil in spring, working around existing plants and ensuring that the delicate roots are not damaged is a laborious task. You will save yourself a lot of work by exclusively planting annuals.
Related