#How To
How To Create A New Garden Bed
Creating a new garden bed from scratch can be a daunting for some, but with a little planning and the right tools, it can be a very enjoyable and rewarding project. Autumn conditions are perfect time to establish new plants while the weather is just right.
STEP 1:
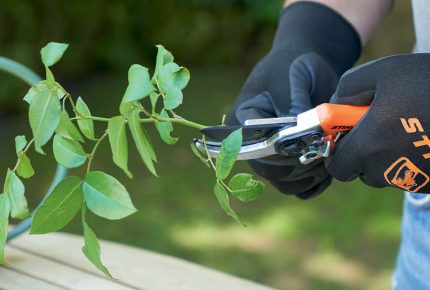
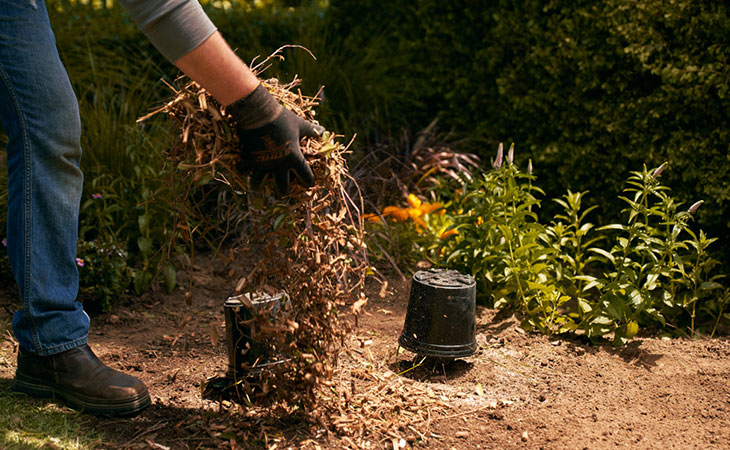
The first step is to assess the garden bed you are working on and work out which existing shrubs and plants are to stay, and which ones will be removed. Some plants are happy to be relocated, whereas others prefer to stay put. For the plants that you want to move, grab a sharp spade to dig out a good root-ball (its best to try and keep the root-ball in tact), and get the spade underneath the plant and roots.
Most plants will benefit from a trim before being moved, reducing the foliage by around ¼. Use a hedge trimmer or pair of shears to do this properly, and make sure you give the plant a deep watering the day before you are going to transplant it as this will help the soil and root-ball stick together when you are transplanting it.
STEP 2:
The second step is to make a plan for the area that you are working with and decide where your new and existing plants will go. This will help to identifiy how many new plants you need, if any. To prevent your plants from competing for water, ensure your plan allows for them to be spaced out with plenty of room between them. Keep in mind also that the shade and wind protection provided by small trees and medium-sized shrubs will help protect smaller plants from severe conditions.
STEP 3:
Once the area has been cleared of weeds and unwanted plants, the soil now needs to be enriched and turned. The plants and trees in your garden absorb moisture and nutrients through their root system, making the soil one of the most important aspects of your plant’s health. Spending some time getting your soil in tip-top shape before you get started will help your new and existing plants to establish themselves in their new homes.
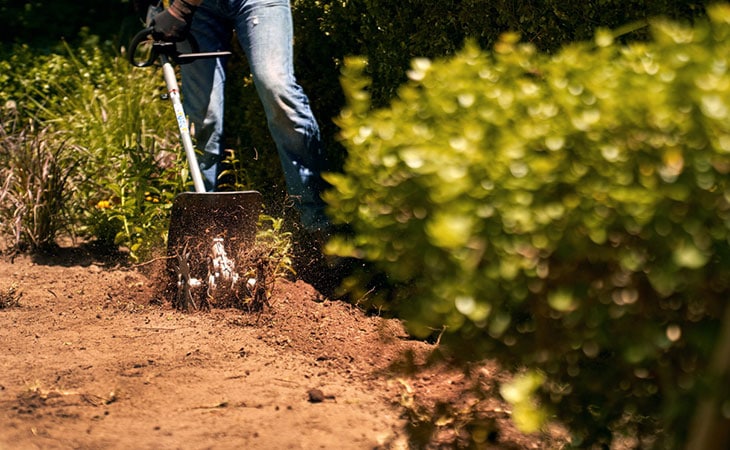
Firstly, your soil needs to be aerated and loosened so that oxygen, nutrients and water can be easily accessed by the plant’s root system. The STIHL MM 56 with the aerating attachment will help you complete this job very quickly and with little effort.
Once your soil is nice and lose, add in some organic matter to give it a boost. Compost, manures, worm juice, or bagged products from your local nursery will all do wonders for the health of your soil.
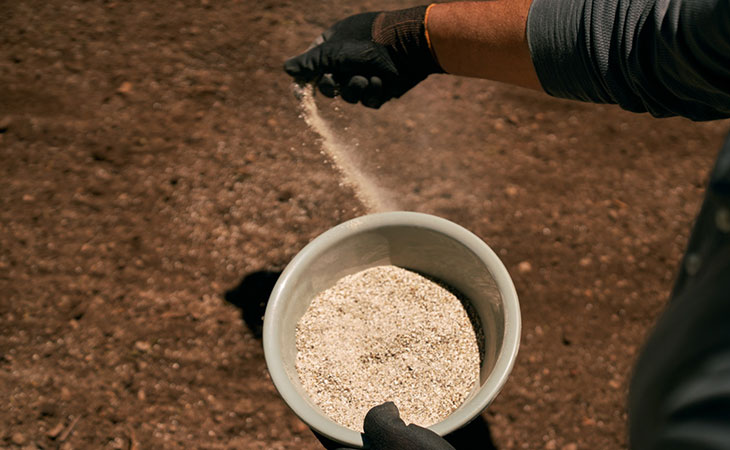
Cow manure is a really effective product for new plants, and is also a natural product with a neutral pH. This means that it is suitable for most plants types, including natives, and can be used freely throughout the whole garden. Chicken manure is a little more acidic and suitable for plants that like an acidic pH such as Azaleas, Daphnes and Camellias. It also works a treat on veggies and herbs. Make sure you use the appropriate PPE when using organic products, including gloves, eye protection and a mask.
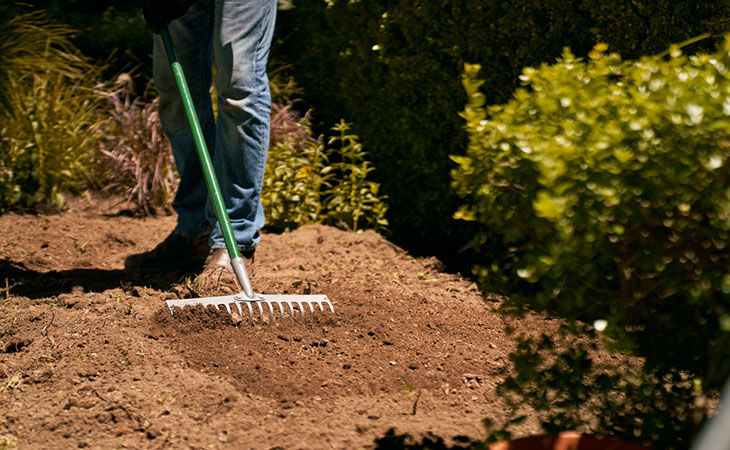
Once the manure, composts and organic matter has been spread over the garden bed, it all needs to be mixed together – think of it like making a cake! The idea is to create a lovely loose, aerated and rich soil mix, with all the new and old ingredients mixed together. Using your aerator one again, run over the garden bed two to three times, to a depth of approx. 30cm. If you don’t have an aerating tool, this can be done manually with a shovel, however this can be hard work, and an aerating tool will allow your to get nice and deep into the garden bed. Once you have finished mixing your soil, give the area a general level using a rake so the garden bed is at the finished level you are looking for.
STEP 4:
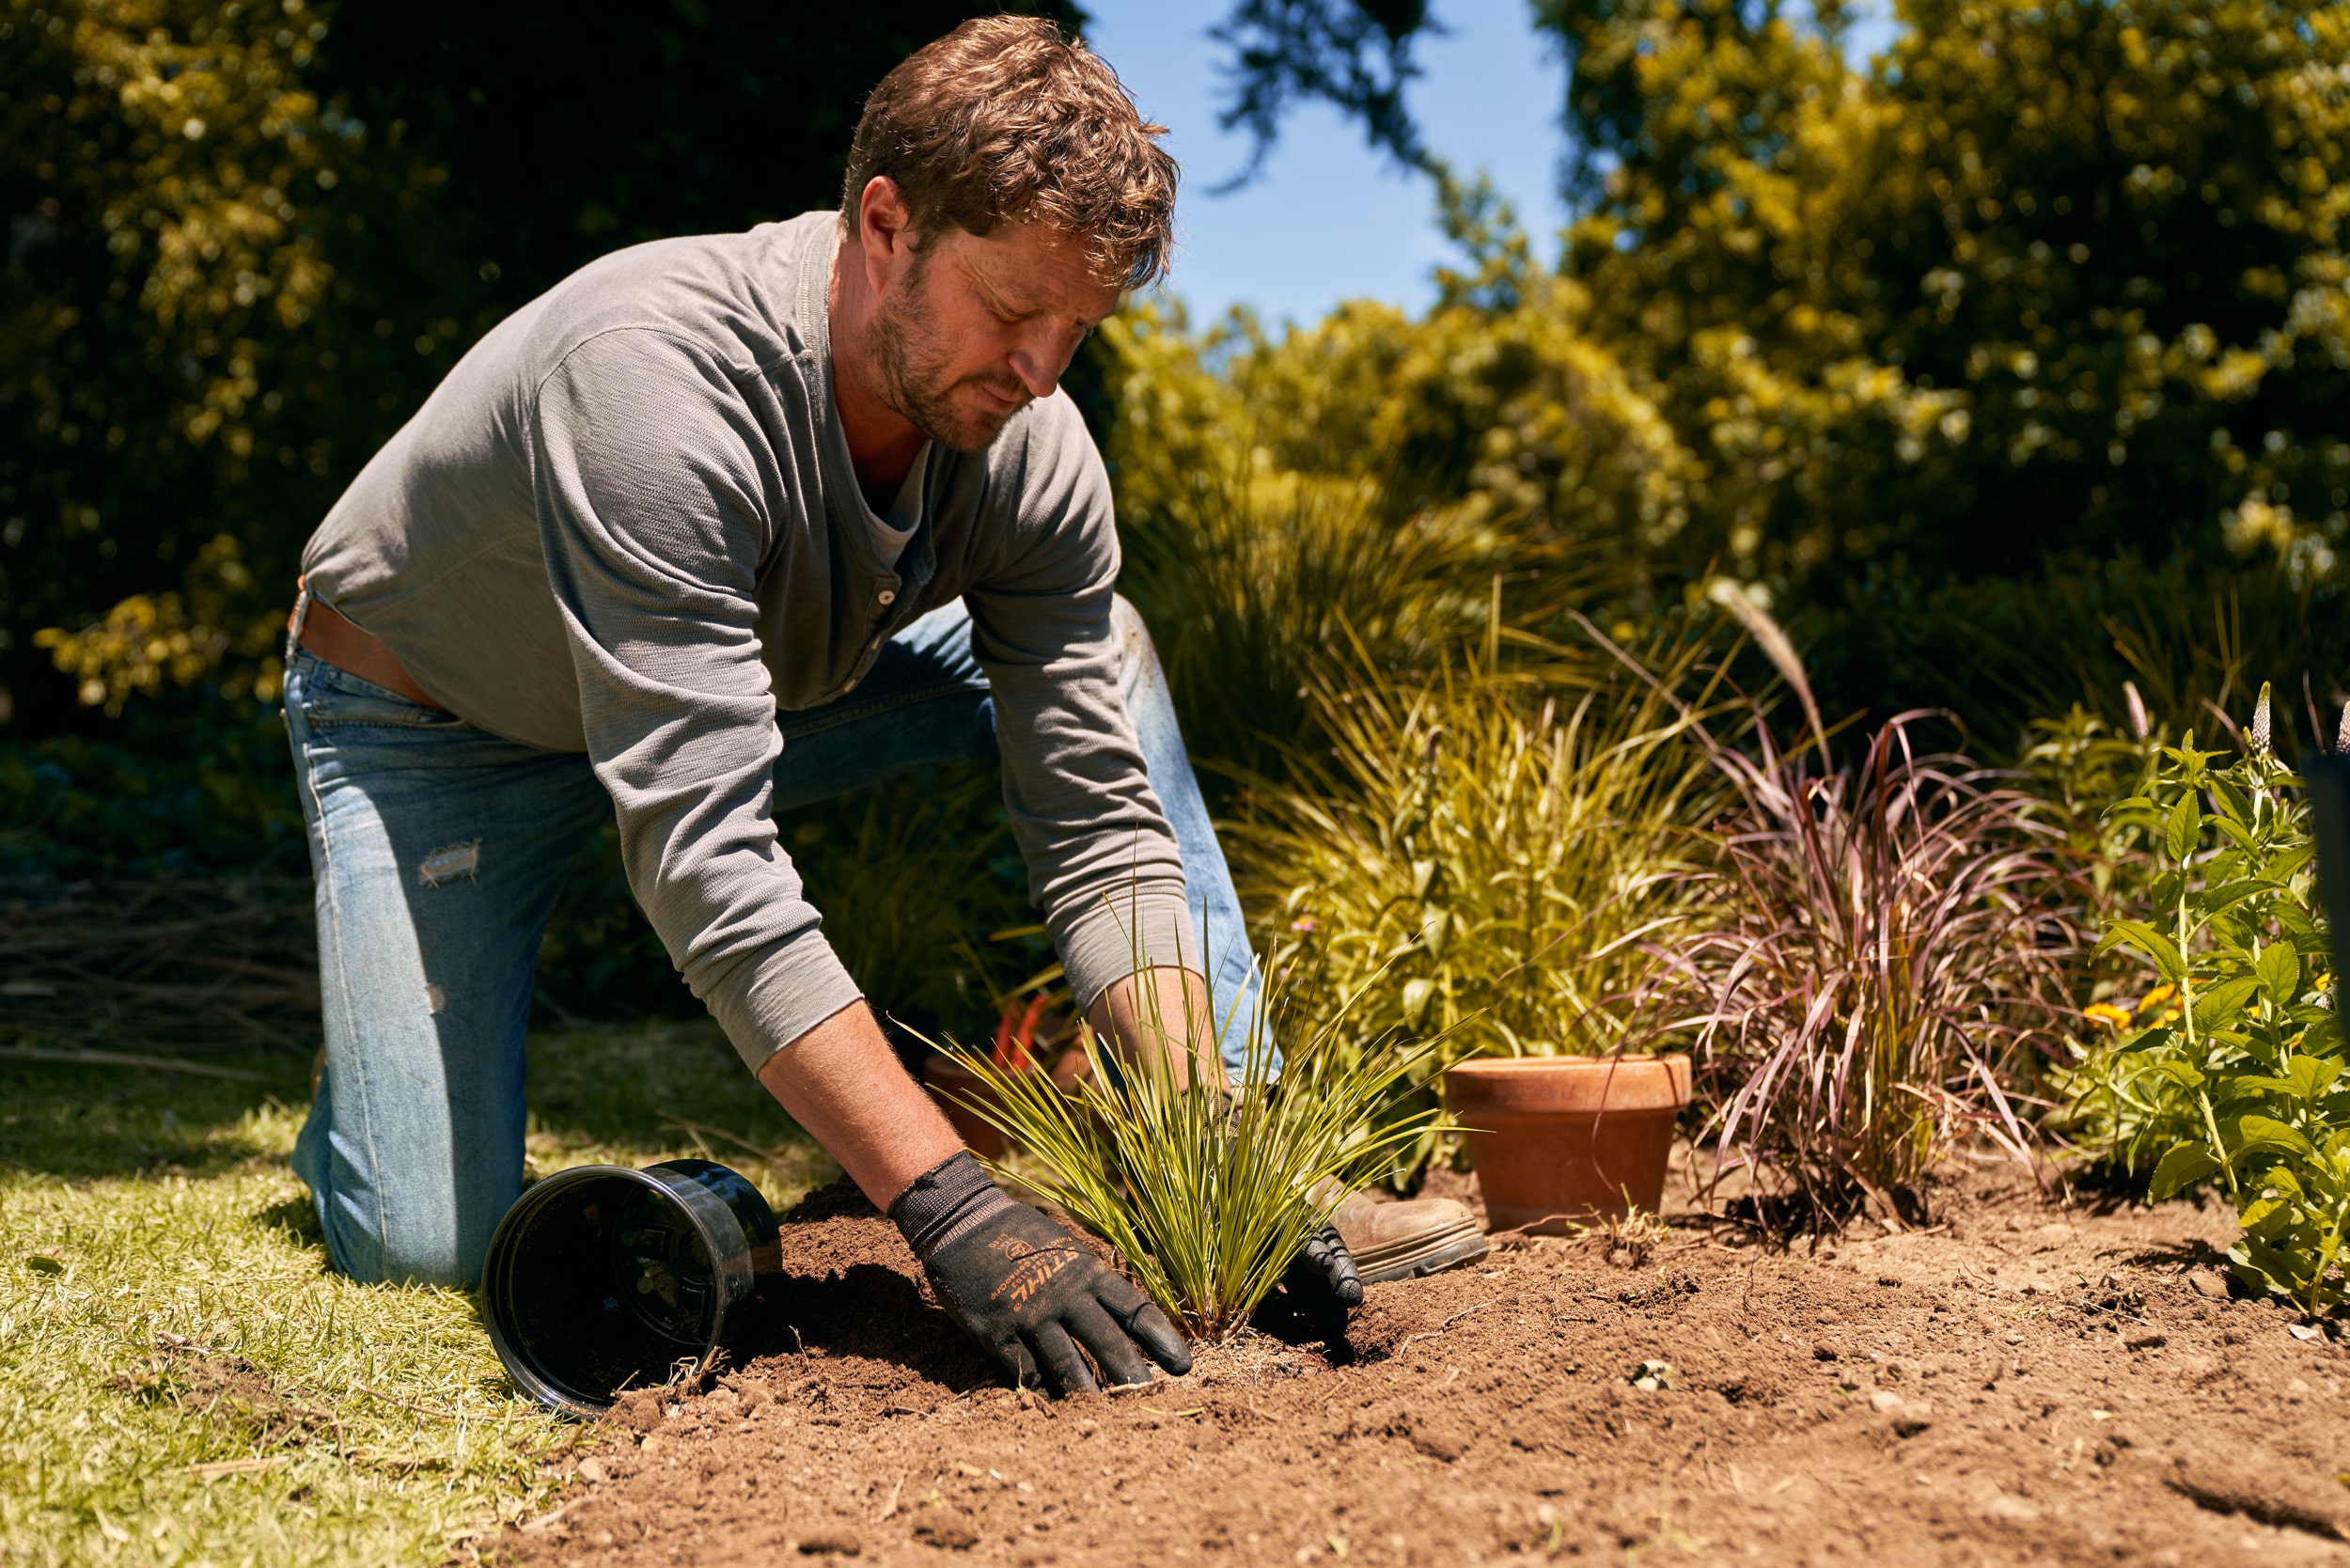
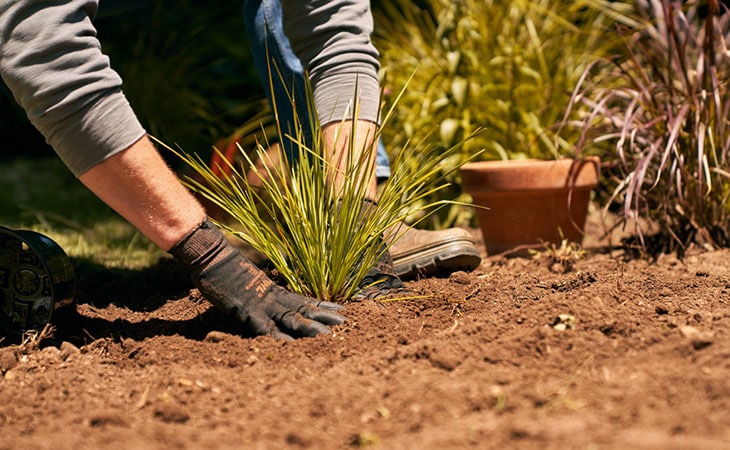
Now that your soil is lovely and loose, set out your plants in the layout you have designed, including the transplanted shrubs that were in the bed originally. Dig a hole suitable for the size of the plant that is being planted (normally the hole needs to approximately double the size of the root-ball), and bury it to the level at the top of the roots.
STEP 5:
A layer of mulch is always recommended, especially in a garden that has been aerated and enriched. Weeds love the fresh rich soil, and need to be suppressed. The cheapest option and the best mulch available is the one that you create yourself by putting your garden waste through a garden shredder. There are four options in the STIHL range depending on your requirements. Spread a thick layer over your freshly planted beds before giving the whole area a soaking.
Tip: Pop your empty pots over your new plants so they don’t get covered in mulch in the process!
Click here for more garden projects to keep you busy and active at home.
Related