#How To
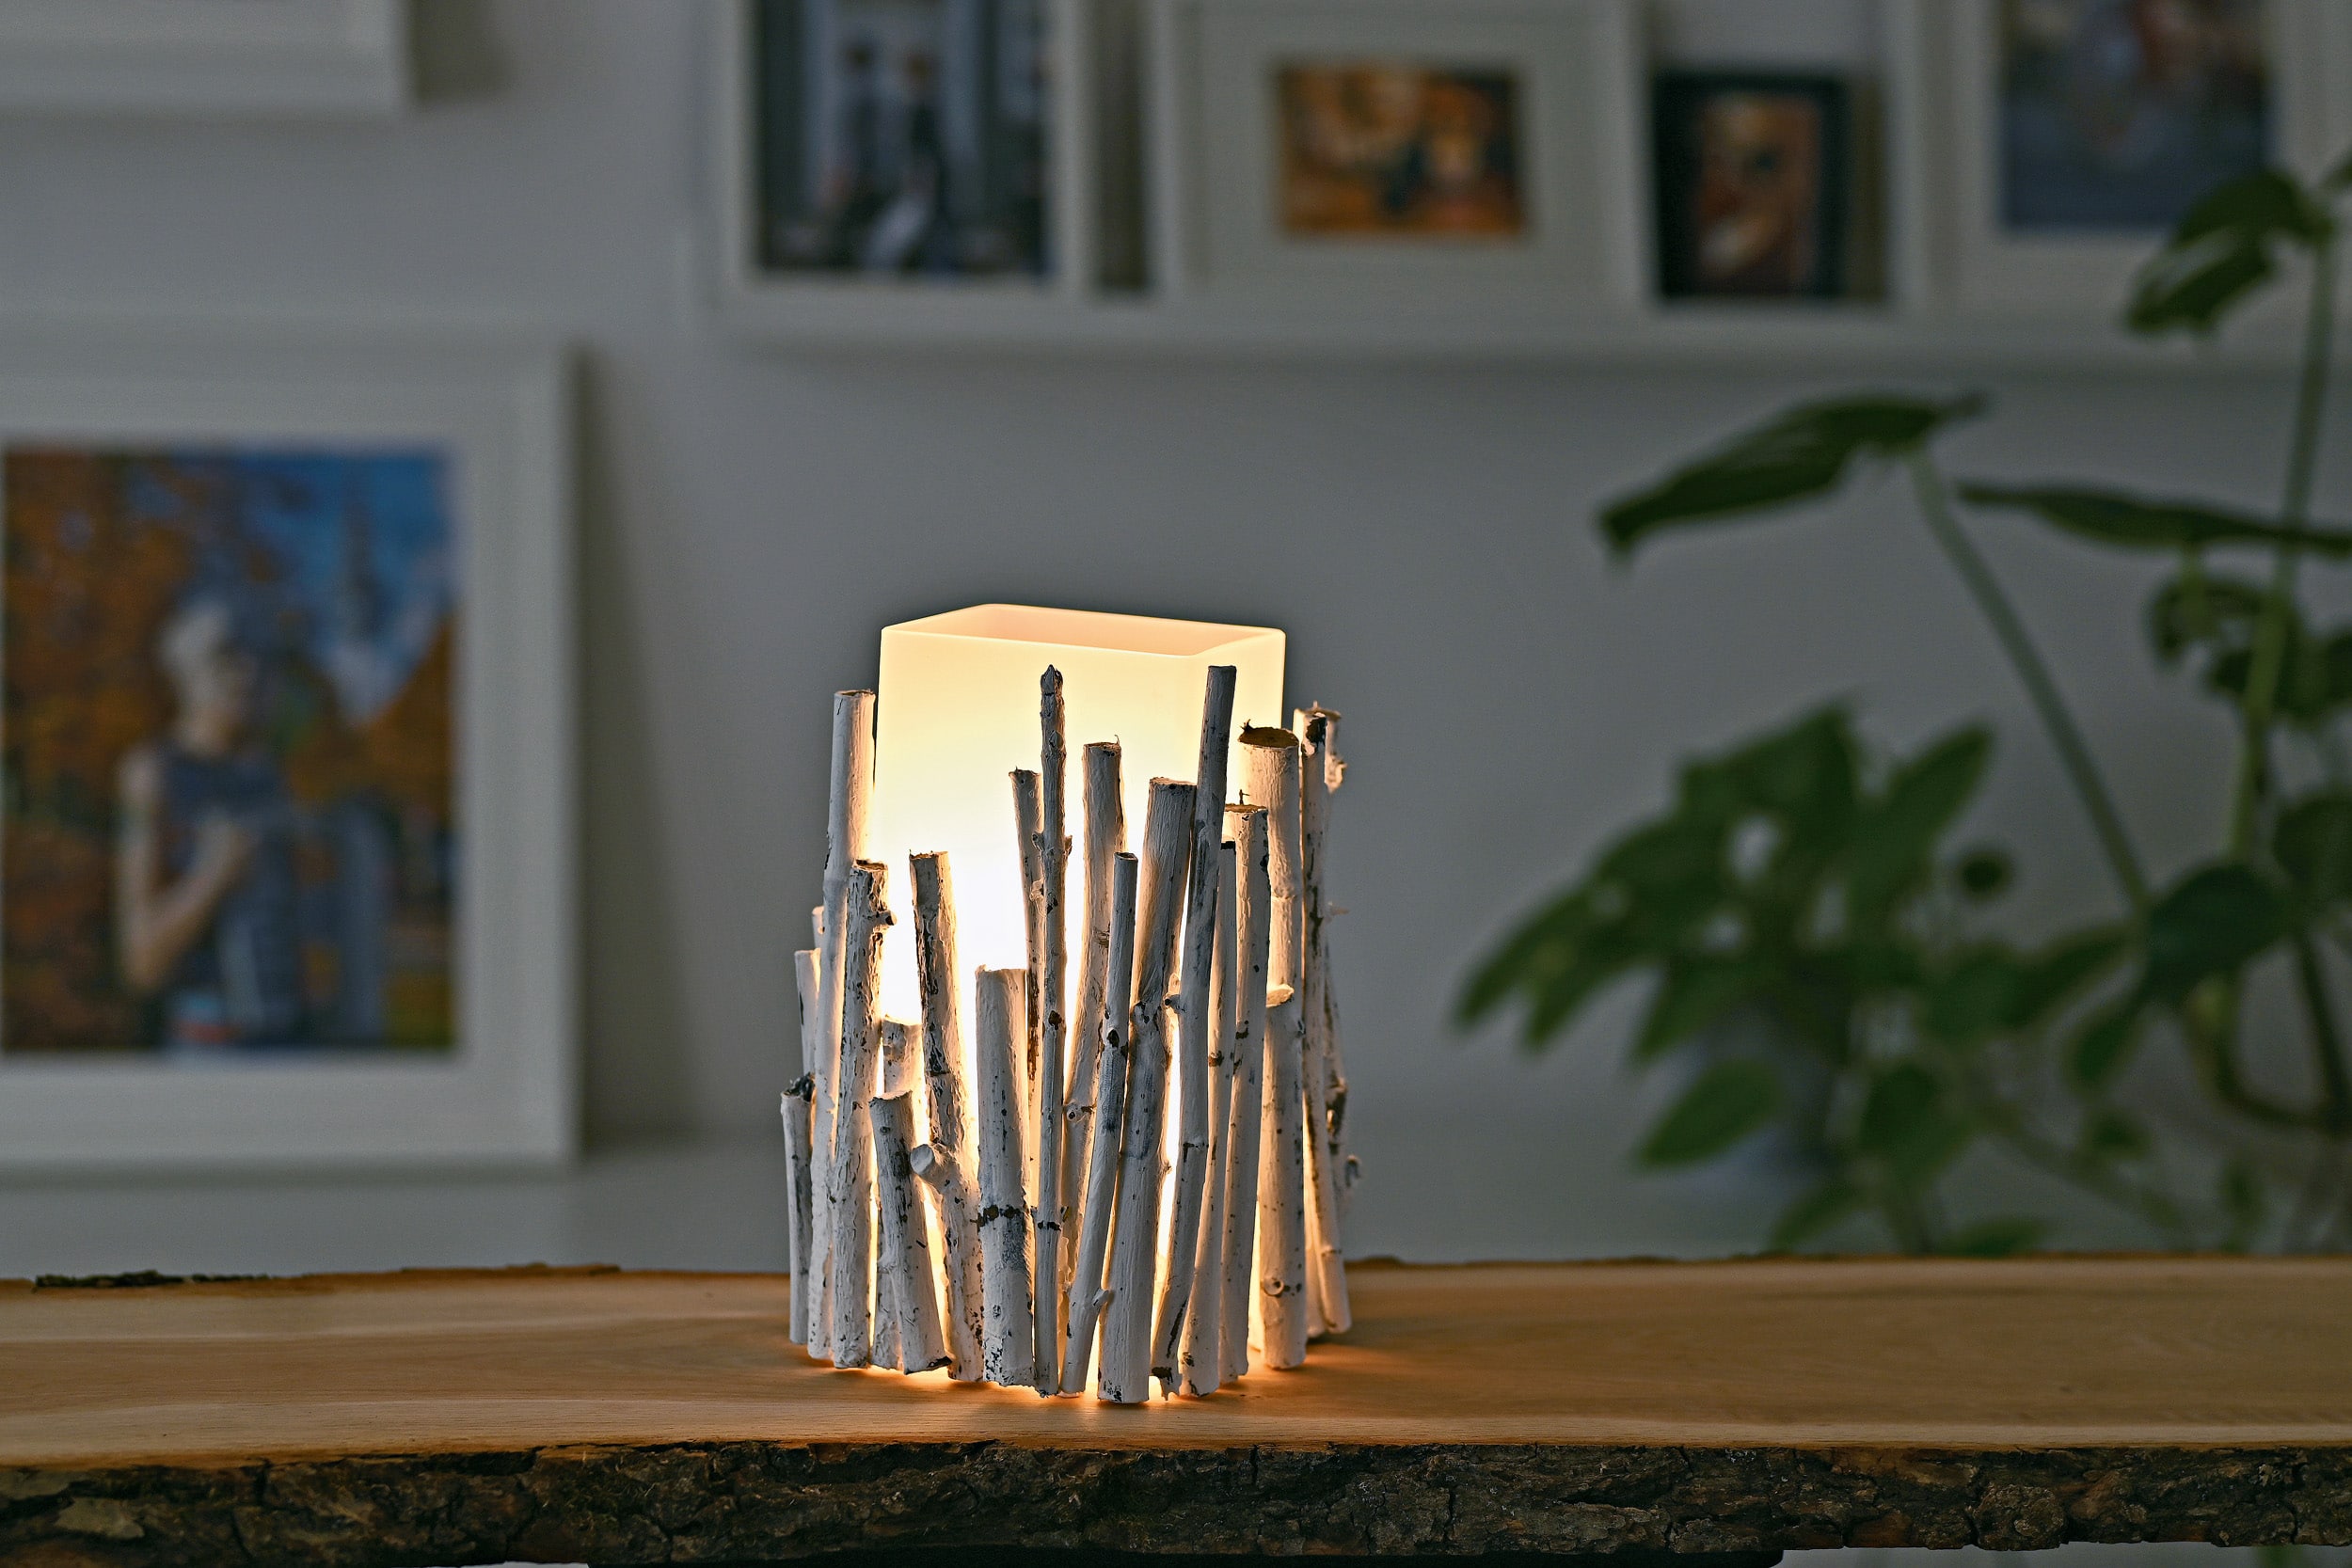
How To Make A Rustic Table Lamp
This table lamp is incredibly easy to make, and is a simple way to add a touch of wood and a rustic feel to your home. Designed using straight twigs and branches of different thicknesses, you are able to customise your design or the size to suit your style and your space. You can use all different kinds of wood for this project, whether you would prefer a pine look, or if you live near water, driftwood is a also a very popular look.
Before you start, be sure to remove any insects or creatures from the twigs and branches. It will also help to leave the wood to dry out in open air or in the sun beforehand.
Once you’ve settled on your design points, including the size and colour, you can work through the following materials list before you get started.
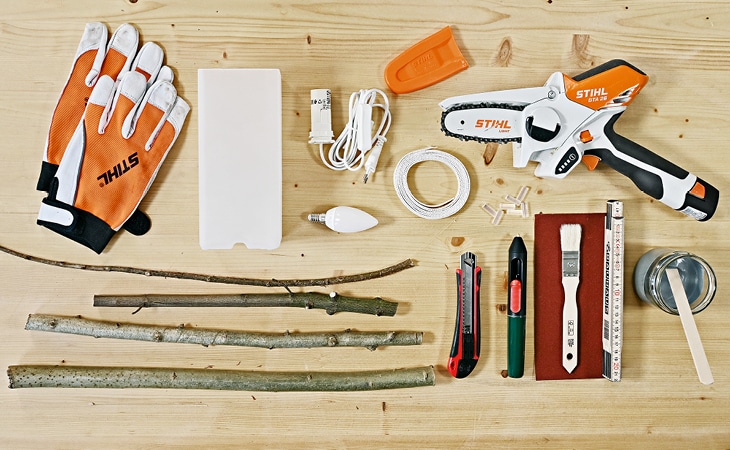
MATERIALS LIST:
- Simple glass table lamp with light source (including cables and electronic accessories)
- Twigs and branches of varying diameters
- Strap – 1-2 cm wide
- Paint – wall paint, acrylic paint or wood varnish. For this project, we have used white and grey
- Small saw such as the GTA 26 (used here) or an MSA 120 C-B or MS 170
- Paintbrush
- Utility knife
- 120-grit sandpaper
- Glue gun
- Personal protective equipment
- Folding rule or ruler
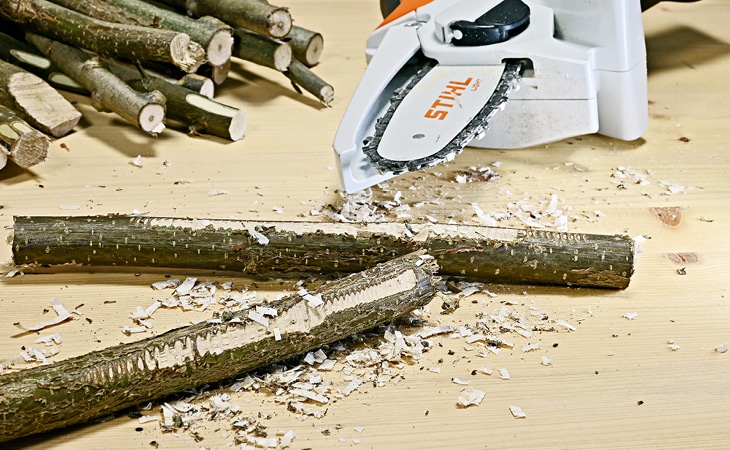
STEP 1: Cut your wood to length
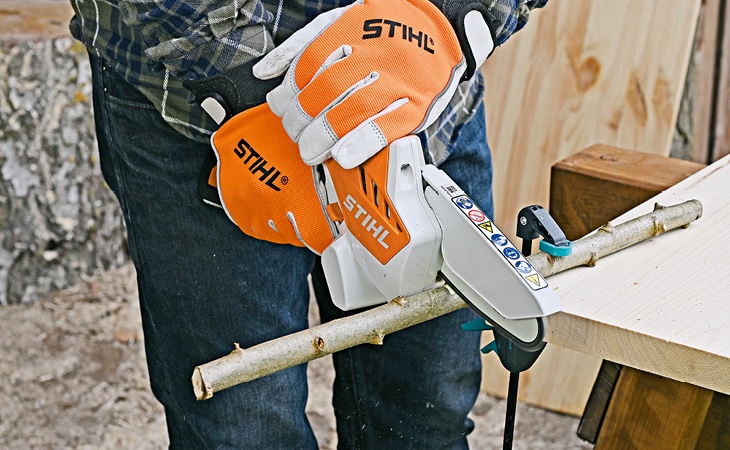
Secure a branch onto your workbench before you saw it. Use your garden pruner to cut the branches to the desired length, taking the height of the glass lamp into account as a guide. Think about whether you want the twigs to completely hide the glass, or if you prefer the upper part to be on show. We cut the branches to various lengths for our lamp, but you could take a different approach.
STEP 2: Roughen your twigs
As an optional step that really adds a rustic note to your table lamp, you can use your garden pruner to scrape off the outside of the wood in places. Just pass the tool lightly over the bark. You can use the same technique to create dramatic patterns and effects.
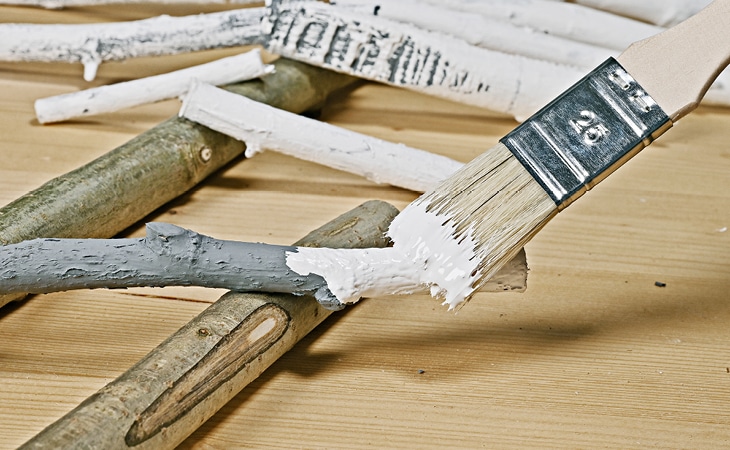
STEP 3: Get painting
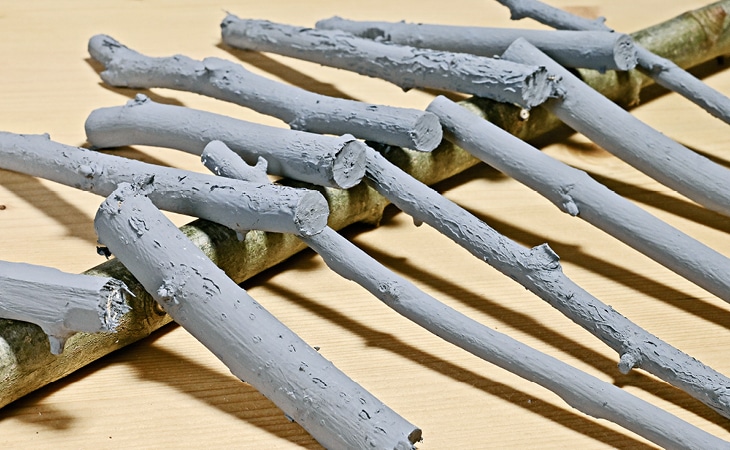
Now, paint the branches in grey or your preferred colour, and lean them against a longer branch to dry. As soon as the paint is dry, apply a coat of white on top. When that’s dry, use the sandpaper gently in places so that the first paint colour peeps through to create a rustic look.
STEP4: Glue your twigs
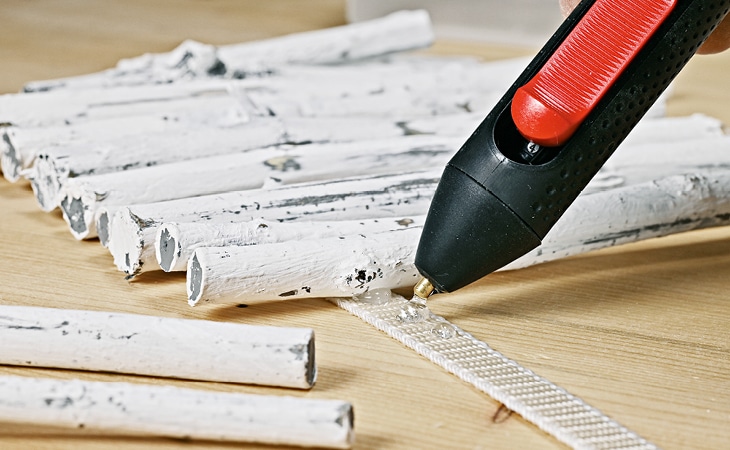
Measure the circumference of your glass lamp and cut a piece of strap to fit. Stick your prepared and painted pieces of wood to the strap using a glue gun. Make sure they all match up at one end, and glue them close together.
STEP 5: Attach to your lamp
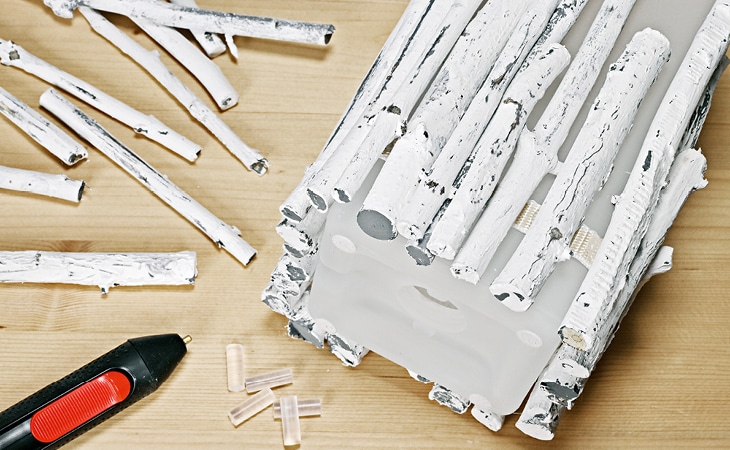
Finally, use your hot glue gun to stick the strap to the lamp in such a way that the branches stand up vertically. Glue in thinner twigs to fill any gaps. Add a light bulb and your Scandi stylish table lamp is ready to light up your home!

Related