#How To
How to plant a tree
When children draw a house, there is usually a tree next to it – it is simply a must. And indeed, every garden owner will probably plant a tree or large shrub at some point. Not only does it look good, it also creates a good microclimate, especially on hot summer days. With the following tips, the often expensive plants will take root for sure.
When to plant trees?
Bare-root woody plants are only available for a few weeks a year, mainly in autumn and spring. Baled plants are available for somewhat longer. These factors determine the planting time, as both types cannot be stored. Spring or autumn are also ideal for container trees with a theoretically year-round planting period: the tree takes roots more easily due to the higher humidity than in summer; temperatures are still moderate in autumn or have already returned to moderate levels. The ideal planting time is early October. By then deciduous trees are already leafless and no longer evaporate water. The tree roots before winter and you need to water it less next year.
What is to be considered when planting?
When choosing a location, the height of growth and tree top diameter of the selected tree when fully grown should be taken into account, as these differ considerably from those of the plantation. Possible shadowing and the distances to other plants and trees must also be considered. The minimum distance to neighbors is regulated by law and is usually based on the tree’s growth vigor and its growth height; however, the legal provisions vary from state to state. Distance should also be kept from your home to avoid later problems with sprawling roots, such as damage to the foundation or ingrowth into sewage pipes. By default, smaller species are recommended for small gardens, because you cannot keep a tree small by regular pruning – you can only keep it in shape.
How to plant a tree
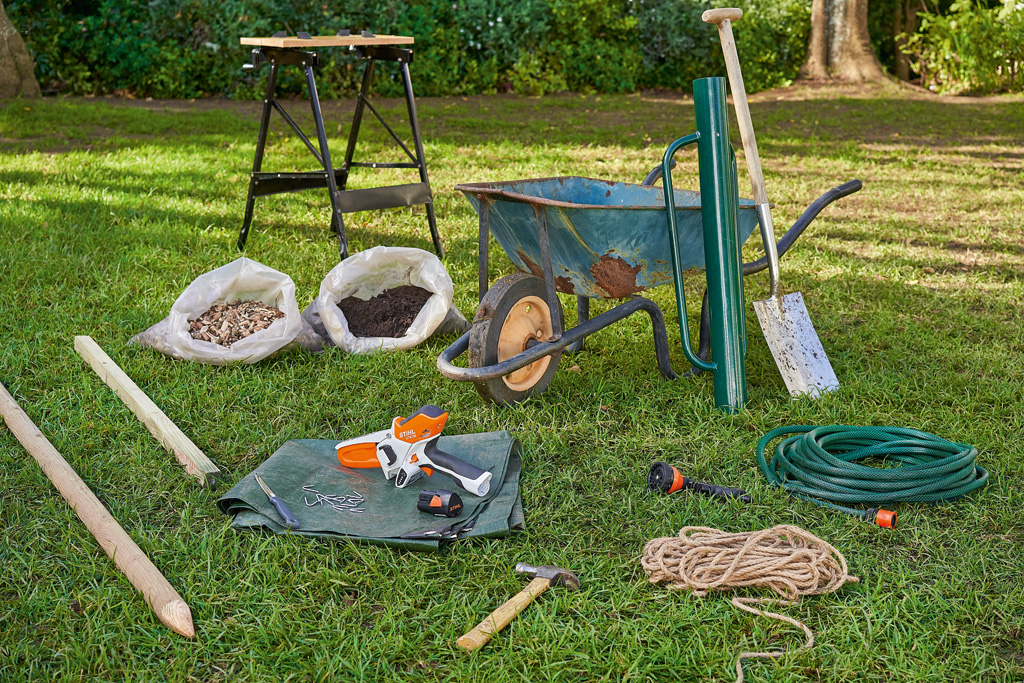
Tool list:
- Tree
- Spade or digging fork for heavy soil
- Garden hose
- Foil for the excavation
- Gloves
- Wheelbarrow
- Horn shavings
- Bark mulch
- Supporting pole
- Hand ram
- Slats
- Coir rope or loose rope made of hemp fibers
- Potting soil or compost
- Kitchen knife
- Hammer
- U-hook
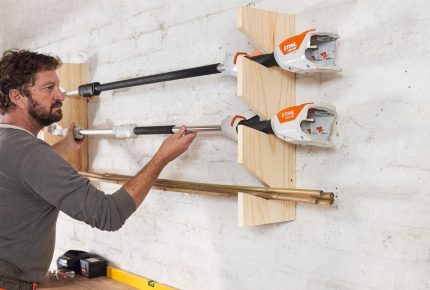
- STIHL GTA 26 garden pruner for cutting the slats to length
- PPE: gloves, safety goggles
Step 1: Measuring stick
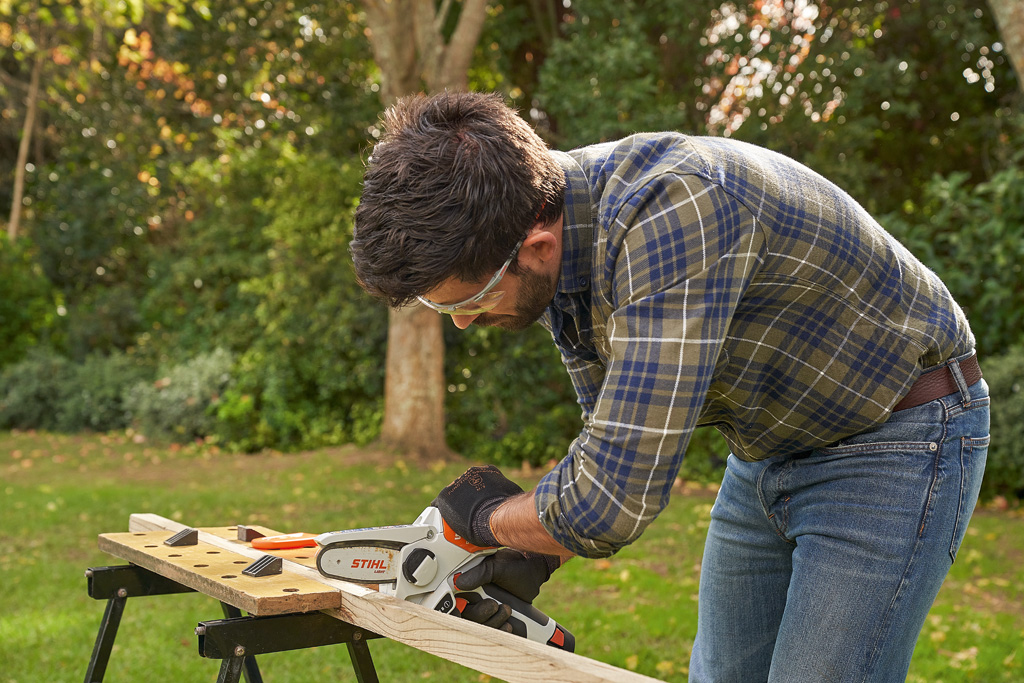
Use the STIHL GTA 26 to cut a roof slat to approximately 60 cm. This slat can be used later to check the planting depth and, in the case of fruit trees, the position of the grafting point.
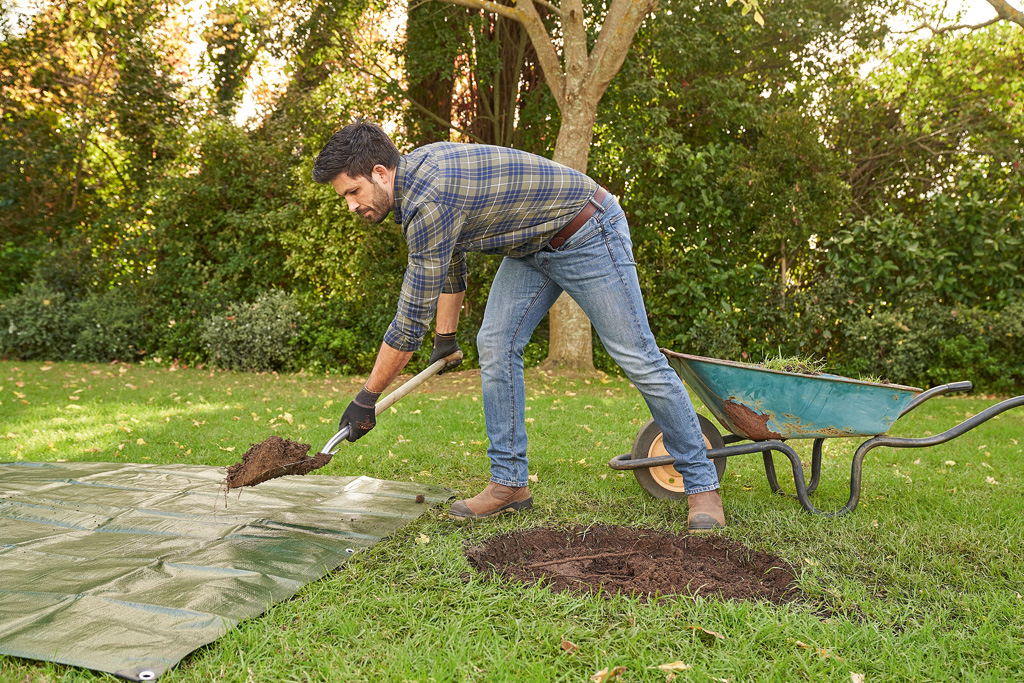
Step 2: Position
If the tree is to grow in the lawn, first remove that lawn within a radius of about 30 – 50 cm around the trunk – depending on the tree and root size at the time of planting. Place a tarp next to the planting hole if the lawn is to be protected from the excavated soil.
STEP 3: Planting hole
Dig the planting hole so that it is twice as wide as well as slightly deeper than the root bale, and place the excavation on the tarpaulin.
STEP 4: Loosening up
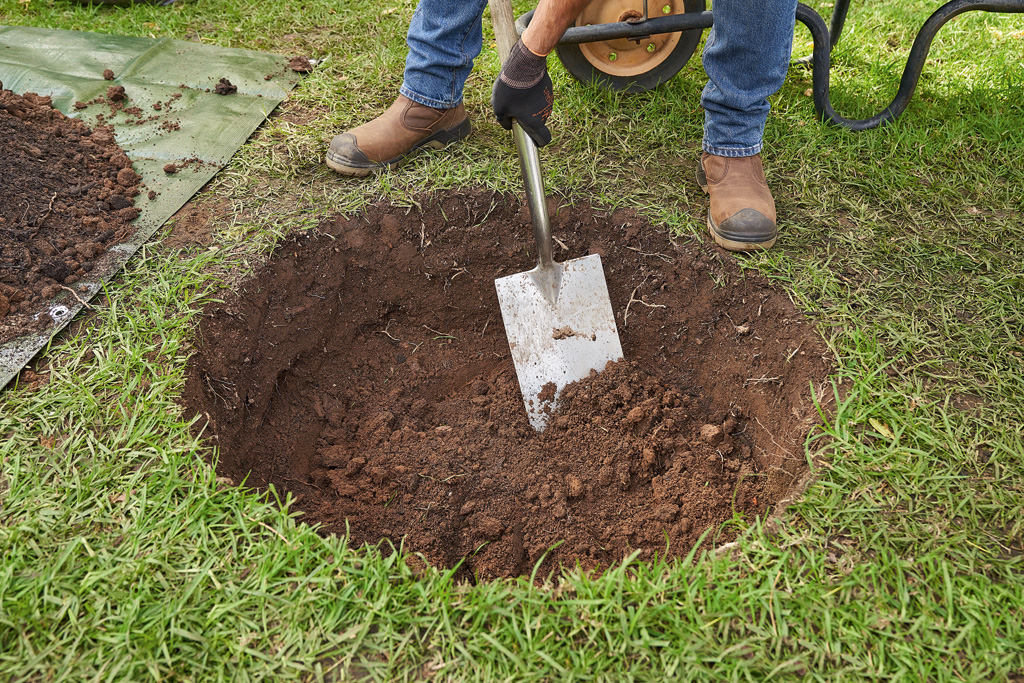
Loosen the edges and the bottom of the planting hole with the digging fork or the spade.
STEP 5: Earth mixing
Mix the excavated soil with compost or potting soil. This procedure is particularly important if the soil at the site is very sandy or very loamy, in order to better supply the plant with nutrients and thus make it easier to take roots.
STEP 6: Rooting aid
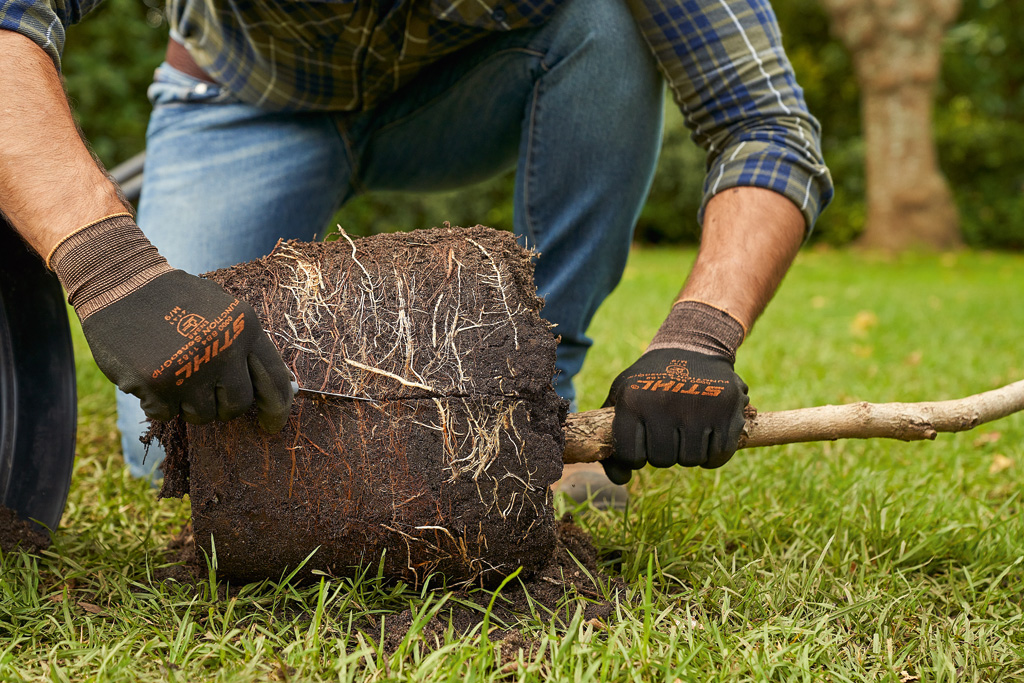
Tip: For container trees, scratch the pot bale full of roots lengthwise several times with an old kitchen knife to a depth of about 0.5 centimeters. This deliberate injury will cause new roots to form and the root bale will not continue to grow in the shape of the container, but will actively spread at its new position. The roots of container trees otherwise retain the corkscrew-like growth from the pot and are not stable even after years.
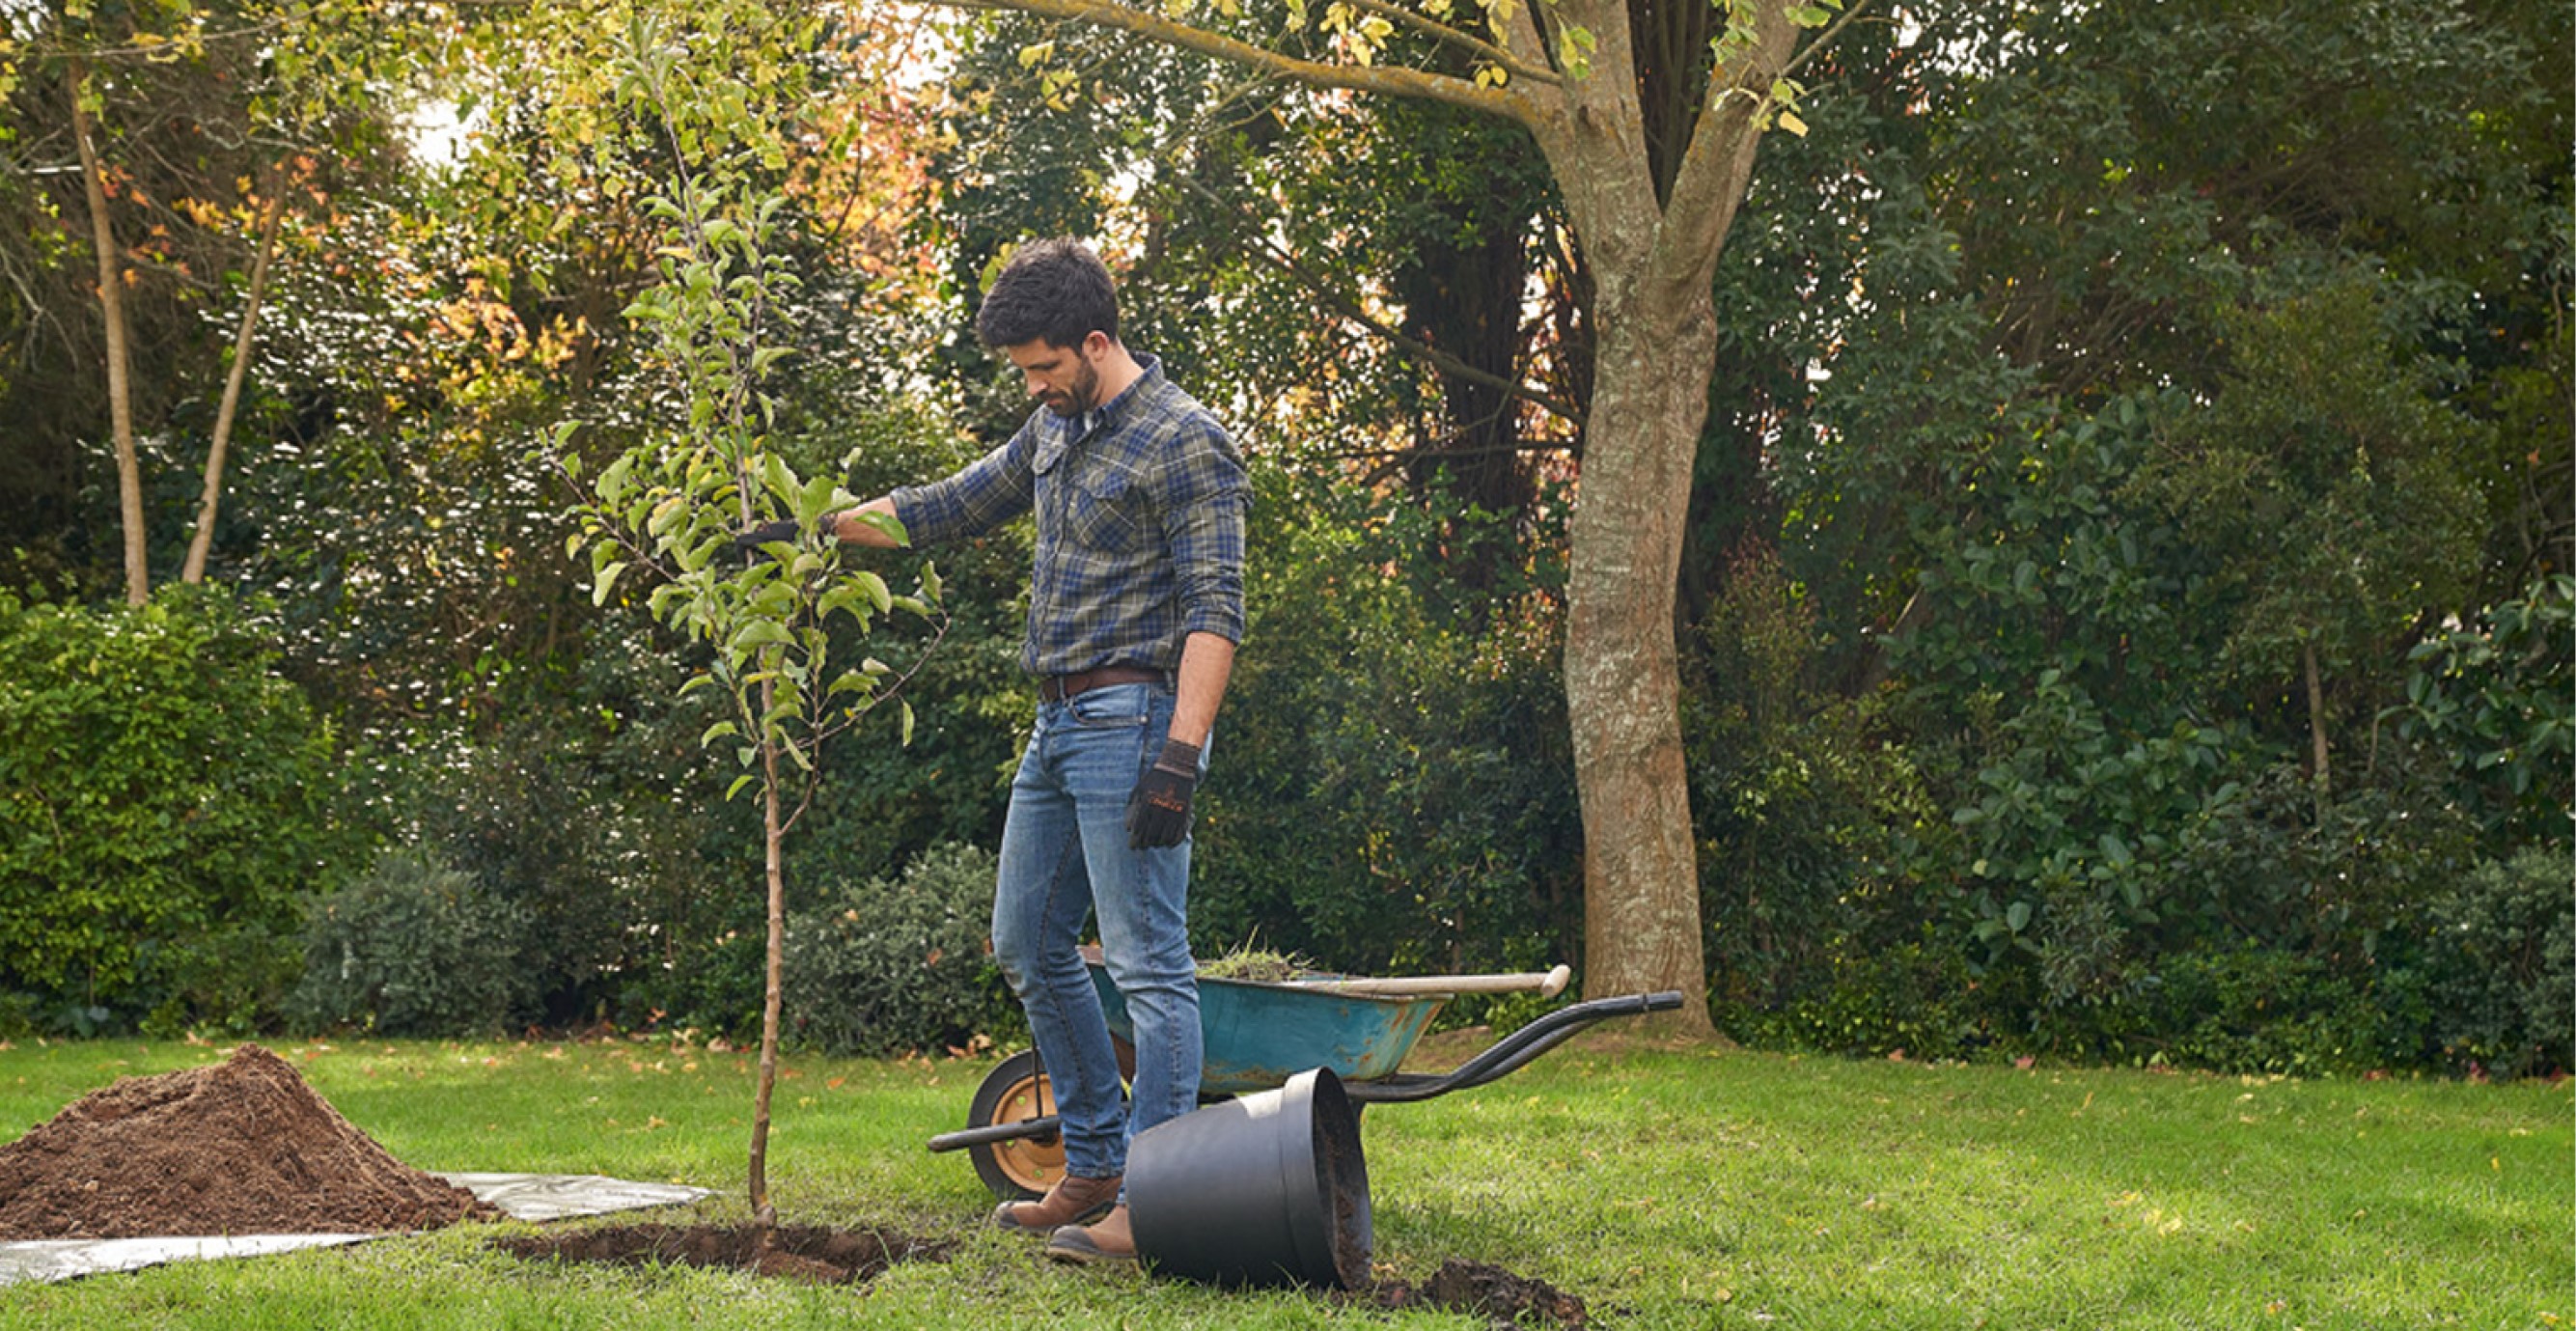
STEP 7: Placing the tree
Place the tree in the planting hole and determine the correct planting depth with the roof slat by placing it over the planting hole – it represents the future soil surface. The root bale should be no more than 1 centimeter below this and the grafting point for a fruit tree should be about 10 centimeters above. If necessary, fill in some more soil or remove excess. The supporting pole is hammered in directly next to the root bale – preferably on the side from which the wind blows most frequently. Thus, you will prevent the tree from being pressed against the pole by the wind.
STEP 8: Hammering-in the pole
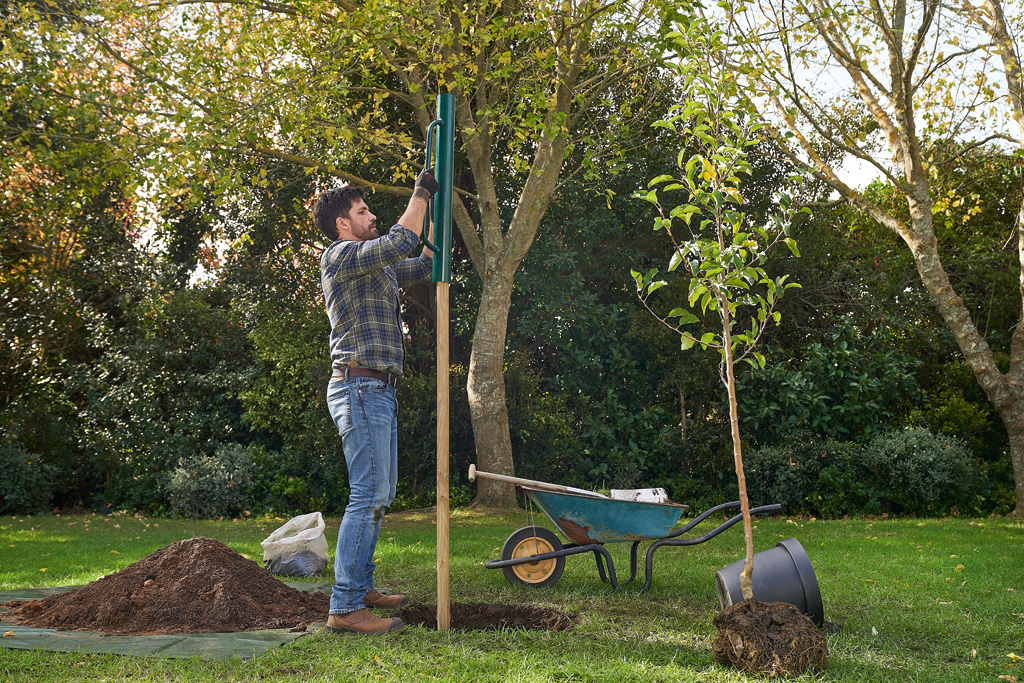
Remove the tree from the hole, as it will be in the way when hammering-in the pole. A hand ram works best for driving the pole; if you don’t have one, you can borrow one from the DIY store. Drive the pole in the previously determined position: The depth roughly conforms with the height of the tree top base; the pole should end about ten centimeters below the main branches; in other words, this is where the tree will be fastened. Make sure that the branches do not pass too close to the pole, otherwise they can rub against it in the wind.
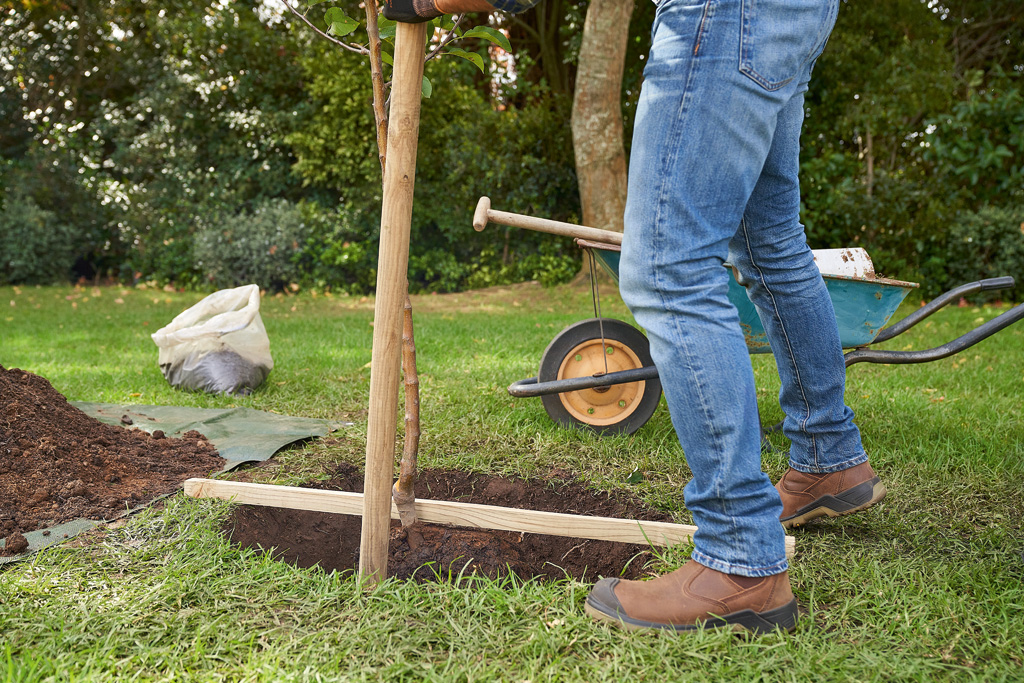
STEP 9: Aligning the tree
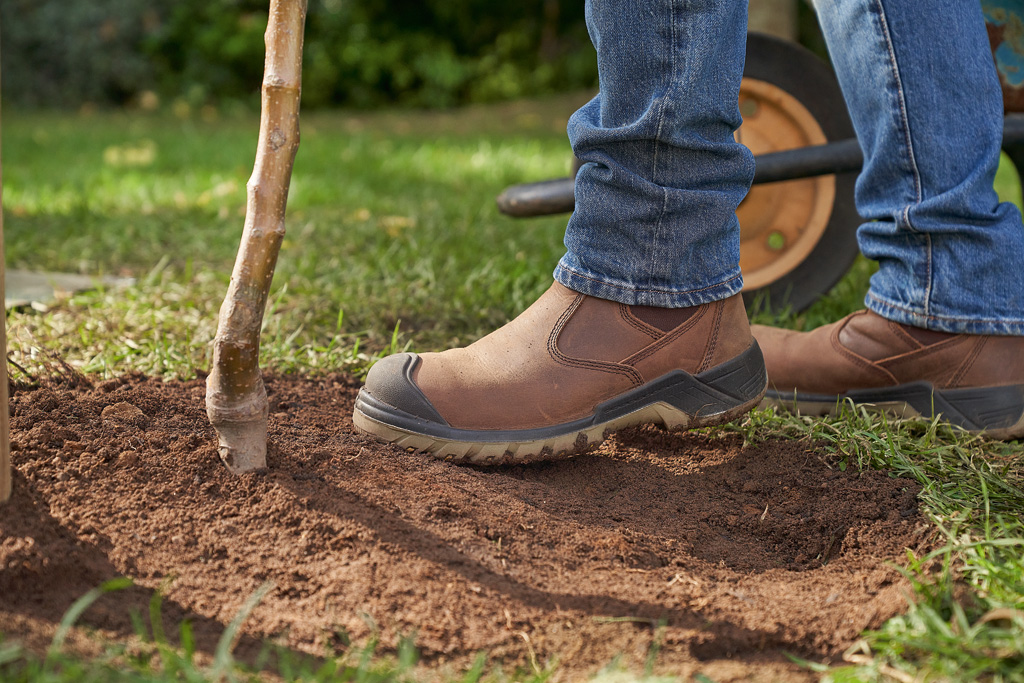
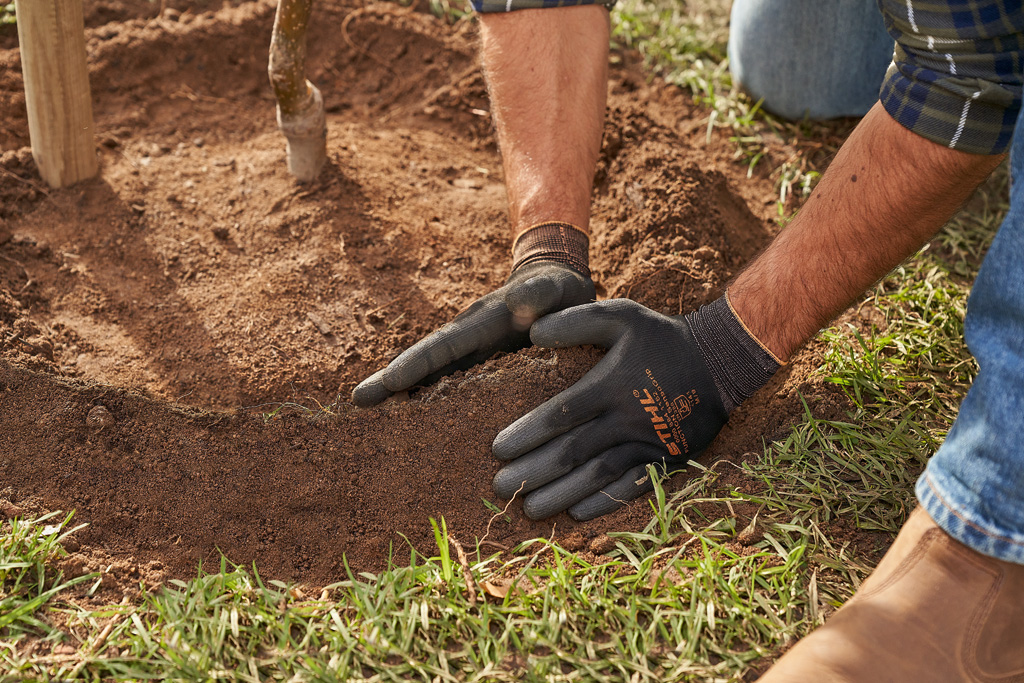
Place the tree in the planting hole, fill in the excavation and align the tree in a straight line. If the soil is very dry, fill the planting hole only to three quarters, cover the soil with lots of water and only then fill the hole completely. In any case, tread the soil slightly with your foot.
STEP 10: Fastening
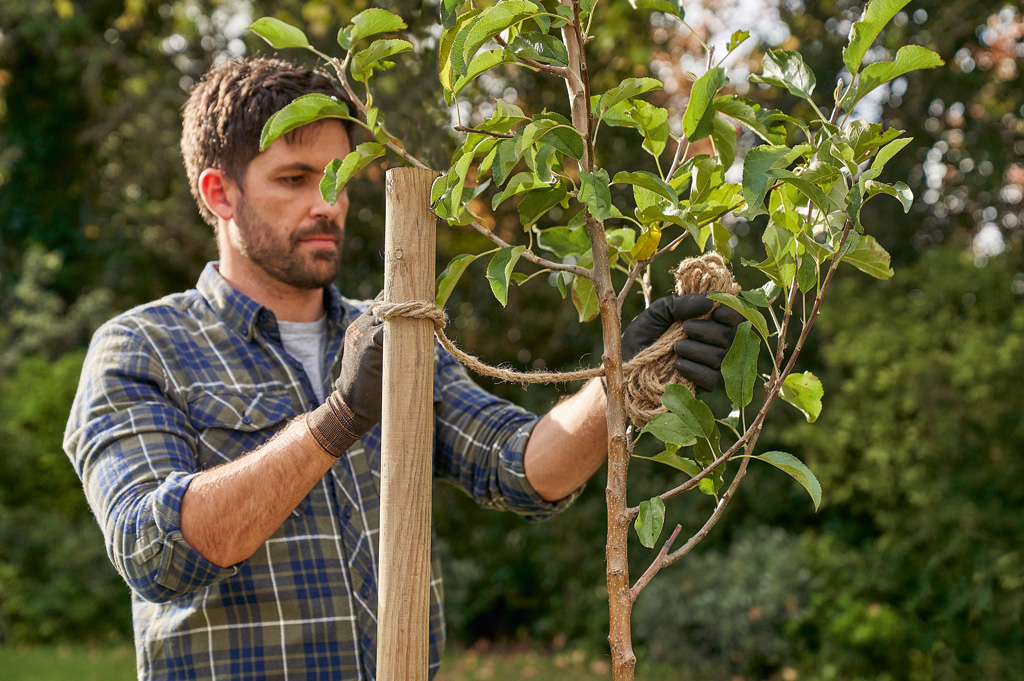
Place the rope in the form of the figure eight around the tree and the pole, then wrap the rope with tight loops. The tree should be fixed, but the trunk should not be strangulated. On the tree side, the rope can be tied a little higher, as the tree still sags in the ground.
Fasten the end of the rope to the pole with a U-hook and hold it tightly while hammering so it doesn’t come loose again. This will hold better than knotting the rope. The rope stays on the tree for 2-3 years and then usually falls apart.
STEP 11: An edge for watering
Form a small wall from the loose soil so that irrigation water and rain seep in at the tree and do not run off to the side.
STEP 12: sprinkling & Well covered
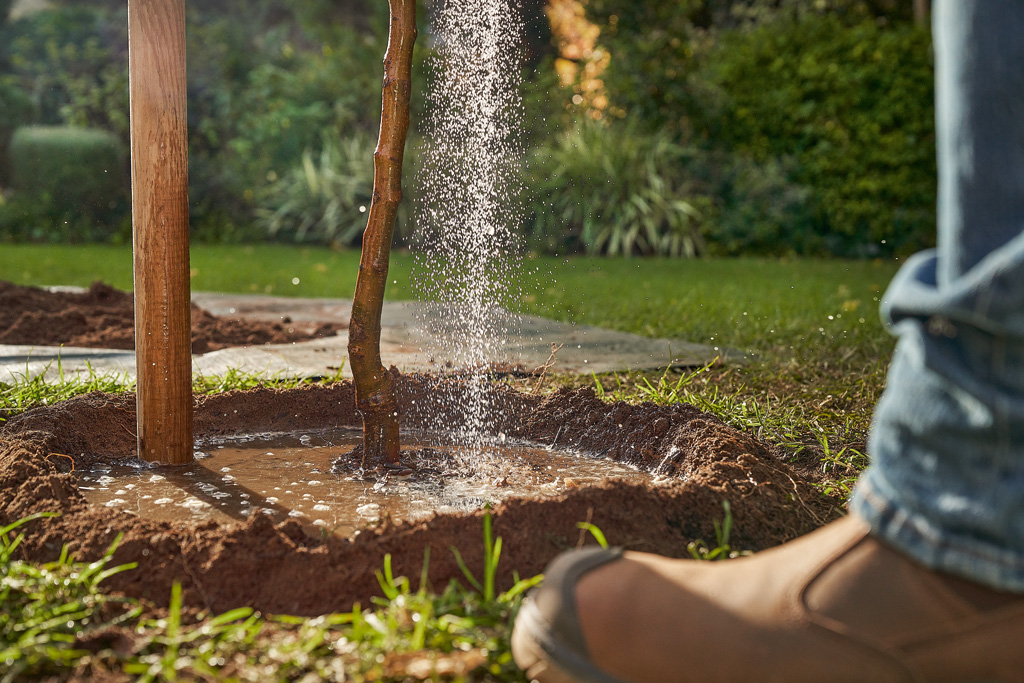
Water thoroughly and extensively so that the roots have good contact with the soil.
When the water has seeped in, add horn shavings to the soil and mulch with bark humus or alternatively spread a mix of shredded material and horn shavings.
Click here for more DIY project guides to enjoy at home.
Related