#How To
Light Up The Garden With A Rustic Lantern
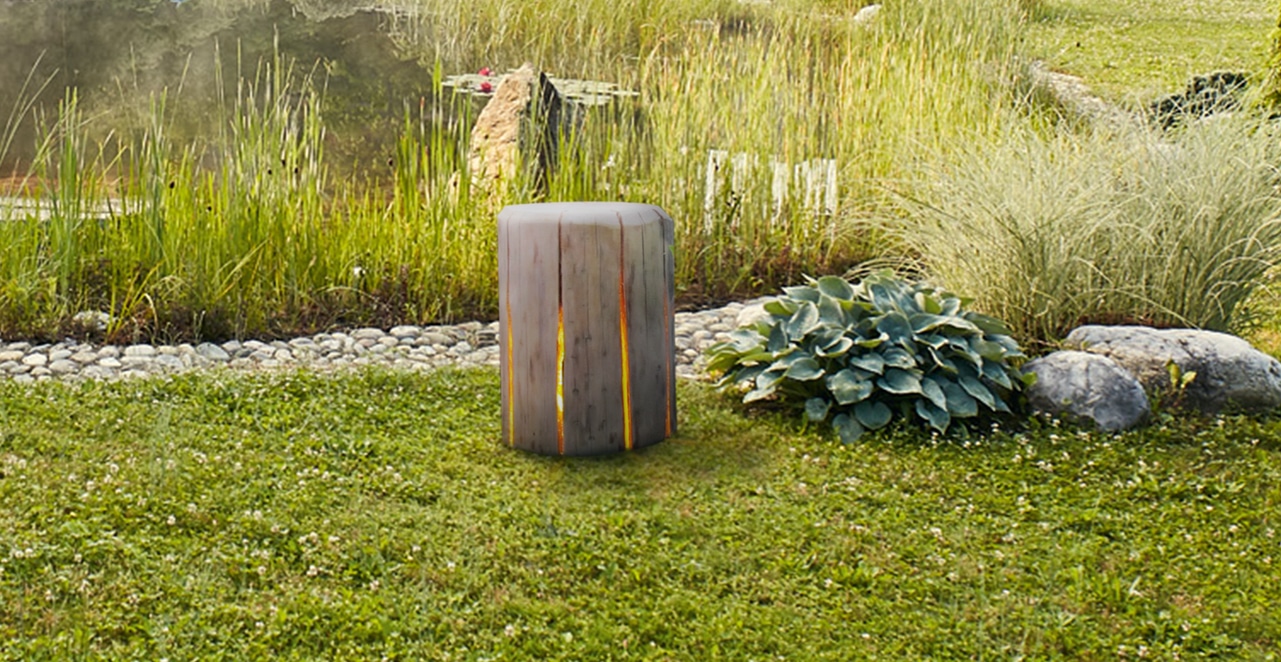
This DIY guide shows you how to turn a tree trunk into a decorative light using nothing else but your chainsaw. The tree trunk lamp is very practical, it will look great in your garden, and will also double as a stool or side table.
You can use any kind of coniferous wood to make your own wooden lantern, and it doesn’t have to be fresh wood. Cracked or slightly splinted logs of wood with slight imperfections will add a little character your lantern, and the drier the wood, the better for this particular project.
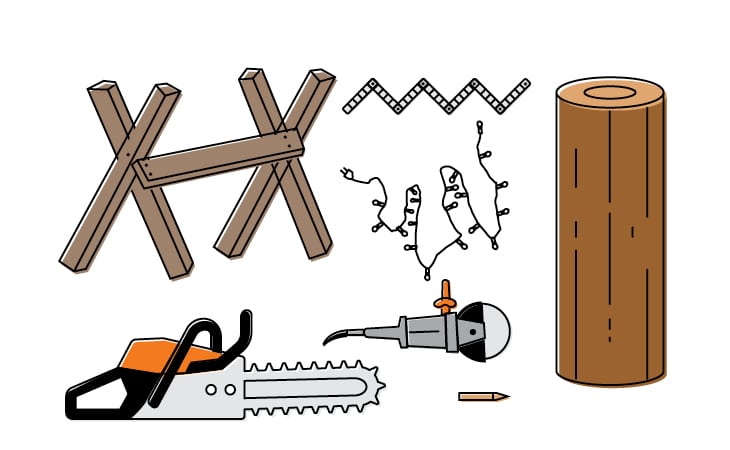
STEP 1:
Start by pulling together getting your materials ready. For this project, you’ll need a log, preferably without bark, that’s roughly 20-30cm in diameter. You’ll also need a chainsaw (of course!), a folding ruler, a piece of chalk for marking, a saw horse suitable for our log, and some LED fairy lights to bring it to life once you’re done.
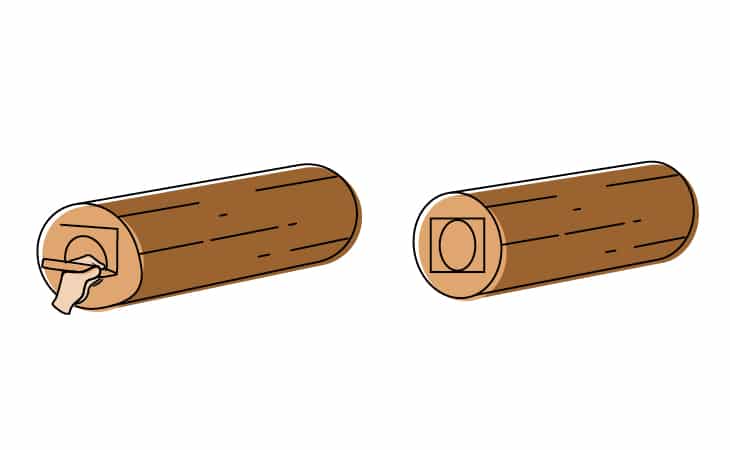
STEP 2:
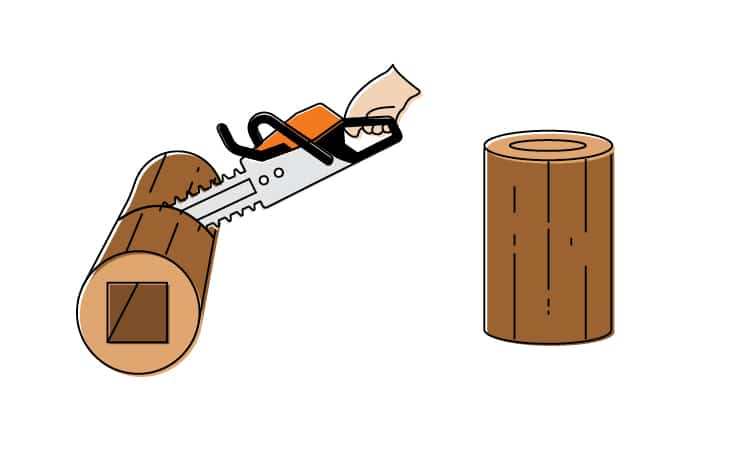
The next step is to make a plunge cut through the base of the log, however you’ll need to create a square, so it’s best to mark this out before you start up the chainsaw. Don’t make this square to large and close to the edges completely, as you’ll risk cutting right through the log. It’s important to note that this step should only be completed with the use of a sturdy sawhorse.
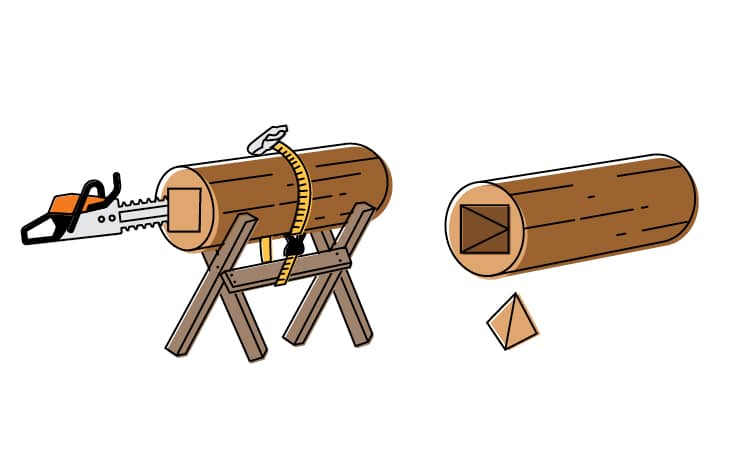
Before hollowing out the log, it’s a good idea to first make a mark on your guide bar as to how deep you want to go. This will ensure you make each plunge cut to the same depth (e.g. 25 cm). Use a pencil to mark the length on the guide bar, or, make a mental note by cutting to a specific letter of the STIHL logo on the bar.
As you cut all four sides, position the tip of the guide bar on at an angle into the wood on each side of the square, so that the removed part is in the shape of a pyramid. Make sure you don’t damage the outer edges of the wood as you work. We recommend using a new chain with a smaller distance between the depth gauge and saw teeth. This should make the plunge cutting a little easier to manage. Saw chains with a larger distance between the depth gauge and saw teeth are more likely to cause kickback.
STEP 3:
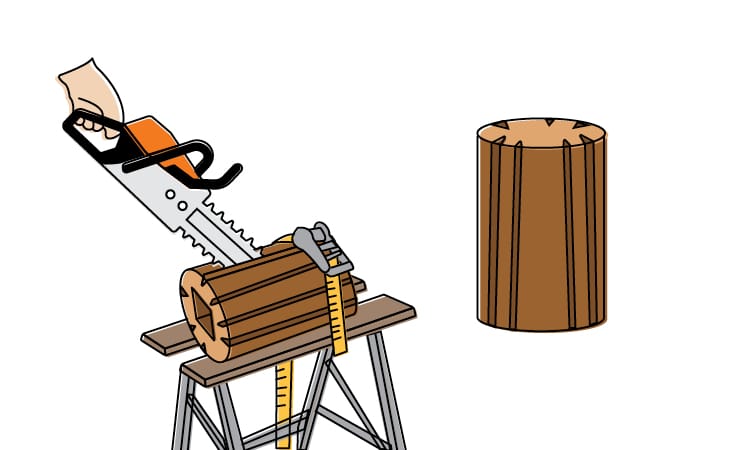
Use a folding ruler to measure the deepest point of the hollow space inside the trunk. Add around 3-5 cm to that measurement, and mark the resulting length on the outside of the trunk. Make a separating cut at the mark to cut the lamp housing to the appropriate size. Make sure you hold the saw straight.
STEP 4:
Fix the cut piece of wood to a sawhorse and deepen the dry cracks with your chainsaw, expanding them until they reach the hollow space in the centre of the lamp. We recommend having four to six recesses for the light to shine through, however its completely up to you!
Once you’re done, take your string of fairy lights and attach these to the inside of your now hollow trunk. If you’re planning on leaving your lantern outdoors, make sure your fairy lights are weather resistant.
Click here for more homemade Mother’s Day gift ideas. Be sure to share your projects with us on your social channels. Tag #STIHLgardenchallenge for your chance to be featured!

Whilst the government still allows, the majority of STIHL dealers are open for business and ready to support you and your garden projects, all while following social distancing guidelines and minimising the number of customers in store at any one time. We recommend calling ahead before you visit, and utilising our Click & Collect service where possible. This will allow your Dealer to prepare your tools and accessories before you get there, minimising your time within the store. Visit stihldealers.com.au to find your local store.
Related