#How To
Make Your Own Garden Bench In 5 Steps
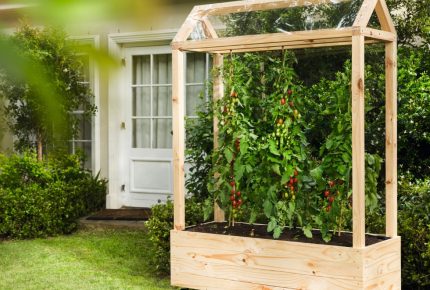
Our backyards are there for us to enjoy, so every garden needs a space for sitting and relaxing. And with all of this extra time on our hands in the lead up to Mother’s Day, why not treat Mum to a traditional home-made gift like you would have when you were younger.
Our guide to make your own garden bench at home is much easier than it may look, and can be completed in a day provided you have all of the right tools and materials in hand. Follow our guide to get started!
STEP 1:
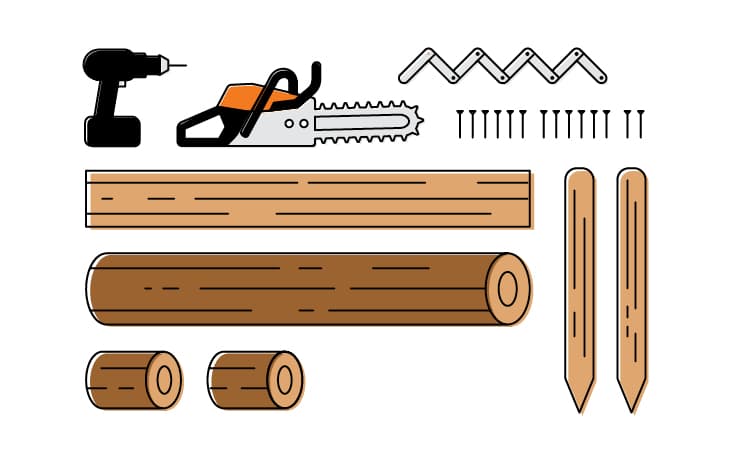
Get your materials together. When it comes to selecting wood, try and opt for an ash or beech wood, as coniferous timber may exude resin which isn’t ideal for something that you’ll be sitting on!
For the backrest of the seat, you will need two posts approximately 60cm in height each. You will also need a wooden board which is something you can cut yourself if you have a log long enough, or can be purchased. For the seat you’ll need you will need a single round log approximately 30cm in diameter, and for the feet, two more round logs approximately 30cm in length and diameter. To put all of your pieces together, you will need 12 150mm screws, a drill, and of course, a chainsaw.
STEP 2:
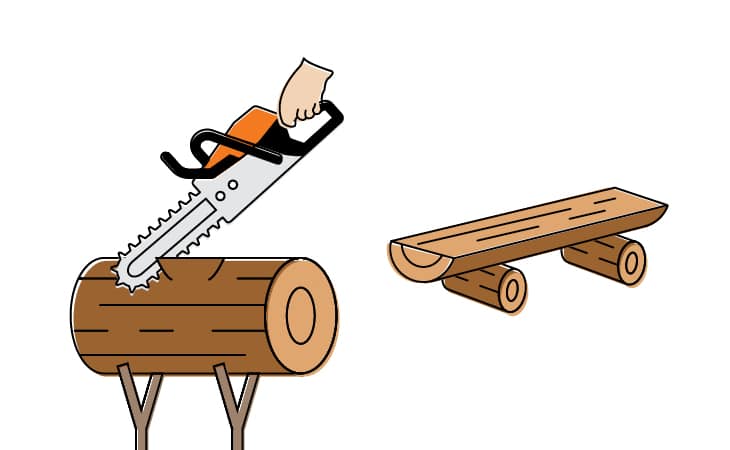
To create the seat, place your largest log on a stable ground, ideally grassed, with two smaller logs or something heavy either side to prevent rolling. This is the easiest step in this process, as the log simply need to be cut in half. It is however important that you make this cut straight, and also avoid cutting the full way through. If your chain hits dirt, or worse, concrete, you’ll need a new one.
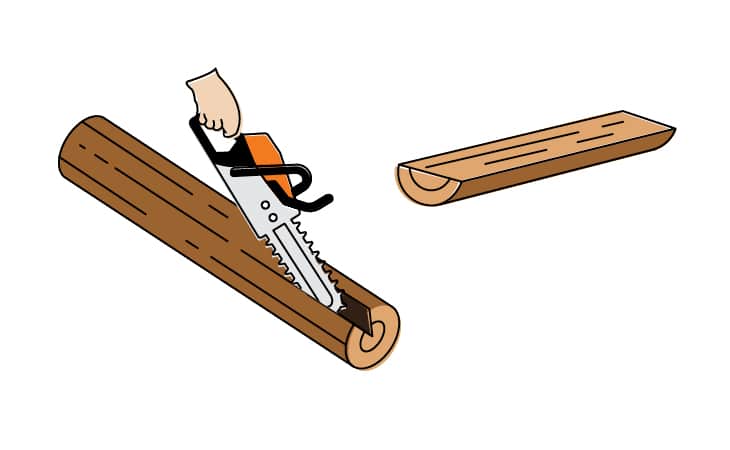
Start off by marking out where you will cut with chalk, and if required, make a shallow superficial cut with you chainsaw so you have a guide to follow when making the complete cut. Make a cut halfway through on one side, before turning the log over to finish the cut on the other side. Once done, you should have two identical evenly halved pieces of wood.
STEP 3:
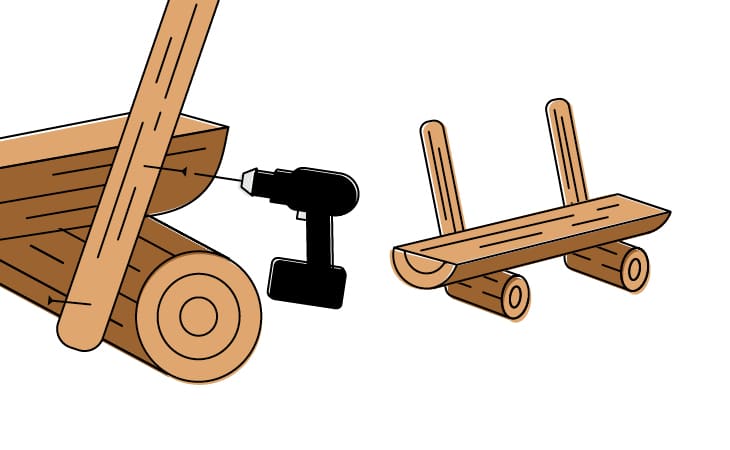
Making the feet is also very simple. Using one of two of your smaller logs, place it safely in a sawhorse or a study position for cutting, before making a v-shaped cut. Repeat the process on the second smaller log, making sure the cuts are in the exact same place to ensure your seat isn’t wonky once you’ve pieced it all together. To be safe, it’s best to mark where you’re going to cut rather than cutting and hoping for the best! Afterwards, place the seat on the feet and secure them together by driving screws down into the feet from the surface of the seat.
STEP 4:
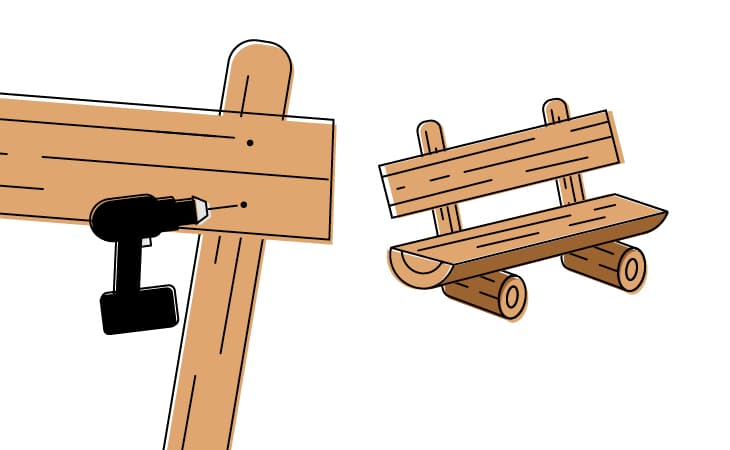
When the seat and feet are securely screwed together, you can screw the posts to them. Secure the posts on the outer side of the feet so you can place a screw attaching the feet and the seat. This will ensure your bench is nice and sturdy.
STEP 5:
Almost there! Your seat is just about done, all you need to do now is add the backrest for a bit of added comfort. Secure the plank to the two posts wherever you desire using two screws to ensure it’s attached properly.
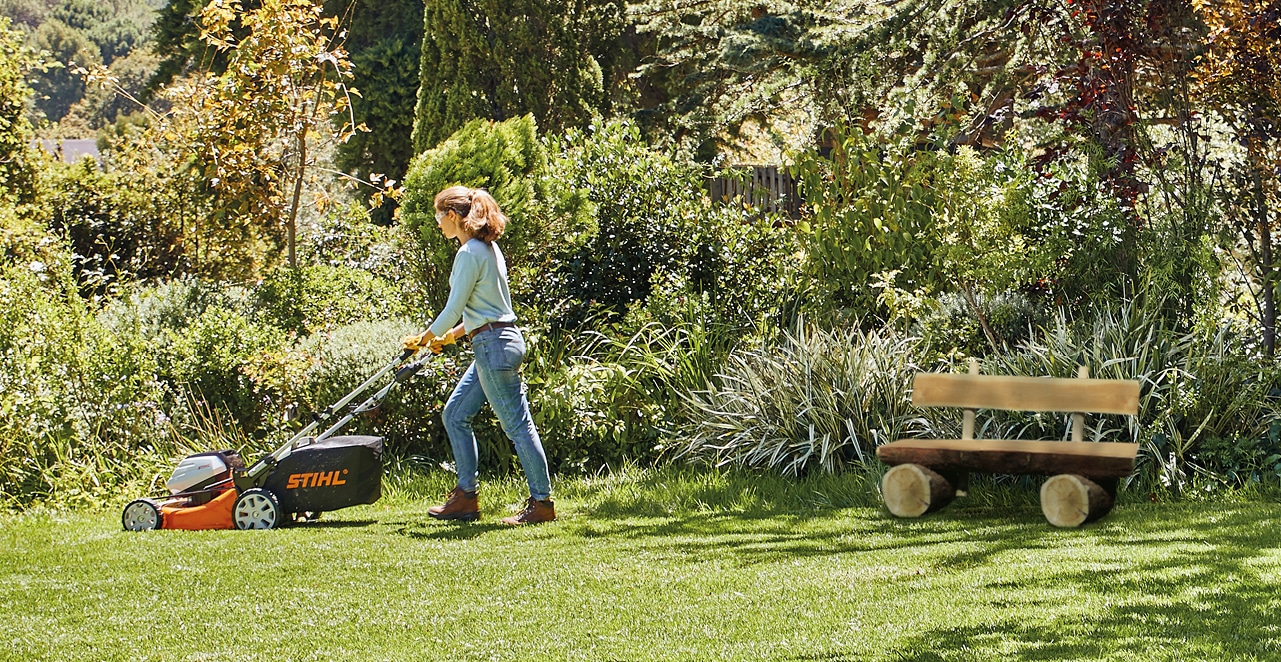
And you’re done! For more homemade Mother’s Day gift ideas, click here. Be sure to share your projects with us on your social channels. Tag #STIHLgardenchallenge for your chance to be featured!

Whilst the government still allows, the majority of STIHL dealers are open for business and ready to support you and your garden projects, all while following social distancing guidelines and minimising the number of customers in store at any one time. We recommend calling ahead before you visit, and utilising our Click & Collect service where possible. This will allow your Dealer to prepare your tools and accessories before you get there, minimising your time within the store. Visit stihldealers.com.au to find your local store.
Related